Monday, January 13, 2025

Valentine's


Happy monday!
Let's make some valentine's!
Do you have a die cutting machine or big shot?
If so, you can cut your hearts using framelits and cutting machine. 


You will want to cut two hearts of different patterns,
I cut out a few different patterns for you to see. 


Once you have two hearts cut set them on top of your cardstock to see how you want them to look.  Once in place, you will fold the sides over and adhere them to the back of the card.  
The hearts will overlap like you see above. 


Here are three different styles I made to show you. 


 I used some gold, some pinks and some stripes. 


It was fun to play around with the different styles,
it shows you how you can look through your papers and find 
ways to change up your cards. 


Before I attached the hearts to the base of the card
I added the ribbon so it could just be tied around
the card.
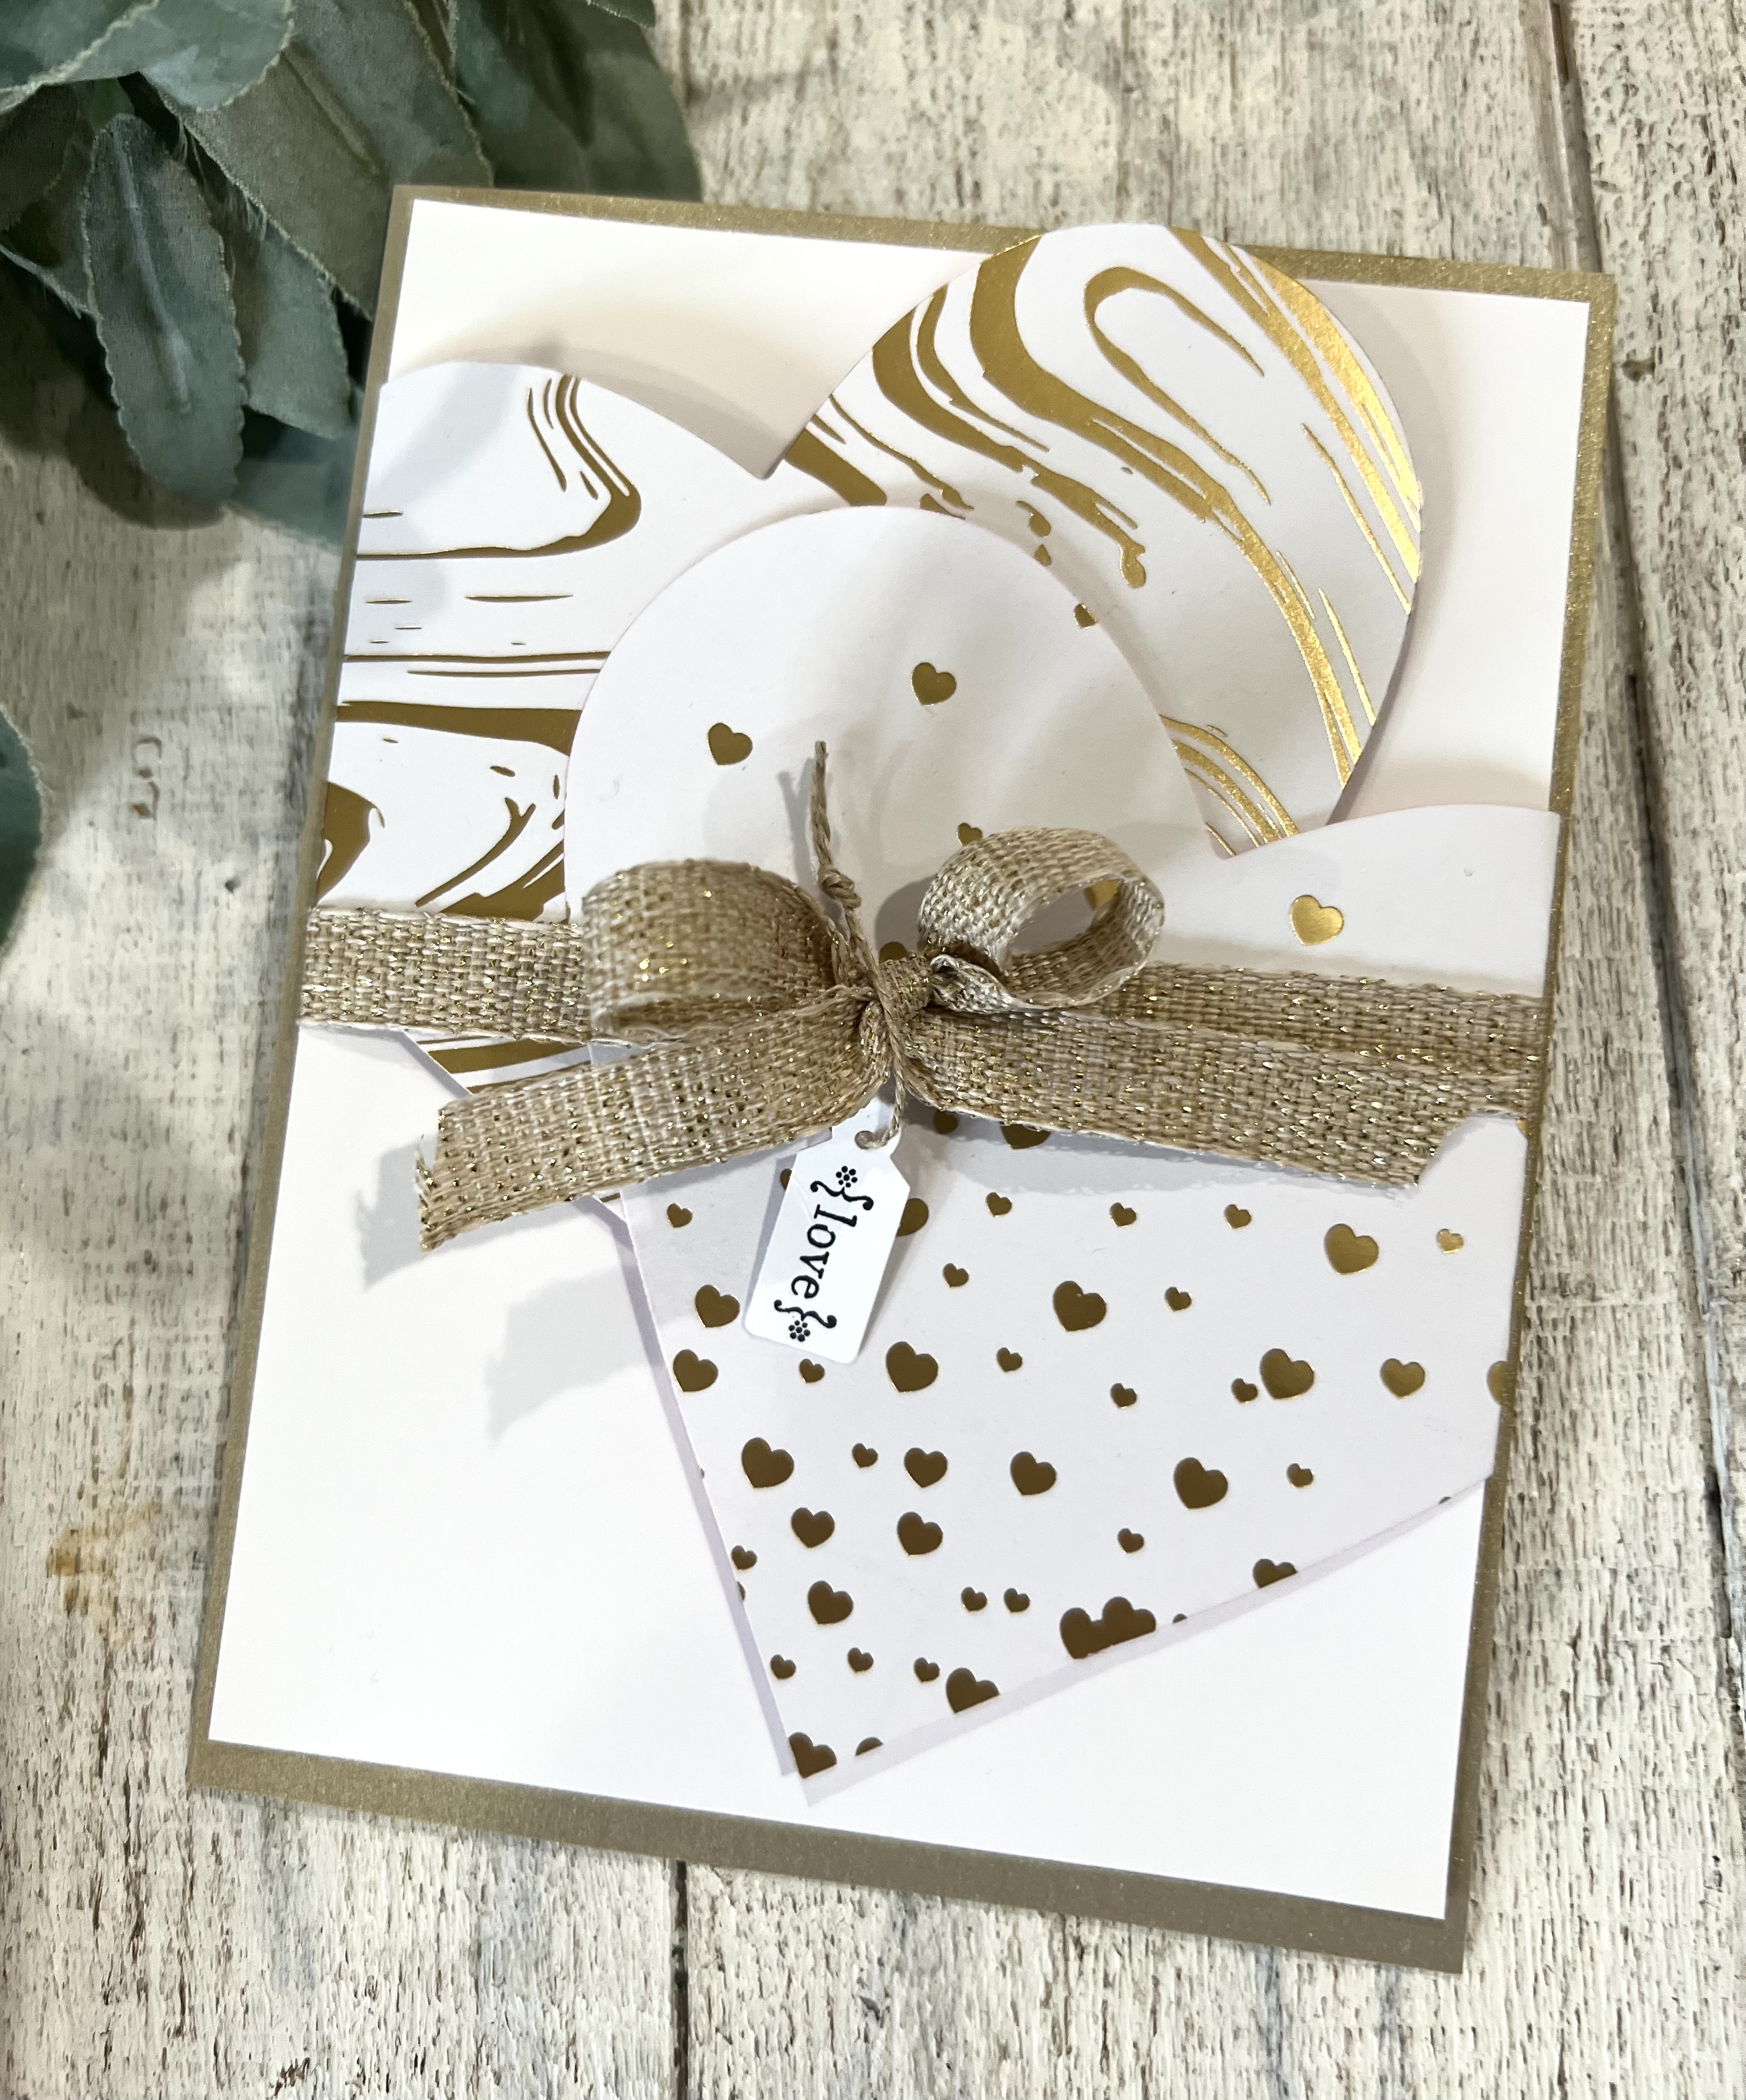

Here's the gold. 


This is how the card look once it is opened. 


Stamp your greeting inside...


Friday, January 10, 2025

Valentine kleenex


Happy fri-yay!
working on some cute kleenex packaging to gift to your girlfriends. 
These are so cute and easy to assemble. 


Start with a piece of paper sized at 3 3/4" x 6",
wrap it around the kleenex package and secure with some double backed tape. 


This is how they turned out.


Grab a heart punch and punch out some hearts to attach over the top
and a sentiment.


Go ahead, make some!
You can use any designer paper you might have on hand, and if you don't have a heart punch, hand cut some.  Send me your pics!


Wednesday, January 8, 2025

Storybook moments


Check out the new Storybook friends designer paper.
This suite comes complete with stamp sets, framelits, paper
and as you can see above easy cuts outs ready to make your creative
day go smoother!


The storybook moments paper is just adorable.
you can purchase it 


These are some of the simple cards that I came
up with using the cutie cut outs. 
I used the aqua painter to add some shading at the bottom
of each of the images to give it that watercolor effect. 


These two cute cards would make cute baby cards....


Which is your fav?


Monday, January 6, 2025

Reindeer days


Well here we are in the new year and I am showing you Christmas ideas!  One thing I love to do in January since it's such a slow month is to create some projects that I had seen over the holidays that I just never got to.  Don't you find that during the holiday season you'd like to try projects but just don't have the time?
Enter any scrapbook paper that you have, I have the reindeer days paper.  If you look close at it you will see how the deer are cut off at the ends of the paper.  Have you ever thought about using those pieces for christmas tags?
Well, I am here to share with you some ideas so no paper goes wasted. 


See how the deer are half off the paper?
Don't throw that away!  Take a look at what I 
did with those pieces of paper! 


See what I did?
I used those half deers by attaching them to the tag off the side of the tags.  It makes so many tags!
And they are adorable!


You can make up as many as you like, bag them and add a roll of christmas wrap and gift them. 


You can see all the different ways I used the deer.
The possibilities are endless! 


If you are interested in ordering this paper it is on sale right now 
HERE - Reindeer days $10.00

Saturday, January 4, 2025

Wine cork ornament


Hello!
It's the new year yet I am bringing you a fun little craft to put in your back pocket for next christmas.
I have this big bag of wine corks left over from my creative classes
at WIT cellars.  They used to give me all their corks to use for the classes.  So it was time to come up with a creative plan for them. 


And here it is!
So cute!  Rudolph!  This took three corks to make.


The first is a full cork for the body, then take one and cut it
in half then in half again to make four legs.
Cut the last one in half for the head and use just 1/8" of one that you cut in half for the ears. 


Here's a better side view so you can see how I assembled it once I glued it with the glue gun. 


and the front view showing placement of his red nose, and ribbon.
For the ears I cut a pipe cleaner shaped into a heart and glued on the back of the head. 
I also used an eyelet that I screwed into the body and added jute to hang it. 


Taking his place on the tree.....
don't forget to add some googlie eyes! 


Thursday, January 2, 2025

Happy New Year! 2025!


Happy New year! 2025!
And what a time we had ushering it in! 
My sweet daughter Shelby was here for the holidays
and my goddaughter Brittanie joined in the fun.


My dear friend Alison and her family hosted a fun bunco night to 
keep us all busy til the clock struck 12. 
We all got gussied up and had yummy food and played bunco.


Shelby and lil' Beckham 


Julia & Julie 


Bunco in action! 


Julie and Alison


Miss Jodi and Julie

What a great night ringing in the New Year!