Wednesday, February 27, 2019

Grown in Kindess


Here's another design from the new Grown in Kindness
Paper pumpkin kit for March.
Another beautifully photographed graphics to create
these gorgeous cards.


How cute are these cups filled with succulents?!!!
Stampin Up! makes these kits so fun and easy for you
to assemble.   

Monday, February 25, 2019

Grown with Kindess


Grown with Kindness.   
This month's Paper Pumpkin.  I mean look at these beautiful realistic looking cards.  Simply beautiful.
This is just one of three designs that I will be sharing with you.


The succulents looks so real on this paper. 
You will be surprised how easy it is to put together
the cards in this kit.  
There are three different designs all together.


If you want to check out info on how to order 
Paper Pumpkin check it out HERE
Get your creative on!

Saturday, February 23, 2019

Stamped Books


I've been seeing these super cute sets of diy stamped stacked books all over IG and had to give them a try.
I've showed you two different ways to make them.....


The ones above are just the books that I cut away the binding from.
Here's how to do them. 


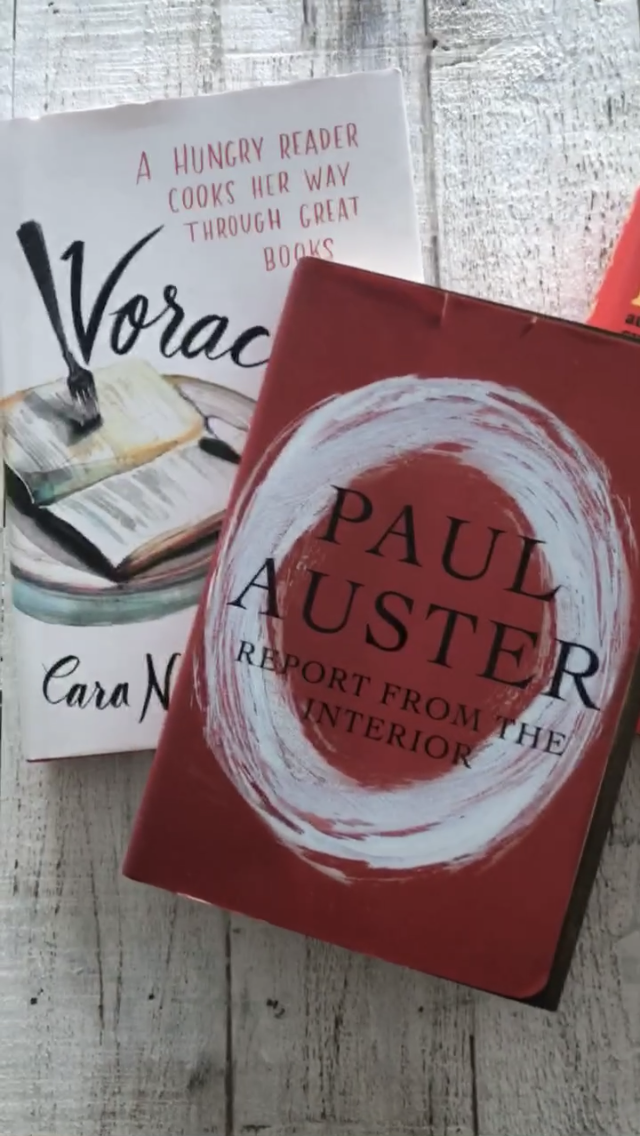
I went to the Dollar Tree to buy my hardback books.  If you are lucky enough to have some old hardbound books at home that you are ready to be done with then use them, I had none so for a mere $3 I got these ones.
In choosing your books think about the thickness of the spine as well as the length of the book.  I tried to choose three books that weren't quite the same length.


Once you decide on your books it's time to take the paper cover off and open the book to the spine.
You can see in the above picture how I'm doing this.
Take your exacto knife and cut down the spine 
then start to pull the cover of the book away from the spine.
Turn to the back page and score the back spine with your knife
then you will be able to completely pull the cover off as you see below.


I have seen many other people just stamp on the spine as you see it
above all rough and old looking, but I found that is caused the letters to bleed so measure and cut yourself a piece of cardstock to fit on the spine of the book but before attaching it be sure to stamp your words you have chosen for your book. 


Like this..... I stamped before gluing the words on, 
so much easier.
Once they are all stamped, stack them on top of 
each other and tie them with a ribbon or jute.


Now, as an alternative and much easier way to do this is
take some books from around your house and "wrap" them
like you would a christmas present.  
Once wrapped stamp the edges of the book with your quote.
Take some jute and tie it around the books.


Rolls of kraft paper can be found at....
where else,   the Dollar Tree!


Once all wrapped add your jute or ribbon
I added some greenery on top
The nice thing about the alternative technique
is when you are done or want to change the quote
you just unwrap the books and start over! 
How easy is that! plus you don't have to cut up
your books.
I hope you give this a try, it is so cute and looks great among your decor! 


Thursday, February 21, 2019

Birthday Cheer


Filling up my birthday card box with quite a few new
birthday cards. 
I can't get enough of this new Birthday Cheer set.
Yes,  it's back again in some subtle green and pink tones.


I used the Aqua painter and the Petal Pink ink pad to color in
the cupcake frosting. 
Using the black stampin write marker I put dots of black
throughout the background of the paper.


I also added the black dots to the bottom of the tag
as well as along the green strip under the tag.  
Add just a little touch to the background and card


Tuesday, February 19, 2019

Birthday Cheer


Sending off more Birthday Cheer!
Loving this new set....
So versatile in how many birthday
 designs you can come up with.


I used some of our retired designer paper, cut it in half
at 2" each piece and stamped in between before
adding the present and cupcake.


Sunday, February 17, 2019

Birthday Cheer


How about a little birthday cheer for a sunday morning?
My card box is getting empty.  I need to make a big helping
of birthday cards to have on hand. 


I used the stamp set called Birthday Cheer
The inks are the crumb cake and powder pink


Cute new stamp set- Birthday Cheer
#148604 for $20.00
Birthday Cheer Cling Stamp Set

Friday, February 15, 2019

DIY leaf prints


We've been snowed in for 10 days!  yep!
It's been crazy here! and I think we have well over 2 feet of snow.
Seattle is not built for this friends.  We have hills upon hills and
are not equipped for our communities to deal with the removal
of the beautiful white stuff.


So my daughter Shae found these simplistic leaves online and we went to town drawing them out on large pieces of 11 x 16" paper then framed them.  
They turned out really cute!


We put them in her room above her bed.
Creativity becomes our therapy even in the midst of a snow event!

Wednesday, February 13, 2019

Bee Mine


Here's a sweet lil gift or valentine to give someone
We made these at the last creative class


They are cute little wrapped mulled french soaps 
in there.....


I started with some mini mulled soaps that a friend
had given me.  I packaged two together in a 2 x 8" cello bag, cutting it down to fit the two together.
Then wrapped them with the kraft wrapping paper.
Before you wrap them stamp them first!


Here's what they look like before wrapped.
You can use any type of stamps, I just had a bee
stamp and used the most recent be mine stamp
set from the Paper Pumpkin to create the Bee mine.


These are the cute little mini mulled soaps
The light ones are a honey almond and the green are the
rosemary mint.  You can use any size soaps, they don't have to be exactly like these.  Just be sure your cello bag is big enough to be wrapped in them.  
These are so cute and super easy to make you guys!!!

Monday, February 11, 2019

Valentine Teacher Gifts


Check out the new Facebook live above we have for you for some great Teacher gift ideas to make
for Valentine's day.   Don't forget your teachers this week and spread some love shower them with these easy and inexpensive way to make their day!
                                               Valentine's day is this coming thursday! 
                                                      start spreading some LOVE!


Saturday, February 9, 2019

Love signs


I held creative class yesterday and we made these LOVE
signs for Valentine's day.
I found them at the Dollar Tree and they are about 6 x 12" long 
 and made with MDF board.  Super nice quality


I set out designer scrapbook paper for everyone to cover them
with.  I tried to use modge podge as the adhesive for this project
but because of the pressed MDF board it just absorbed the glue.
So I would suggest using tombow adhesive.  worked well.


Each one turned out so cute, hard to pick a fav.
Everyones taste of course different.
Most gals chose to do a unconventional design so they could
leave it out longer than Valentine's day.


To do this program just lay the sign on your paper
and trace the entire word then cut out.
Some chose to do each letter differently so in that case you
have to trace each letter separately.


The only embellishments we put on the signs are the
ribbons or the wired greenery, but you certainly 
could add anything else you might like.


These two signs above and below both were
done with separate scrapbook designs
I hope you are able to get out to make one of these 
signs.  
We received another 8" of snow last night and we all knew it was
coming.  During the class all of us were watching the clock and skies as many drove through what snow/ice we still had and
didn't want to get stuck in the snow.   It was nice to all get together
and laugh and create before we have all gotten house bound this morning. 


Thursday, February 7, 2019

Emoji suckers


These little emoji suckers will sure to please friends, co-workers the kids, classroom exchanges, etc!
I found mini Charms pops at the Dollar Tree
(see below)


I used a circle punch (2")
then punched out some red hearts and got out a 
sharpie to draw on the faces.  Use your phone
to see the different emoji faces you can create.


I just glued the hearts on and hot glued the circles to the suckers
added a little happy valentines tag and some baker's twine to
finish it off.  These are super easy and soooo caute!


This is what the back looks like....


I found the mini charms pops at the Dollar Tree,
great for class ideas, plus you get 35 pops in one bag
for $1.00!!!
Image result for mini  valentines charms pops


Tuesday, February 5, 2019

Be Mine


Well, it look less than a valentine card and more like a christmas card but here goes.
I used a heart framelit that I traced with a pencil on the cardstock before I stamped all the leaves around the heart to create the wreath.


Using a stampin write marker in black I added the dots all
over the card. I stamped the be mine underneath the banner at
first then decided to add the banner on top.


We had a snow day today!
just under 10"!!! enjoying every moment today taking in all the beauty~


You can see how deep it is by looking at the top of the table!


Went out walking for hours today to take in all the beauty!