Sunday, September 29, 2019

Pumpkin Socks


Are you ready to get out some fuzzy socks and make these little cuties?


What you will need to make these fall pumpkins
fuzzy socks
Stuffing/batting
needle and thread
twine 


Let's get this diy off the ground by first cutting your socks in half.


Now, take your stuffing/batting and get a good handful to stuff your pumpkin.   I filled mine to the top.


Next thread your needle and push through the sock.


Now take your needle and sew back and forth until you close the
sock completely.


Like this..... keep going til it's closed.


Now I want you think of wrapping a gift,  this is the part where you add the ribbon.  So treat this step as you would adding ribbon to a gift.  Start by wrapping the twine around once and then again so you end up with six sections.   I hope this make sense!


It should look like this, with sections.


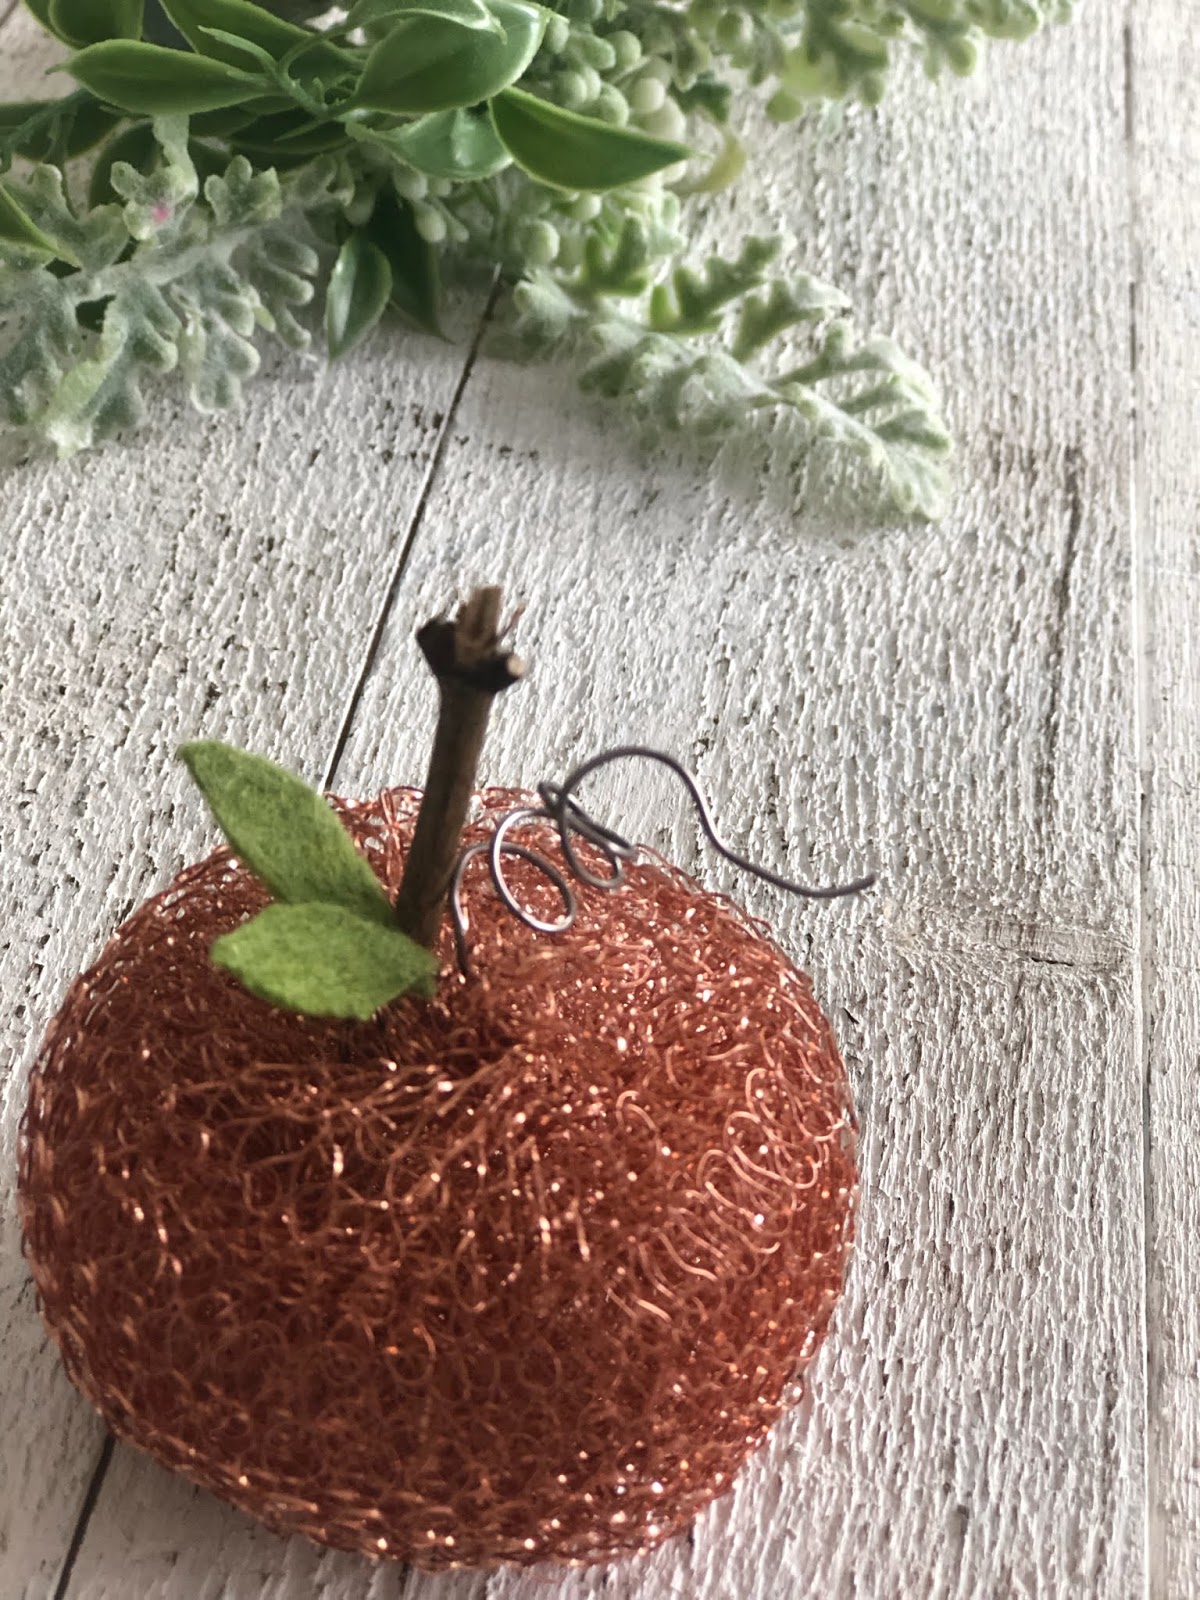
The last step is adding the stem, to do this plug 
in your glue gun and using a twig you get from outside
glue it right down into the center of the pumpkin.
Like you see below
When done be sure and cut away the extra twine. 


And here they are!!!!
So stinkin cute!


Friday, September 27, 2019

Altered Books


How about you try your hand at these altered books?
There are two ways you can make these......


For these kraft colored ones all you do is choose three hardback books in different sizes.  Take a roll of shipping paper and wrap each book like a present using transparent tape to wrap it.
Choose the words you would like on the spine of your books and using a black stamp pad and a alphabet set stamp your words.
I used extra thick jute to wrap around the books. 
It's as easy as that!

Now to see how to make the cream colored ones
follow this method....


Purchase or use what you have on hand for your hardback books.
I found mine at the Dollar Tree, found that at the Goodwill and Value Village stores to be $2.99 on up for books! 
Open each book separately on the spine and using either sharp scissors or exacto knife cut down the spine.  What you are trying to do is cut the cover away from the book and spine taking it right off of the book leaving just the soft part of the book.
Once you have done all three, take some cream colored paper and measuring each side of each spine cut the cream paper to fit.
Before you glue the piece to the book be sure you stamp your words along the piece of paper you cut, now glue to book spine.


Now add a ribbon or jute the wrap the books up.
There you have it!
Take your pick in which one to try to make, I am sure they will look great!

Wednesday, September 25, 2019

Halloween wood bead garland


Do you like wine?  like to craft?
Well we have the night for you!
Come join us at WIT cellars in Woodinville for a fun filled
night of wine tasting and creating.
To sign up email me at juliepitta@rocketmail.com to sign up


New halloween wood bead door knob garland in the shop
Choose from natural or halloween colored theme.


A few ideas for you to decorate with the garland,
add them to your front door, or any knob around the house
or in any bedroom.  Anything you can find to hang it on.


a few more ideas how I have used them around my home.
The possibilities are endless!
Have pumpkins around the house already? real or fake,
wrap them around the stem....


If you would like to order one, head on over
HERE to place your order 

Monday, September 23, 2019

Diy Pumpkin


Look what you can do with a scouring pad!
How cute is this little pumpkin.


You can find these just about anyhwere, I happen
to get a pack at the Dollar Tree but any grocery store carries them.


When you open them they lay pretty flat


Here are the items you need to create this pumpkin
scouring pad, scissors, a twig from the yard, some thin wire, a piece of felt for the leaf.


Once you take the pad out of the pack roll it between your palms to puff it up.  Once you have it in the shape of a pumpkin stick the twig right down the center of the pad.  I didn't feel I needed to glue the twig in place it stays pretty good.


You can see in this picture in the background the flat pumpkin and in the foreground is the puffed up one.  


To make the stem, get your wire and cut a piece about 
7" long and wrap around a pencil.  Pull off the pencil and slowly twist the wire right down the center of the pumpkin next to the twig.
Now cut out two small leaves and glue them on.


That is all there is to it!
These would be so cute on a table for a luncheon or Thanksgiving table or in a bowl with a bunch more of them made. 


lil' cutie 
now go get creative!


This will make you laugh!
In my creative class one of my friends always adds googlie
eyes to her projects whenever she can incorporate them, well
look what she did here!   too funny!

Saturday, September 21, 2019

Paperless Post


                                       House on a Hill - Paperless Post - Halloween invitations

If you have followed me for a while, you know by now how much I love and have fun with Halloween.   I have also shared with you before about Paperless Post.   Today I wanted to share some of the adorable Halloween invites they have to complete your party planning. 

                                Little Treats - Rifle Paper Co. - Halloween invitations

I chose a few and couldn't pick just one so I may have overloaded this post with halloween cuteness but take a look at what there is to choose from and wait,  there's even more! 
        Just head on over to their site and check the choices out.

                                       Are You or Aren't You? - Paperless Post - Halloween invitations


                                      Goblins in a Pumpkin Patch - Paperless Post - Halloween invitations


                                      Mummy Needs A Drink - Paperless Post - Halloween invitations


                               Costume Crazy - Jonathan Adler - Halloween invitations

So stop "creeping" around this post and head on over to see what your missing by using Paperless Post.  Remember, the great thing about their product is it's paperless!  and it can all be sent via email.   So go check out all the custom invites they have for any type of party you may have coming up, even Halloween!

                          Visit Paperless Post HERE


                                        Image result for paperless post images
               

Thursday, September 19, 2019

Bone Appétit Paper Pumpkin


       Bone Appetit Paper Pumpkin subscription box - order bay September 10th to get yours!

                               Here comes Halloween!
No Bones about it! Halloween has a way of "creeping" up on us,
so to help you stay ahead of the game Paper Pumpkin has created
a monstrously delightful kit for September giving you plenty of time to create your treats by October 31st. 


See how to make this scary kit come to life by watching this short
video on how easy it is to put these treats together. 


Here are mine that I put together, as you know,  I always change things up a bit.   I filled the little treat holders with the cute dove dark chocolate pumpkins.


Get creative as you want.  Use what you have.....


These dancing skeletons are so cute!


The little hands are attached to mini clothes pins
and clipped onto the treat box.


Have you tried Paper Pumpkin?
It's a monthly kit that arrives snail mail in the cutest box
filled with everything you need to make what's in the contents
of the box except scissors.   I try and show you monthly what the box contains to get you excited about trying something new.
This subscription can be signed up for once or a continuation depending on what you want to do.
Give it a try!
Here is the link Click HERE


Tuesday, September 17, 2019

WIT Cellars Creative Night


So excited to be working along side of WIT Cellars for an 
evening of wine and creativity.
Come join us if you are local!
You can sign up by emailing me at the address above.
Let the creativity begin!

Sunday, September 15, 2019

Wedding decor


The beautiful venue is called Woodland Meadows 
located in Snohomish.
It is a very beautiful setting and needed very little decor to 
create the perfect atmosphere for wedding vows.


The bride knew exactly what she wanted so it was easy to
transform this space into her dream.


This is a mirror,  I know! it looks like a picture!
The bride had the vinyl put on the frame and we added the flowers.
The reflection is what is in front of the mirror.


After the ceremony we added the tables and put greens on the 
table with candles to create romantic dinner space 


There were 250 people at the wedding.


The bride found this macrame banner for her wedding party table,
so exquisite!


This was the sweetest touch I have ever seen at a wedding.
The bride found a shop on Etsy that will turn your favorite song
into an album and also create a sleeve and album cover with your
personalized photos.   She used this to have her quests sign the cover of the album instead of a wedding album to sign.
How creative!!!


Look how she had us add the retro record player to the vignette.


Another amazing touch of her vision were these macrame hanging
candles.  I hung them staggered from this large beautiful tree.


They were stunning once we lit them up at dusk.


The entrance to the buffet line.....


Her flourless cake made by our local gluten free wedding cake
company called Wildflour. 


Beautiful and delicious cupcakes made by a dear family friend.
It was an amazing day and truly and honor to asked to help the bride and grooms vision come true.
Gosh,  I just LOVE weddings and being able to be a part of them!
Congrats Hannah and Tate!