Friday, January 31, 2020

Beeeee Mine


Bee Mine
This is our new gorgeous designer scrapbook paper called
Golden Honey
The cardstock is double sided and every sheet is beautifully made.


I cut two different designs from the paper pack and once I adhered them I added a layer of gold heart vellum that I had on hand.


I stamped the heart onto white card stock and cut it out
to back it onto the black paper.  
I stamped the bees and added them around the hearts.


Take a look at the beautiful scrapbook paper called
Golden Honey....
It doesn't disappoint..
AND.......
it's FREE right now through our Stampin Up!
Sale a bration event!
Just purchase any items totaling $50.00 and 
you can pick any item in the catalog for FREE
Click HERE to view the event!

Wednesday, January 29, 2020

2340 West Newton


There are some fun new things taking place over
at my shop 2340 West Newton on Etsy
Come check out the new towel designs
and custom wood bead garland as well as some
really cute mini starbucks cup.


Come check out the fun!


Sunday, January 26, 2020

Gnome Wine Tag


Do you like to gift wine or bubbles for Valentines day?
Well, you have seen my love for gnomes lately so I thought
it would be fun to incorporate a little gnome on a wine tag.


He's so cute sitting there with that little smirk.


I always try and show you super easy diy projects,
this one is pretty easy to do....


I chose some valentine scrapbook paper and hand drew a little hat
on the paper and fussy cut them out.
I also hand drew a beard onto some white cardstock and cut those
out as well.   His little shoes were punched out with black cardstock using a medium sized oval punch
The cute little nose is a 1" blush cardstock 
To make the tag cut your cardstock 2 1/2" x 8', 
using a 1 3/4" circle punch make the hole in the top of the 
tag. The round circle tag with the saying on it is also cut out using the 1 3/4" circle punch.  
 Now add your gnome and your ready to add this cute
little tag to your glass of wine/bubbly 
Cheers!!!!

Friday, January 24, 2020

Creative Night at WIT Cellars


Reposting as our original creative night
had to be rescheduled due to snow
so if you missed out and want to come join us for
the new date, here it is
WIT Cellars creative night
Thursday, February 6th 2020
6:30 - 8:30pm
$40 per person- includes your glass of wine 
and the projects.
One of the projects are the two Valentine Gnomes
above that stand just under 8" plus some other fun
projects too!
Email me your registration!

Wanted to share this gorgeous photo of our beautiful
Snoqualimie Falls during our snow event.
(pc: unknown)


Wednesday, January 22, 2020

Mini Starbuck's cups


These little cuties are back in the shop to order.
They make great favors for showers, birthday parties, luncheons,
women's gatherings, co workers. etc.
They can be filled with chocolates or any type of candies.
Like any disposable cup they can be used for hot or cold
beverages but cannot be washed, just wiped out.
You can visit my Etsy shop to order them

Sunday, January 19, 2020

Valentine Wood Bead garland


Here's another Valentine wood bead garland with a little peek a boo copper distressed heart on the tassel. 
There are two to choose from, the red and creme or the all natural wood beads.  Both are 30" long and are a wonderful decor piece to add to your home interior.


They make great gifts for valentine's day or birthdays or wedding showers, etc.  
Head on over to my Etsy store to order
2340 West Newton 


Friday, January 17, 2020

Valentine Cups


Valentine's day is just around the corner!
I usually make these cups with the starbuck's logos
but wanted to make some that were a bit more 
cutesy.  
Using up some of my past paper pumpkin leftovers 
I glued these cute little iguana's right onto the cups and
filled them with some salted caramels to gift at
my next creative class.


I get a lot of questions as to where to find these
mini coffee cups.... where else....Amazon
they stand just 4" high and are so cute!
So many possibilities.
Happy weekend friends!

Wednesday, January 15, 2020

Peace stitched cards


I showed you how to stitch on cards on my last post and
thought I would show another one.
This time a peace sign. 


The difference on this one is you will stitch
x's over and over till you reach the end. 


Once I finished stitching I decided to add the stamped
"peace" onto the card.  You could leave your image
blank or add a word to the card.


Now,  let's get this started
You will need;
cardstock
embroidery thread
needle
a piercing tool
a mat
pencil
circle framelits


Start with your cardstock, pencil and circle framelits
take the two smallest circles and trace them onto
the cardstock
For the center of the peace sign use your pencil
to draw the peace sign
(see photo below)


Hand draw the middle section of the peace 
sign as you see below.


Once you have it all traced,
begin piercing the holes all the way around 
and down the middle 


As you see here


Thread your needle and begin to make your x's til
you complete the circle and center. 
Tie it off at the back to compete and secure the thread.


Here is what it will look like as you work on it.
And below all complete with the stamped
"peace" image.


Monday, January 13, 2020

Stitched heart cards


Who's ready to try their hands at a new idea?
Come on! It's the new year and I personally challenged
you to try at least 3 new things this year!
This can be ONE of them!
How about trying card stitching!
Kind of fun concept, especially for those who love to create
cards but want to add a little stitching to them.


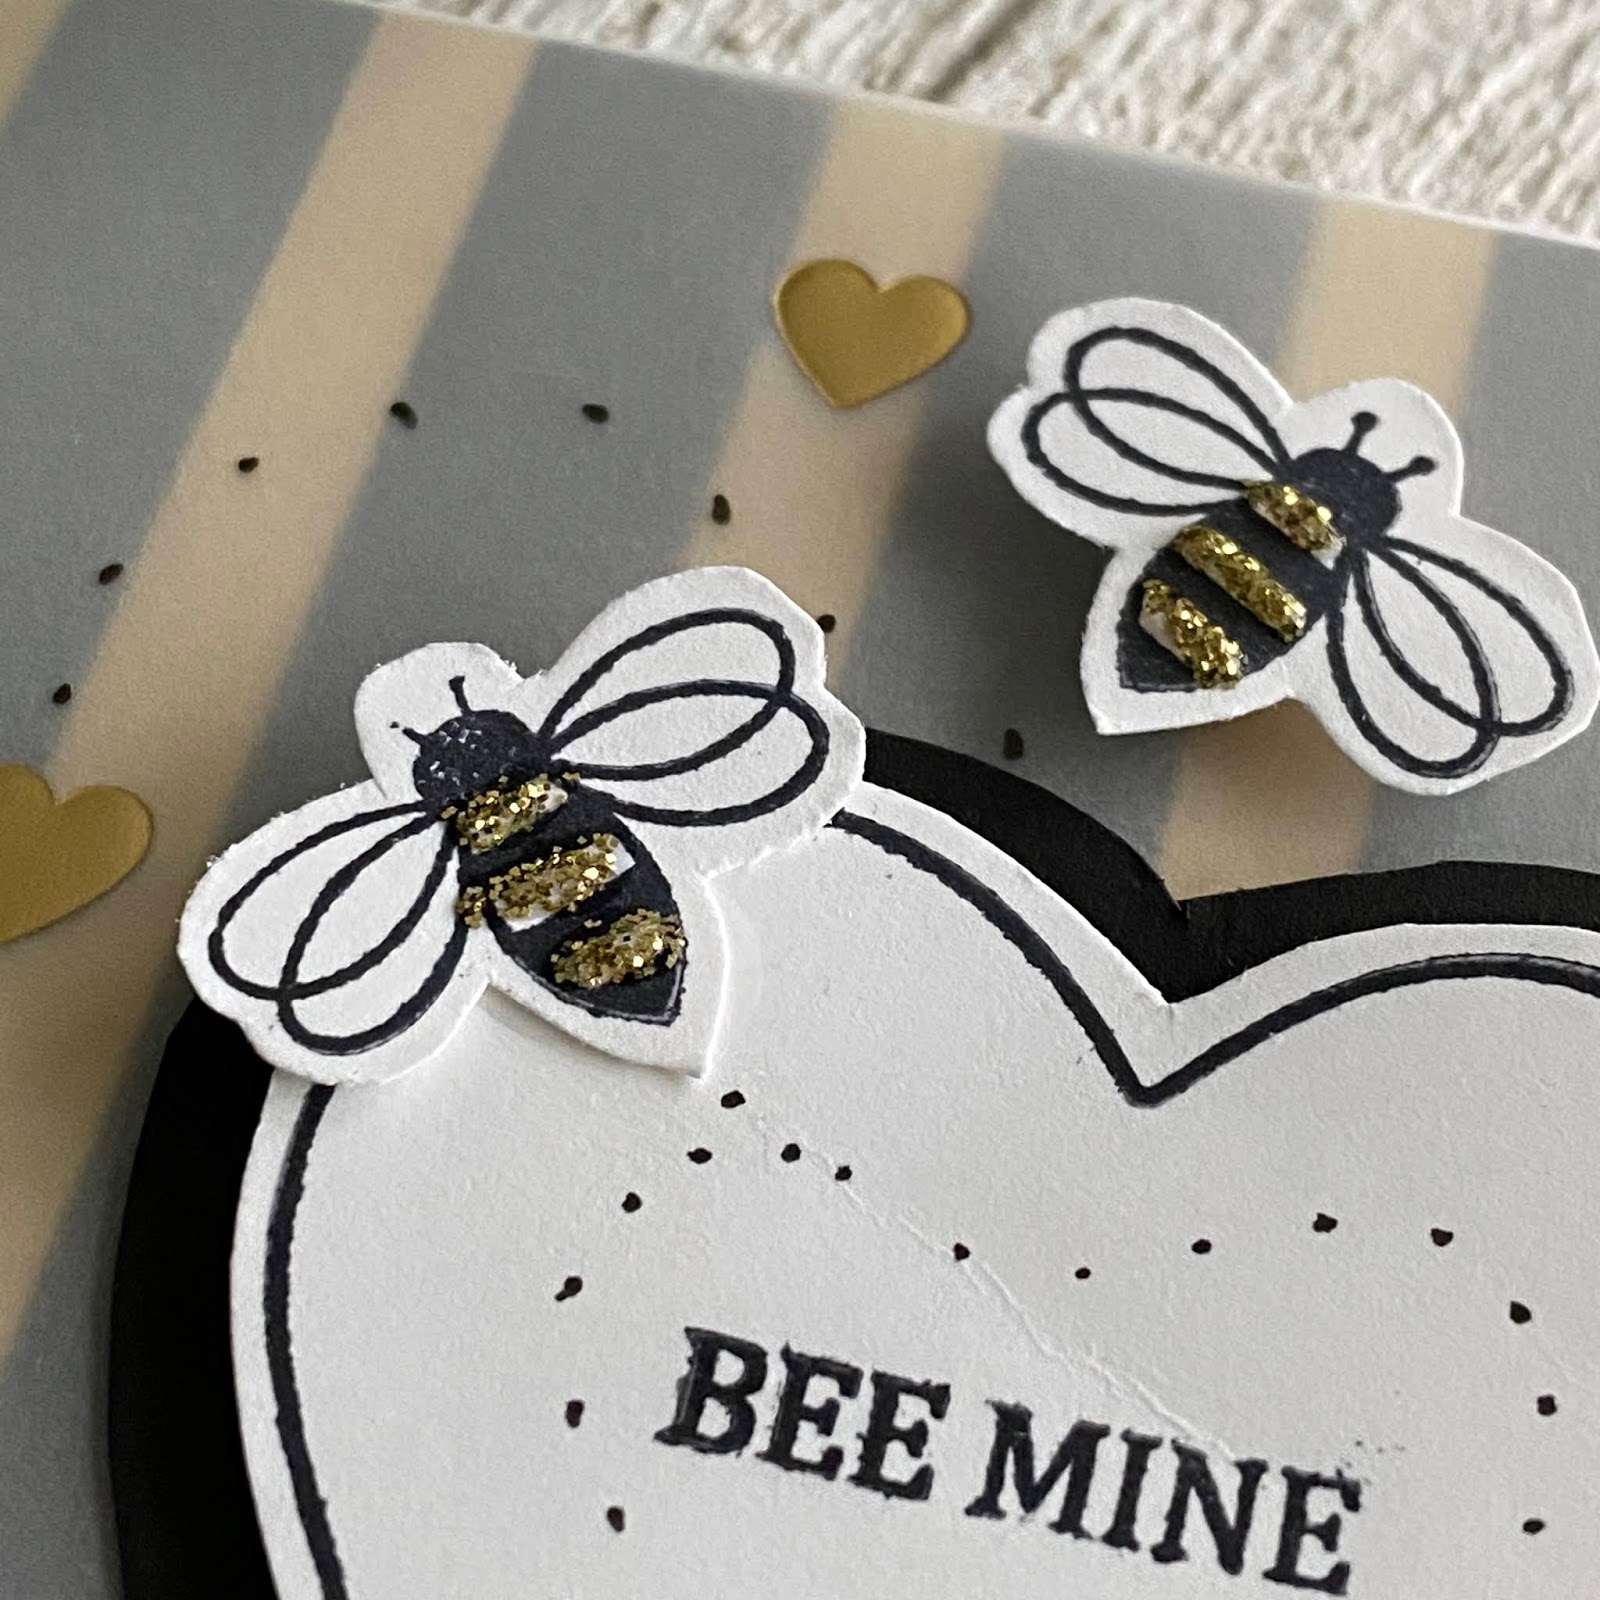
With Valentine's day approaching I thought it would be
fitting to try a heart.
I used both white and red paper/thread to give you a 
look at both.


What you need to get this project started:
an piercing tool
 (if you don't have one a push pin works just fine)
a soft rubber mat
(if you don't have this then a dry sponge works too)
cardstock paper
heart shape
(you can cut one out or use a die cut framelit as I have)
pencil
threads and needle


Starting with your cardstock and using your heart template
take your pencil and trace the heart onto the center
of the card.


Simple as this below.....


Then using your piercing tool or push pin, 
make holes all the way around the heart giving
at least a 1/8" between each hole.


Looks like this when done.
Erase your pencil marks gently


Now using your thread and needle make a knot on the end
of your thread and starting from the back just as you sew 
any type of material go up from underneath and start
to go from one hole to another.  It should all work
out when you have completed all the hole connections.
If you find you are short one then take the needle down into
and existing hole that you already used and turn over
the card.   To finish it off spread the remaining thread
in half and tie a knot.  If it is really long still, cut it 
down to a half inch before tying it off.
There you have it!
You tried something new this year! 
I am so proud of you!


Saturday, January 11, 2020

Creative Night at WIT Cellars


We are getting ready for some Valentine homedecor 
creating and a little bit a wine to boot!
Come and join us at WIT Cellars winery 
thursday, January 16th 6:30- 8:30pm

This is just two of the projects you will be making,
a girl and boy Valentine gnome. 
Both stand just under 8" tall 
The cost is $40 each and includes your projects
and a glass of WIT Cellars wine
(of course there is always more!)

Come get creative with us or stay g'nome!!!!  baaahaaa!

You can email me your registration at
juliepitta@rocketmail.com

Thursday, January 9, 2020

Valentine Suckers


Make up these cute little Valentine suckers holders
I picked up a bag of the dum dum suckers at the
Dollar Tree.  You get 35 suckers for a $1


I used some pink chalk to color in the cookie so it looks like
frosting and added some thick chunky glitter. 


These little suckers would be great to give to 
your co-workers or friends or teacher treats or women's groups.
Just a few ideas for you.