Wednesday, December 30, 2015

More Bear Hugs


And the bear shows up again!   This little guy is just too adorable!
This stamp set is sure to please with all the different pieces to dress the Papa bear and baby bear in.  I used the designer paper called Merry Moments.  The Bear is stamped in Early Espresso on Kraft cardstock.


I used a toothpick for his fishing pole and added a touch of dazzling details to the fish to make him shine


Check out this weeks deals!

WEEKLY DEALS

We hope you enjoy this week's Weekly Deals!
134225G


Amazing Birthday Wood-Mount Stamp Set Item # 134225
Regular Price: $29.00 US/$36.00 CAN
Discounted Price: $21.75 US/$27.00 CAN


Fun Frames Textured Impressions Embossing Folders Item # 133727
Regular Price: $8.50 US/$10.50 CAN
Discounted Price: $6.38 US/$7.88 CAN


Bermuda Bay Baker's Twine Item # 134575
Regular Price: $3.00 US/$3.75 CAN
Discounted Price: $2.25 US/$2.81 CAN


Ornate Tag Topper Punch Item # 137416
Regular Price: $23.00 US/$28.00 CAN
Discounted Price: $17.25 US/$21.00 CAN

Monday, December 28, 2015

Bear Hugs


Sharing these cute little 3 x 3 Ghirardelli candy holders today.  Made with our new stamp set Bear Hugs.  Can't get enough of this cute little bear!  Directions are below


This one is holding a heart balloon


Bouquet of flowers anyone?


and a woodgrain love you heart


Here's what it looks like inside- holds two candies

Here are the how to's......

Here's what you need for the project:

For outer cover cut 1- 3 x 6 3/4" piece of cardstock- score at 3" and 3 3/4"
1- piece of 6 x 6 piece of designer paper scored at 1/2"
For the cover design cut the white piece at 2 3/4" and the designer paper at 2 1/2"
The linen thread is cut at 10" long then trimmed as needed
The ribbon on all are 20" long and trimmed as well


Starting with the outer cover, choose your cardstock color, mine is Crumb Cake.   You will need 1 piece cut at 3 x 6 3/4", then score at 3 and at 3 3/4" - set aside


Next choose your designer paper.  I choose the new Love Blossoms (available January 5th) size is 6 x 6 for this piece- score 1/2" down and folder over as you see in picture above.  Add adhesive and fold flat.  This is the piece that holds the candy.


Now taking a 1 1/4" circle punch, punch each side up half the size of the circle as you see here.


Now go ahead and score this piece at 2 3/4" and then at 3 1/4"  now fold in the center.


next take a 1/8" hole punch and holding both the pieces you see in the photo together, punch a hole on each end so that you can thread your twining through both pieces.  They fit together and are held with just the twine.  No adhesive for these pieces.
Once you have both pieces together it will look like this below.  This is the inside....


Slip the candy into each pocket and now it's on to decorating the outside.   I used the stamp set Bear Hugs also available January 5th.

Need any of the items?  Place your orders on the home page of my blog.  Also check out our HUGE clearance going on now!
Click HERE to view all the amazing products on sale


Saturday, December 26, 2015

Bear Hugs


New Occasions catalog goes live in just a few weeks!  january 5th to be exact!   Teasing you today with this cute new set called Bear Hugs.   
I hope you all had a wonderful Christmas and are enjoying the start to the weekend with some relaxing and taking in all that the rest of the holiday has to offer. 


Sharing one of my gifts from the Hubs.....
every stampers dream right?  a lamp that you can put your stamps in!   How fun a clever is this!  Love it!   Also, the base is a large lamp so it holds a ton of whatever you decide to put in it.  He purchased it at Target.


Thursday, December 24, 2015

Merry Christmas!


Merry Christmas!  
Here's hoping you are all creating beautiful moments and memories with your loved ones.  Sharing laughter, great food and celebrating the birth of our Savior! 


Tuesday, December 22, 2015

Handwritten fun


Slow to come, but worth the wait!
Trying my hand at calligraphy again today. 
 Mastering my fun new passion right now. 

Doing a little shopping today?  don't forget to pick up on these weekly deal's

WEEKLY DEALS

We hope you enjoy this week's Weekly Deals!
138439G


Color Me Irresistible Specialty Designer Series Paper Item # 138439
Regular Price: $13.00 US/$16.00 CAN
Discounted Price: $9.75 US/$12.00 CAN


Silver Glimmer Paper Item # 135314
Regular Price: $5.00 US/$6.25 CAN
Discounted Price: $3.75 US/$4.69 CAN


Daffodil Delight 1/4" Cotton Ribbon Item # 134559
Regular Price: $6.00 US/$7.50 CAN
Discounted Price: $4.50 US/$5.63 CAN


Be The Star Wood-Mount Stamp Set Item # 135731
Regular Price: $29.00 US/$36.00 CAN
Discounted Price: $21.75 US/$27.00 CAN


Sunday, December 20, 2015

Christmas Popcorn


Putting together some Christmas treats for friends.  I filled these bowls with Christmas popcorn.  Tied them up with cellophane and added the tags.  


Here is what it looks like.
It's very easy to make.  found the recipe on Pinterest.

  •                    1/2 cup popping popcorn kernels, or 2 bags tender white popcorn
  •                    1 (12 oz) bag Vanilla Candy Melts ( Wilton Candy Melts)
  •                    1 1/3 cups broken pretzel pieces
  •                    1 (12 oz) bag green and red Milk Chocolate M & M's 
  •                    Red, green and white Sprinkles


Been busy addressing love filled cards ready to go out 


Friday, December 18, 2015

Santa's on his way


And since he is in one week!  here we go!
Again using the Home for Christmas designer paper.  Going to miss this paper once the holiday catalog is gone.  


Products Used:
Cardstock- Crumb Cake, Home for Christmas designer paper, very vanilla.
Accessories- Real red ribbon, faceted buttons, pearls, paper doillies 


Walking through a Winter Wonderland tunnel

Wednesday, December 16, 2015

Mini Starbucks cups


How stinkin cute are these little starbucks cups?!!!
I ordered these 4oz cups and lids and then printed out the Starbucks logo and glued to the front of the cups.  The straws were purchased at Michael's and cut into three's.   I filled the cups with one ghiaridelli square, some kisses and M & M's
I made them for my team! sweet and festive.

Link for cups  -HERE

Link for lids clickHERE


Don't forget to check out this week's deals and our BIG YEAR END sale!   Check -  HERE


WEEKLY DEALS

We hope you enjoy this week's Weekly Deals!
138308G


Cherry On Top Cotton Paper Assortment Item # 138308
Regular Price: $7.00 US/$8.75 CAN
Discounted Price: $5.25 US/$6.56 CAN


Handpicked Framelits Dies Item # 137361
Regular Price: $25.00 US/$31.00 CAN
Discounted Price: $18.75 US/$23.25 CAN


Pretty Petals Designer Series Paper Stack Item # 138442
Regular Price: $8.00 US/$10.00 CAN
Discounted Price: $6.00 US/$7.50 CAN


Tag A Bag Accessory Pack Item # 138381
Regular Price: $8.00 US/$10.00 CAN
Discounted Price: $6.00 US/$7.50 CAN


Sunday, December 13, 2015

Dry Snow Globes


Yesterday was our annual Christmas luncheon that I have hosted for the past 15+ years.  As our kids have gotten older and busier it makes it that much harder to get us all together throughout the year.  Everyone lives an hour and 20 mins away, so we cherish and relish this time together each year to catch up.  Sometimes throughout the year a few of us are able to meet up, but not all, so today was just plain fun!  We started off with lunch then onto creativity at it's finest!   I love that all the girls still love to create.   They are ranging in ages of 10 to 23 now.
  The teenagers being the hardest to please of course!

They made these "dry" snow globes out of wide mouth mason jars.
A friend of mine gave me 24 or more that she was getting rid of this summer so I had to put them to use.  I was able to find the very vintage looking bottle brush trees already decorated at of all places, Rite Aid.   Only a dollar. 
 The snow is Stampin Up! Mica flakes.  If you don't have these any type of craft snow will work.  Start by gluing the lid together.  Then on the inside of the lid, glue the tree.
Now turning your ball jar upside down fill it  1/4" full of snow.   Put lid on and screw it tight.
 Now add ribbon or twinning and a tag.

The tag here is from the the stamp set Cup of Cheer # 139765
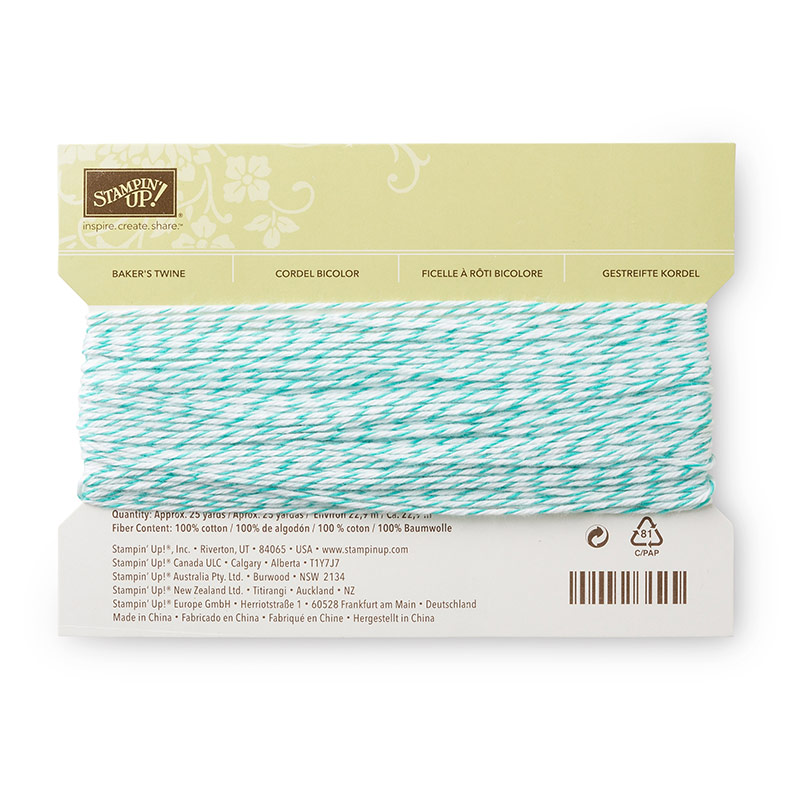
The twinning is two toned trim in old Olive on our clearance rack.


They also made these oh so adorable miniature ornaments.  Made also with mini bottle brush trees that we glued into small bottles added an eyelet and filled with just a hint of snow.  


My daughter Shae was trying to bend her's to look like a Dr Suess Grinch tree.  (silly teenager!)


here's what you need for the snow globes.  trees, snow, jars and some ribbon


Sharing a few party pics.....

This year I made each girl a stocking and had them hanging when they arrived.  


we are only missing one this year.....Brittanie


Me and my girl's!   Shelby made it home friday night! 
happy Momma!


I put a selfie stick in each of the girl's stockings. 
 Needless to say, a bit blurry but what a HIT!  


Onto the creativity! 
 The Mom's got to make forced Paper White arrangements.  


so quick and easy to make, we added some ribbon too.


My favorite moment of the luncheon was when the youngest Katie performed "We Wish you a Merry Christmas"  on her flute- Priceless
Blessings to you all!