
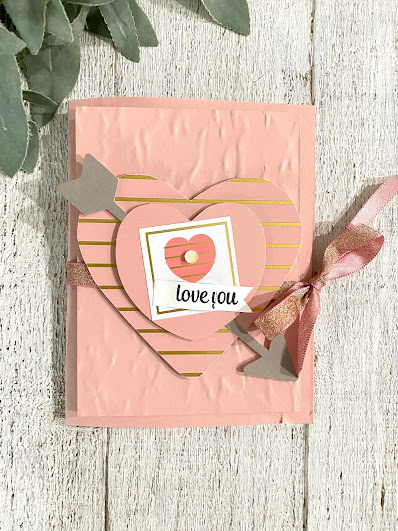
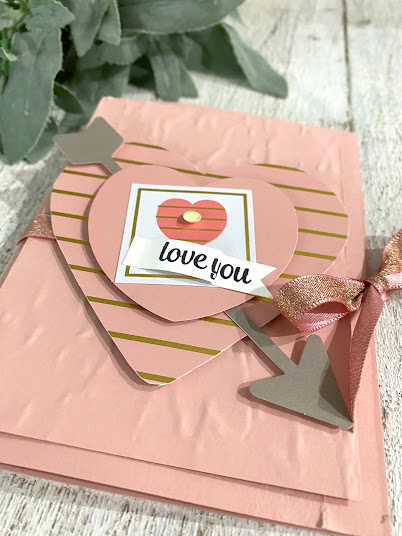
Bunny Bums are back!
A little different than ones I've posted before but glitzy
and sparkly.
I started with just one 4" circle that I folded in half.
Using a cello bag and some double sided tape,
I folded the circle in half and added the tape to the sides
of the half circle. Use any sparkly sequins you have and put
a pinch in the center. To cover the sequins I used a cello bag that
I cut into a square so that it would fit over the half circle.
Set the cello bag on top and push down the sides. Using a pair of decorative scissors cut around the half circle to finish it off.

The tail is a medium sized white pom pom hot glued down.
The feet are made with a medium sized oval punch and the
pink pads are with hand held circle punches.

I'll share with you this coming week how you can attach these
to treats or make a card out of them.
"hopping right along" over here!

Have a great weekend friends!


.jpg)


