Saturday, September 19, 2020

Spooky


Things are getting spooky over here.....
Tried out this new technique where you first
emboss with white embossing powder.
Once you have embossed your word.
Get out a embossing folder, I chose the spider web folder.
Using the same piece of paper that you embossed the word
on run it through the big shot.


You can see in the above photo how I shaded
the spooky word.
By using a sponge dauber put a little ink on the sponge
and lightly rub the color on to the paper.


I took a little bit of gold glitter and added it to the center of the web
and added the cute plastic little spider in the middle. 
Just finish off the card by layering it over a cardstock of 
your choice.  
Who's ready for some Halloween?

Wednesday, September 16, 2020

Cozy Christmas


Well, I did it.
I made and posted my first (gasp!)
Christmas card.
Things are getting cozy over here with the feels
of fall and this card just came to me.


It's a basic card folded in half and embossed with
the brick embossing folder.  I cut out the center for the
fireplace.
For the ledge of the fireplace I cut a piece of kraft cardstock
and using the woodgrain embossing folder embossed the wood
on the cardstock and then used the crumb cake ink to shade it.


You can use any wreath stamp to create the greenery
and choose any saying for inside of the fireplace. 
I'm truly getting excited for the holidays admist 
all the crazy going on. 
Nice to have them to look forward to!


Sunday, September 13, 2020

Plastic Pumpkin redo


Hello fall and friends!
Coming to you with another fun and quick fall diy project.
I picked up these plastic pumpkin pails at Walmart
all of a $1.  They come in all different colors, but
it really doesn't matter what color you pick up since
you will be painting it. 


Start off my priming your pumpkin,
I used rustoleum primer.


I painted the pumpkin with one coat of orange acrylic paint. 
You can see the green slightly showing through, it looks great
underneath the orange. 


You can paint the eyes in with any dark color
you want,  I used raw umber. 


Here are two different ways for you to paint them.


Once your pumpkins are completely dried make sure and 
use a clear coat spray to seal the paint. 
I put some cute little mums in the pumpkins to set outside
Have fun trying these little gems!


Thursday, September 10, 2020

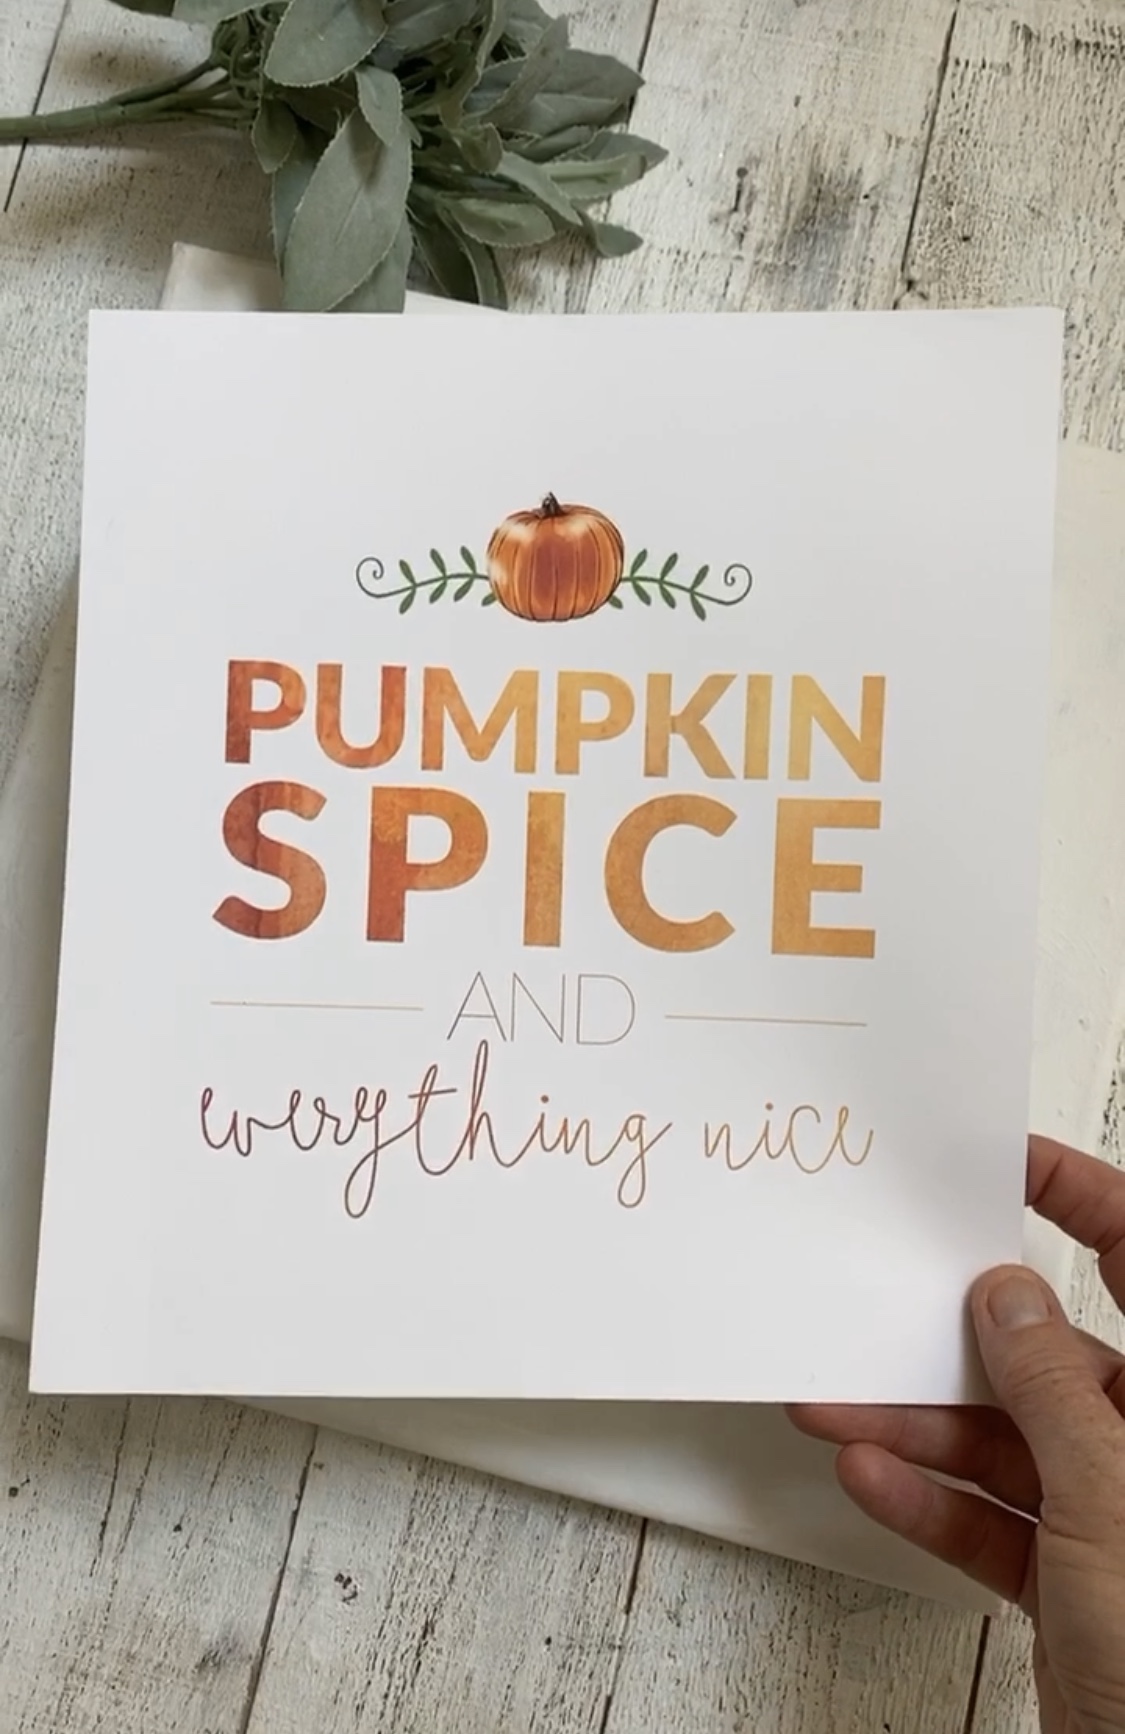
Pumpkin Spice Canvas


I've got fall on the brain, 
might be all the colors that are changing here.
Today I've brought you another super easy sign 
you can make.
(These white pumpkins are also on the blog to make)


For this project you'll want to pick out a 
canvas, any size.  Mine is a 12 x 12"
Then head online to either google or pinterest 
and look for free fall printables. 
This is the one I chose
You can find it 
You also need Mod Podge
a sponge brush
dark brown acrylic paint
any print you choose


Start by cutting your print to fit your canvas


Using your brown acrylic paint lightly dry
brush the paint over the canvas and let dry.


This is the paint I used and had on hand,
you can choose any dark brown acrylic paint.


Next step is to glue the print to the canvas and let it dry
Once it's dry add a very light coat of mod podge to the entire
canvas and print.
Do not add a lot of the mod podge just a very small amount.


Let it dry and hang it up~


Monday, September 7, 2020

Tassle bead kits


Let's get some creative fun going,
How about picking up one of these cute wood bead tassle's to keep you busy?
You can choose between the two charms, either a fall pumpkin or a cross.
These are very easy to put together and I have a video giving you instructions step by step on how to make it.


You will recieve this cute little packaged kit ready to get you started.


These are the two charms to pick from......


A few ideas for the tassles, 
I love to add them to pumpkins, vases, candles,
door knobs or any handles.


One more look at how cute it looks dangling off this white pumpkin
Come visit the shop to order your tassle bead kit
   2340 West Newton HERE
Tassle Bead Kits $8.00
Buy 3, get one FREE!


Thursday, September 3, 2020

Fall Framed printable


I showed you a few posts back how to pick up a canvas
at the Dollar Tree and remove the canvas so you can stain the frame.
Here is one of the frames stained. 
One thing I loved to find is free printables online and this one 
is so cute!
You can find it HERE


I chose the 8 x 10" print
I cut a piece of tag board to glue the print to and then used a glue gun to glue the print to the wood frame.   


Here it is all done,
how cute is this!
Be sure to pick your size of your print to fit your frame. 
Hope you give this a try!


Tuesday, September 1, 2020

Dollar Tree Pumpkin redo


It's always fun to go into the Dollar Tree to see what's new
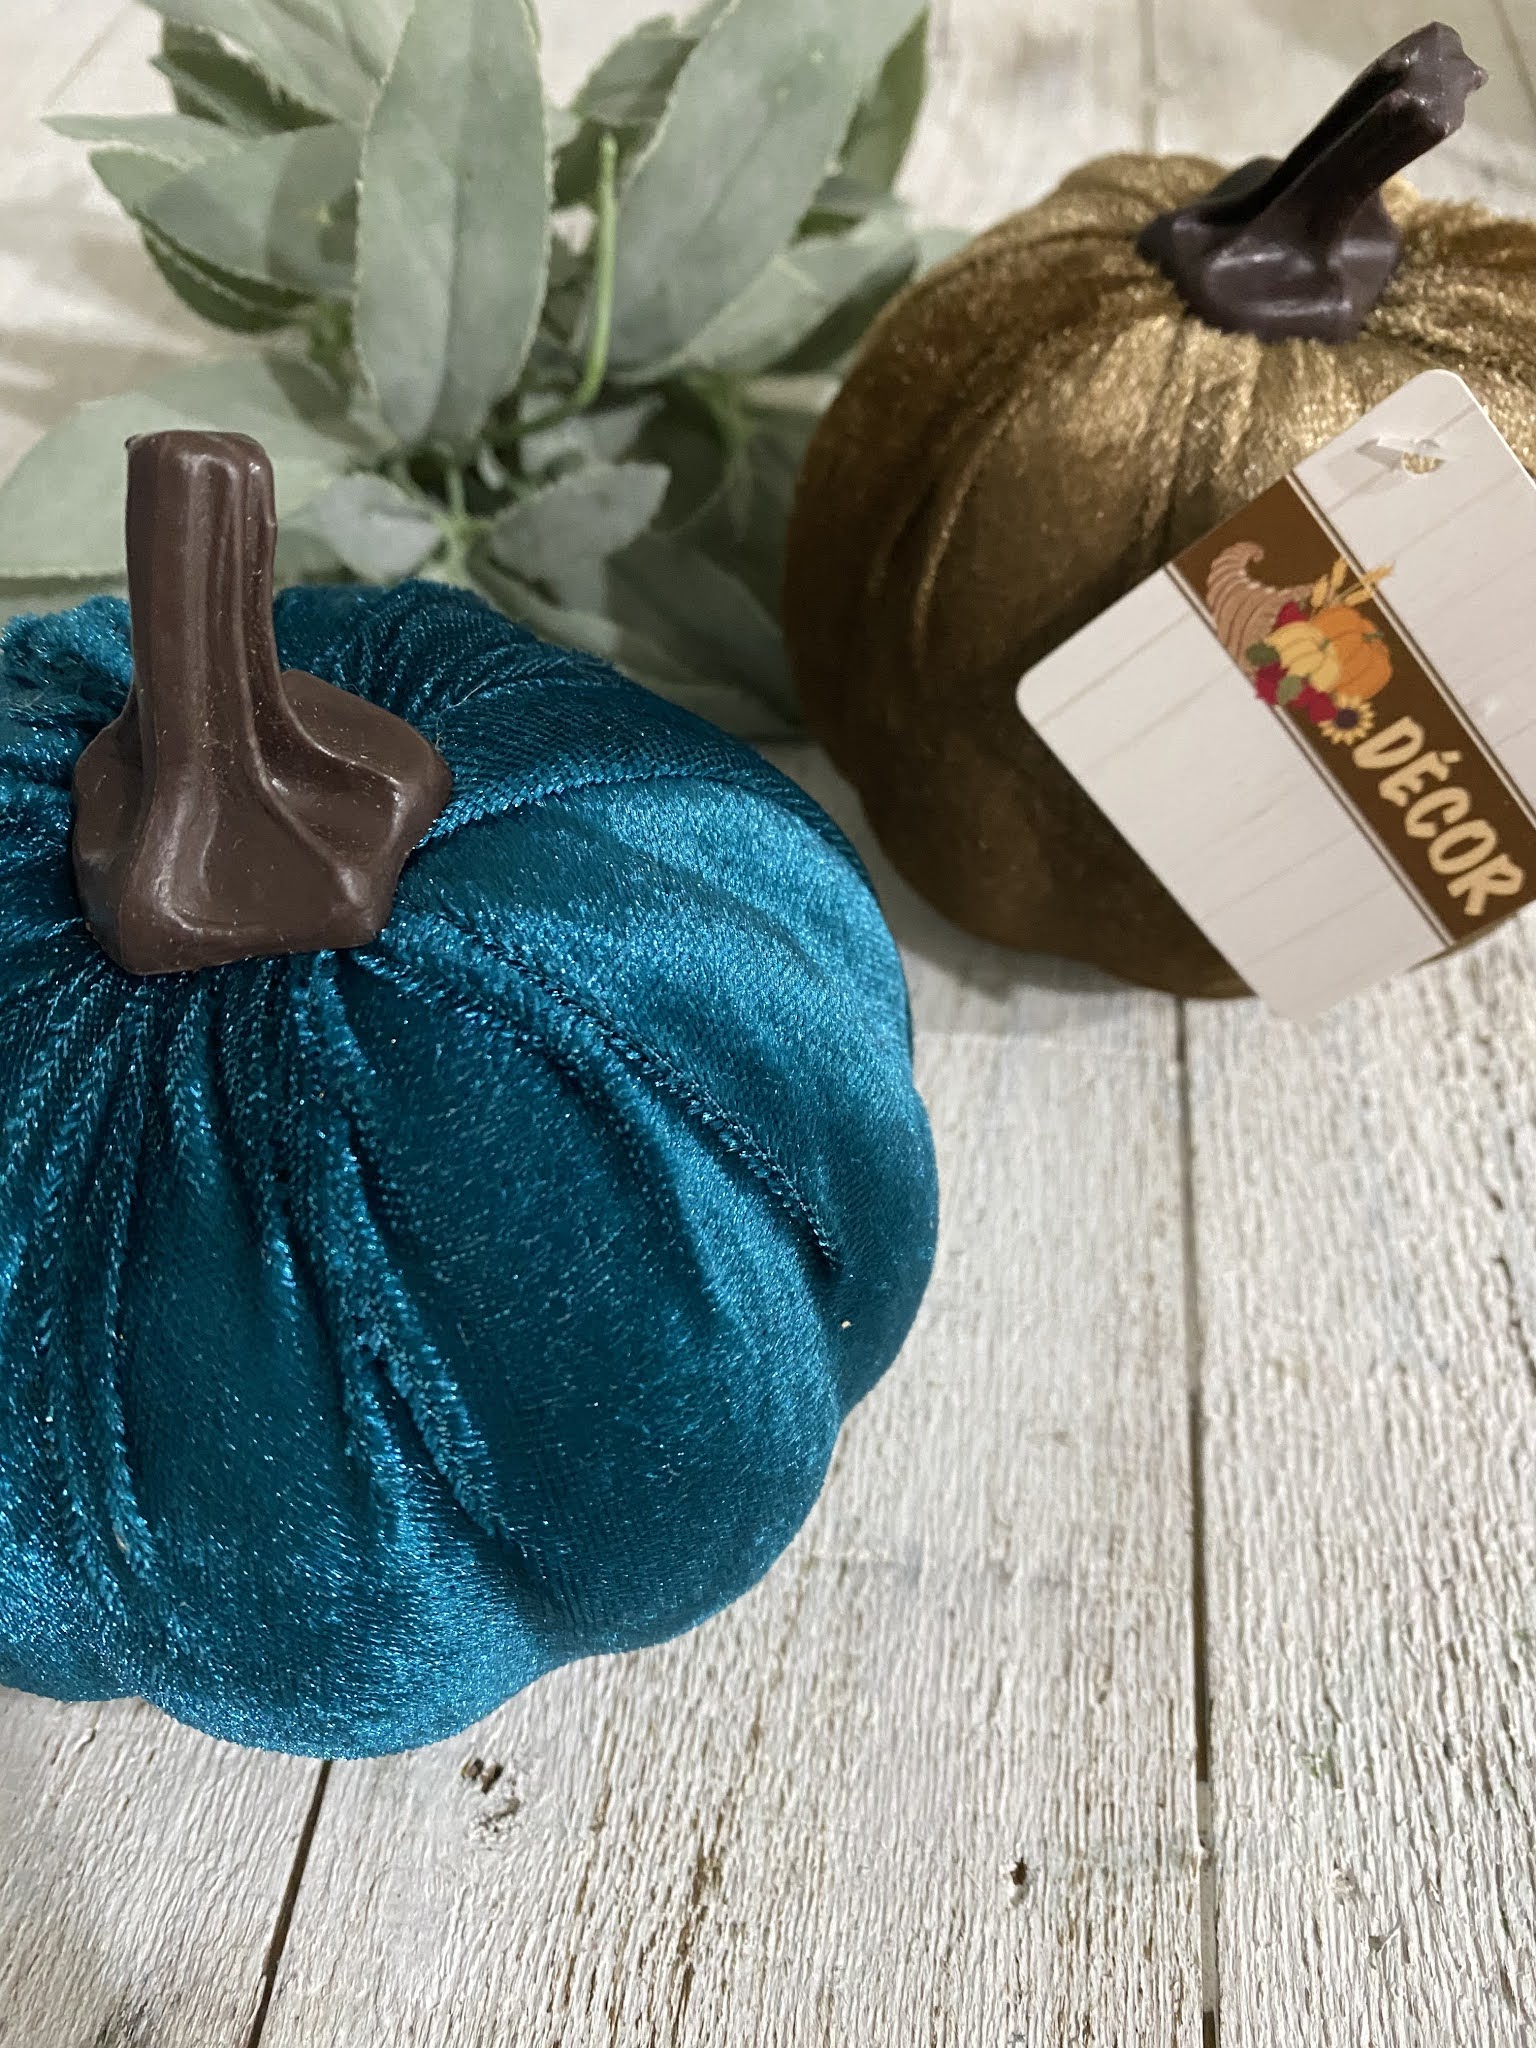
for the fall.  I found these faux velveteen pumpkins.
They had teal, creme, hunter green and taupe.
I picked up the taupe and teal.


Using some greens I had on hand and cotton,
I got out my glue gun and glued the greens on. 


This is the taupe one.  Added the greens and cotton.


I decided the teal one needed a little tag and twine and greens.
These pumpkins look great all by themselves or dressing them up.


It's september 1st, 
bring on ALL the pumpkins and let the fall fun begin!