Wednesday, June 30, 2021

Timeless Tropical


Hello!
This morning I am sharing a mix of the new Timeless Tropical 
with the new Paper Pumpkin Expression in Color.
The green cards in this kit are a smaller version of the
standard size cards which I am really liking. 


The evergreen card stock comes in the kit as well as
the water colored background piece.  This makes for
a really easy card to put together.   Just layer the two
colors, stamp the two tropical flowers on white card stock,
cut them and pop them up.  The iridescent sequins, and little tag 
and stamp also come in the kit.  What a win win!
Very simple monochromatic card. 
Have fun creating!


Monday, June 28, 2021

Funny Towels


Good Morning!
Hope everyone had a great weekend!
We have been in the triple digits here in the PNW, something
that is very rare and something we are truly not equipped for!
It has only been in the 100's three times in the last
100 years here so this is quite unprecedented.
Today we are expected to reach 115 and above in some areas!

I hopped on to share with you to funnies, 
my two top selling kitchen towels from the shop.
The one above is by far the fav;
"Stupid Dishes"
and the one below 
" Stove for Display only"


I hope you find them as funny as I do,
below is just a carousel of others words
that I have on my towels.
They are great gifts for weddings, showers, birthdays,
anything!
and restocked for your shopping. 


So head over and grab one or two for you
"Home Sweet Home"
and stay cool out there! 


Saturday, June 26, 2021

Aloha Saturday


Aloha!
Aloha saturday friends!
Bringing you another card from the beautiful Timeless Tropical stamp set. And this one is a fun one to give a try.
It has a smaller note sized card and then an embossed envelope.


Take a look at the bottom half of the envelope,
you can see where I ran the envelope through the 
embosser to add the 3D leaves.
On the top are the plumeria flowers stamped. 


Take a look on how to make this,
start with two standard sized envelopes and lick 
them both shut.
start with one of the envelopes and using a pair of 
decorater scissors or a paper cutter that has decorative
cutters, cut 2" down from the top of the envelope where you 
closed it.
The top half of the envelope you will stamp and the lower
piece you will not use. Now take the other envelope and do the same thing, but at the top only cut away 1/2", this is the piece you either run through the Big Shot
or you can use a corregator which you can see below.


This is what the corrugator looks like,
it creates weaves in your paper.
Another option is to use the Big Shot with any
of your embossing folders which is what I did. 


Add a small card that can be slipped into this cute envelope,
I closed mine off with some green twine. 
I hope you give these envelopes a try!
You won't stop making them!
Aloha!


Thursday, June 24, 2021

Expressions in Color: Paper Pumpkin June 2021


   Hi all!  Come check out the unboxing of this ink-crediable kit!
It features some of Stampin Up!'s new in colors and designs that will make you really want this stamp set and designer paper! 


This is my alternative card made
with the card base and vellum flowers that comes in the kit.
The card bases in the kit colors are insane!
So vibrant and the water dots looks REAL!


To obtain this look, 
using a stampin write marker, color the
"wrong" side of the vellum image.
Turn it over and choose your coordinating marker
colors and start coloring.  
Such a pop of color!


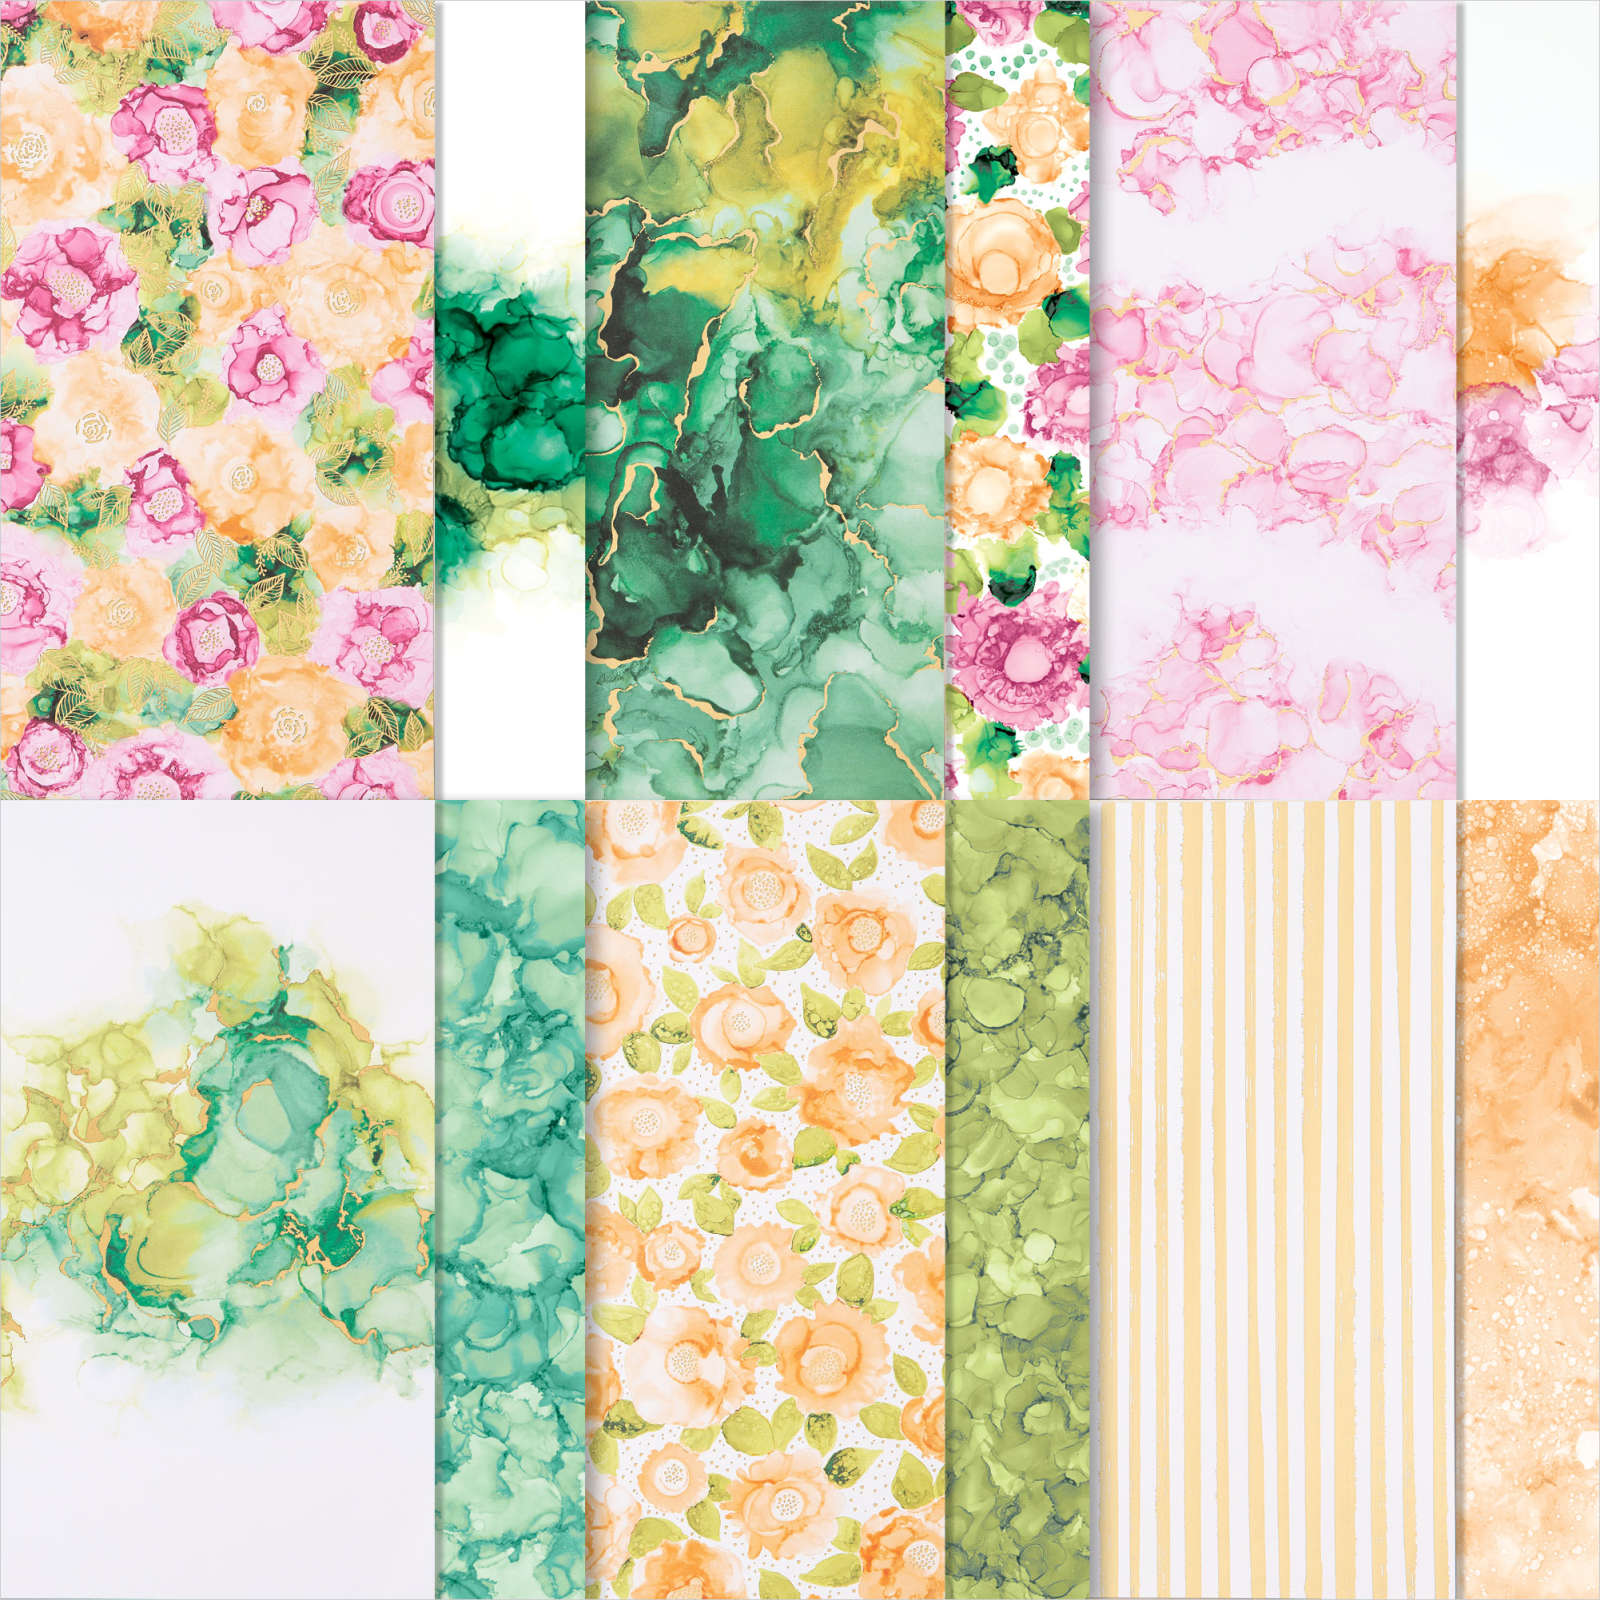
Below is the package of designer series paper that you can also
purchase separately from this Paper Pumpkin kit that is also
part of the Expression in Ink suite collection. 
Just look at those color combos!

EXPRESSIONS IN INK 12" X 12" (30.5 X 30.5 CM) SPECIALTY DESIGNER SERIES PAPER
                                                      You can view the paper HERE
                                                       
                                                                           Happy Creating!

Monday, June 21, 2021

Timeless Tropical


I can't get enough of this stamp set!
Takes me on a two minute vacation when I look 
at it!
This card as most my cards is pretty easy to make


I started by using a Very Vanilla card stock for
the base of the card. Then using the 
two flowers and palm trees I stamped them
in Soft Suede ink on the card stock.


I also used Soft Suede ink and a aqua painter
to create the soft shading around the flowers. 
Added a few gold sequins I had on hand and
stamped the birthday message on Calypso Coral 
card stock.  The base of the card is Coastal Cabana.
Aloha!


Saturday, June 19, 2021

Artistically Inked


The simplicity of this stamp set....
yet look at what you can do by simply stamping
the colors.  They just pop off of the page. 
I used Melon Mambo and Crushed Curry. 


I cut the center card stock regular size at 4 1/2" x 5" 
and then tore it right down the center to 
create the separation in the middle. 
The flowers come in the stamp set too and I just
stamped them the same colors and
popped them up on page. 


This set lends it's own beauty,  you just
pick the colors and stamp away!

Artistically Inked -HERE


Thursday, June 17, 2021

2340 West Newton


Hi friends!
Thought I would take today to tell you how my little business 
2340 West Newton came about.
Above is the house that built me. The house where my story began.
I have so many fond memories here; celebrations, silliness, laughter, love, but with all of our stories, heartbreak.
With the heartbreak came divorce, which many of us have experienced.
I choose always to remember the years that we were all there as
happy times where we spent as a family doing family things.

We all have out own story.  One we each can only relate to.
One way we stay attached to.
AND we stay attached to our story and that keeps us growing and living.
Sharing and growing through the process of our stories is the bravest thing we will every do.  It creates healing and growing within you,
you never knew existed.
Love yourself through it all!
I really wanted to honor my Mom and Dad and our time in our home
growing up so I came up with using our home address
as my business name, that's how
2340 West Newton came about!


If you haven't visited my Etsy shop here are a few
of the most popular best sellers.
Above are a few of the the kitchen towels available
and some of the wood bead garlands in either natural
wood bead colors or custom colors of any color choice.


And one of the top sellers is the mini starbucks cups,
which I also have available mini Dukin Donut cups too!
Come visit the shop - HERE


Monday, June 14, 2021

Artistically Inked


Hello!
Take a look at this gorgeous stamp set!
It's effortless~
Pick your colors and stamp away, 
I used just two colors here and
stamped right in the center and straight across
the card stock. So pretty!


Up close,  sooo pretty!
This is the stamp set below,
even has a pretty rose and flower.


Take a look at some other samples made
with this set, can you say more gorgeous
colors! 
Check it out HERE


Saturday, June 12, 2021

Timeless Tropical


A little Aloha saturday coming your way with
the timeless tropical set.
I did a bunch of fussy cutting on this one.
I stamped the hibiscus and shaded it and cut it out
to pop it up and used my shears to cut fringe on 
the bottom of the card.


The colors are calypso coral and pear pizzaz
as well as pool party. 
Alo----ha for now friends!
Happy creative weekend!


Timeless Tropical - HERE


Wednesday, June 9, 2021

Timeless Tropical


Back with a little aloha wednesday with the 
new Timeless Tropical stamp set.
This one is pretty easy to make.
Stamp in black in all over white card stock
all the different images in the set.
I used the pineapple, palm trees and plumeria flower.


Using a blender pen and crumb cake ink pad
I highlighted around each of the images. 
Stamp your birthday salutation and attach
to the front of the card


The little yellow brads in the center of the plumeria
flower came in last month.
You might want to grab one of these stamp sets!
Taking me back to the islands for sure!

Monday, June 7, 2021

Grad Gift


Happy monday!
What a fun filled weekend of events and grad parties!
I should have remembered to take a better picture of what I have
to show you.  
This package is a graduation gift for a friend's son who graduated 
yesterday.
In the package is a car phone holder for hands free use,
and in the front is what is called a french fry holder
that fits into the water holder in your car!
Can you believe they sell these?!
They even come with a little sauce holder!


Here's a quick pic of the items I put in the 
package.  You can see the fry holder, I even stopped
and got a "Chick fil A empty fry box to show how it works
in his gift.  See the little sauce holder? 


I packaged everything up including gift cards
to add to the gift as well as the special sauce holder. 
Below is what they look like in the holder.
What a clever idea!
Bringing you just another silly grad gift idea!
These are also a great idea for Father's Day!

Click  HERE for the link to Amazon 
for the fry box holders. 


Saturday, June 5, 2021

Flower Arrangements


Good Morning!
Thought I'd share my arrangements that I've 
been posting daily over on my instagram.
These flowers are peonies from my garden.
I love putting them together and  
surprising others with them.


Next time you put together an arrangement
try filling the bottom or sides of the vase
with hostas leaves.
Adds a great color touch as well as some texture to 
your arrangement. 


All the flowers in each arrangement
are peonies, even the ones above!
See the one below,
it also has the hostas leaves on the sides of the
vase, give it a try!
I start out by putting the leaves in the
vase first then fill it with water and
then add the flowers.  
My friend Carol showed me this idea.

You can even add fruit, lemons or limes.
Just adds a touch of texture and color. 
Enjoy the flowers and the weekend friends!


Tuesday, June 1, 2021

Graduation Cap cards


It's graduation season! 
And boy do we have a lot of senior graduations 
to celebrate~
These little caps that I make are a fun way
to celebrate the graduates in your life!


Let's get these started!
I always make these caps the school colors.
Start by cutting 2 -  8 1/2 x 8 1/2"  sheets of cardstock
 the color you want your cap to be.  


Get a piece of copy paper and cut it 8 x 8"
Now start to fold the paper...
fold it both ways as you see below.


Now fold it again right in half


Like above,
Now fold in both sizes 
so that it creates mountain folds.


Should look like this, when you get to this point
take your two pieces of colored card stock
you cut and prepare them.
First step take a pin or an aul and poke a hole in the
top of one of the squares.


Using some bakers twine wrap around your
hand about 5 times to make the tassel.
Once you've wrapped it cut one of the sides 
so that the top it together and the bottom is open.
Using a brad, you can use any brad you like,
push it down through the hole and wrap the closed
end of the bakers twine around the brad and close
off at the back.
Now glue the two blue pieces to the white
paper, one on each side. 


Super fun fold to try and these lil' caps
are so cute to gift to your graduates!