Friday, September 25, 2020

MIni Coffee Cups


These little mini starbuck's cup are available
in my shop.
I love seeing how my customer's are using these
mini cups.
Some of the ways they are getting used are for newborn 
photo shoots, 3 tier tray decor, playhouses for kiddos,
fill them with treats and gift them,
 add a coffee gift card to the cup and gift away!


You can custom choose your straws, 
and there are even Halloween colors available!
Visit 2340 West Newton -  HERE


Wednesday, September 23, 2020

Gnome for the Holidays


Happy wednesday!
Well hold on tight cause now we are jumping back over to Christmas!
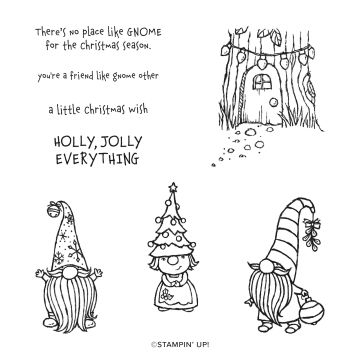
We have a new adorable set called  "Gnome for the Holidays"
The gnomes are adorable in this set.


I wanted to show you that this set isn't just
for the holidays, you can see this card is
versatile for a friend card. 


I stamped the gnome all over making the background
paper then stamped him separately and then 
watercolored him. 
Get ready for gnome overload!


Gnome for the Holidays
#153322 for $19.00
                                       GNOME FOR THE HOLIDAYS CLING STAMP SET (ENGLISH)


Monday, September 21, 2020

Cement Pumpkins


Happy monday!
It was a very fall day around here this weekend that 
brought out some more fall diy's
You've seen this green pumpkin before last week where I showed you how to paint this into a rustic looking pumpin.
Well this weekend I took it to another level with trying out one of those cement pumpkins I have been eyeing for the past few years
You know me,  I won't make it unless it's easy and easy for you
to try too!
This was BEYOND easy!

Supplies needed:
60lb bag of quickset concrete
One bag will make two pumpkins
Make sure you buy the right concrete, "quickset" will start to set within half hour to 45 mins.   
Pam Spray
Any plastic wrap
a brick 
a solo plastic cup or any plastic cup
a bucket and something to stir your cement with

Instructions:
Start by mixing up your cement, use a half a bag
if you are doing just one.
Once mixed, spray the inside of your pumpkin with the Pam spray being sure you coat it well especially the face.
Now add cement til the pumpkin is 2/3" full.
Tap the pumpkin on the table or counter or ground to get the 
bubbles out of the cement. 
Now take your plastic cup and spray the outside of it before
pushing in down in the center of the pumpkin.
Add a little more cement around the sides of the plastic cup to
fill it to the top.  
Take your plastic wrap and lay over the top of the pumpkin and set your brick on top so that the plastic cup does not rise.
Let sit for at least 24 hours or more to set and dry.


Here's what it will look like,
I used some paper towels to wipe of the cement that I got all over the sides of it while filling it. 


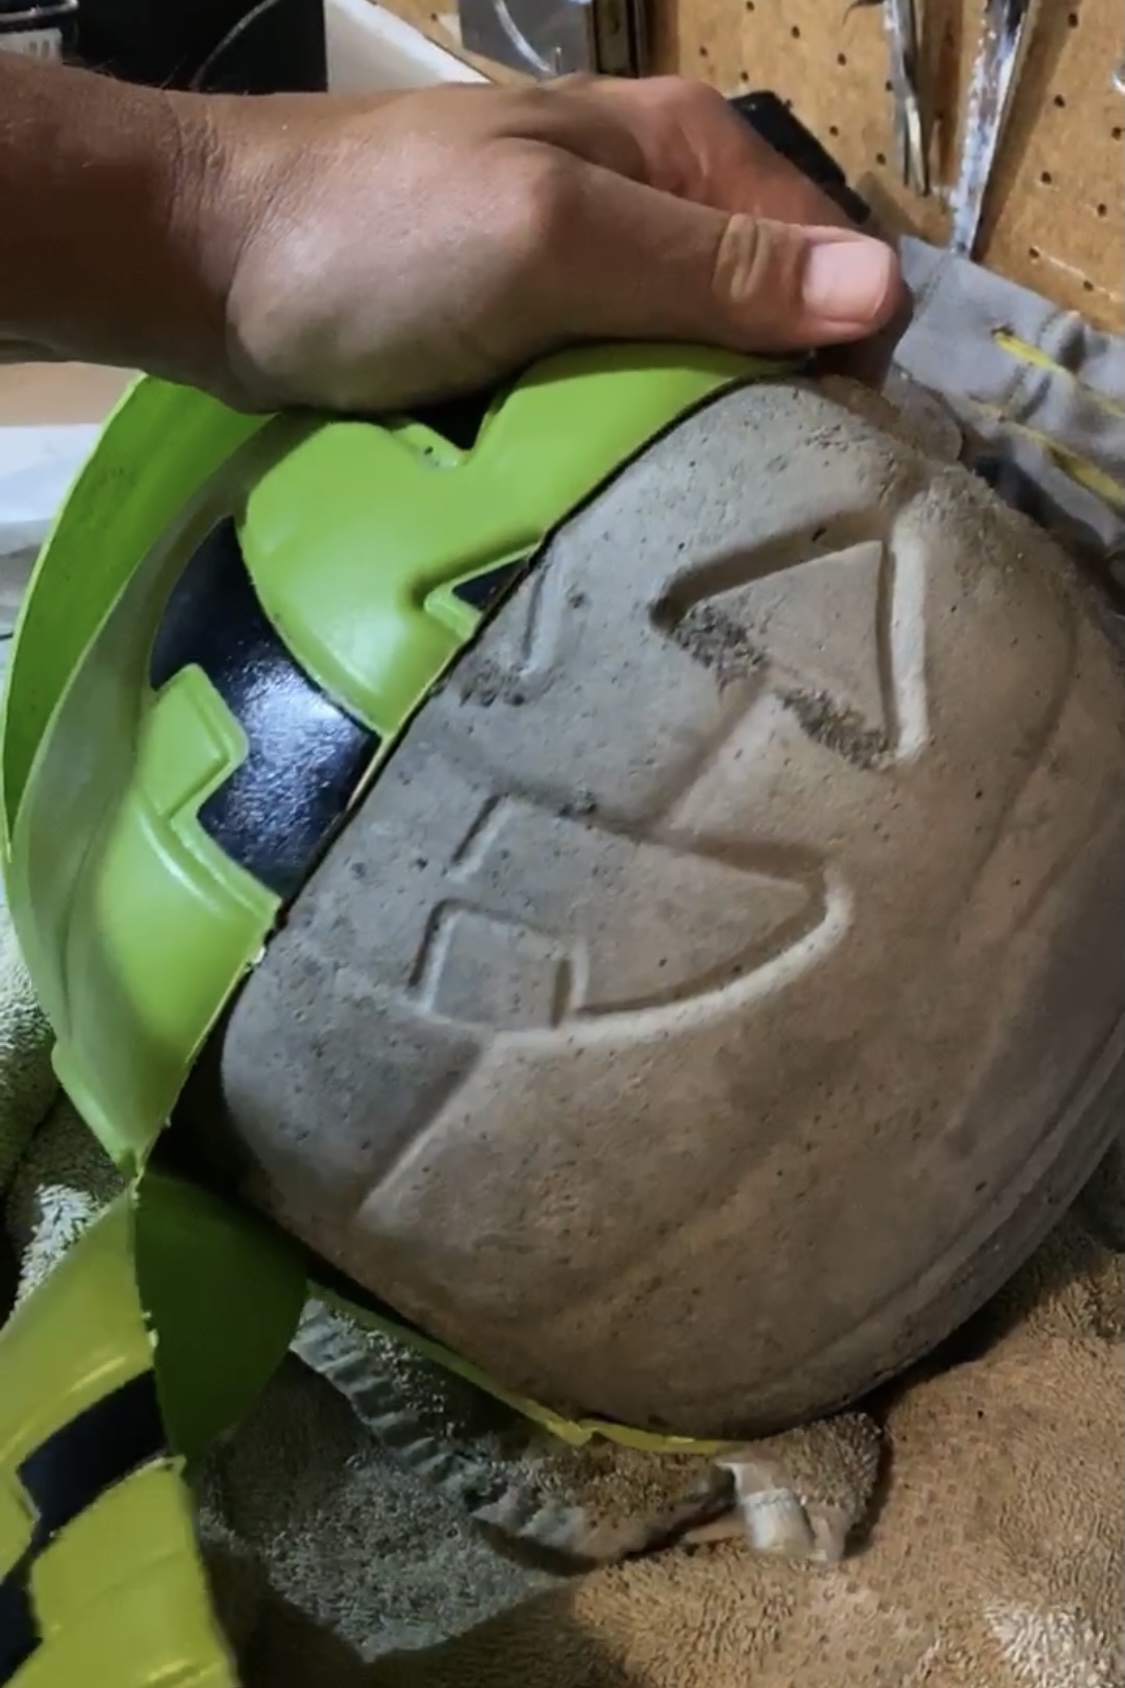
Now that it's dry, starting at the top with a utility
knife cut down the sides following the indents of the pumpkin.
I went around four different sides of the pumpkin


I had my hubbie pull away the plastic while
I took the picture.  I literally squealed when he
tore it away!  Sooooo cute!


Gahhhhhhh!
Muwaaaaaahhhhhh!
So cute!


 I honesty should have let mine dry just a little
longer, but I couldn't wait!


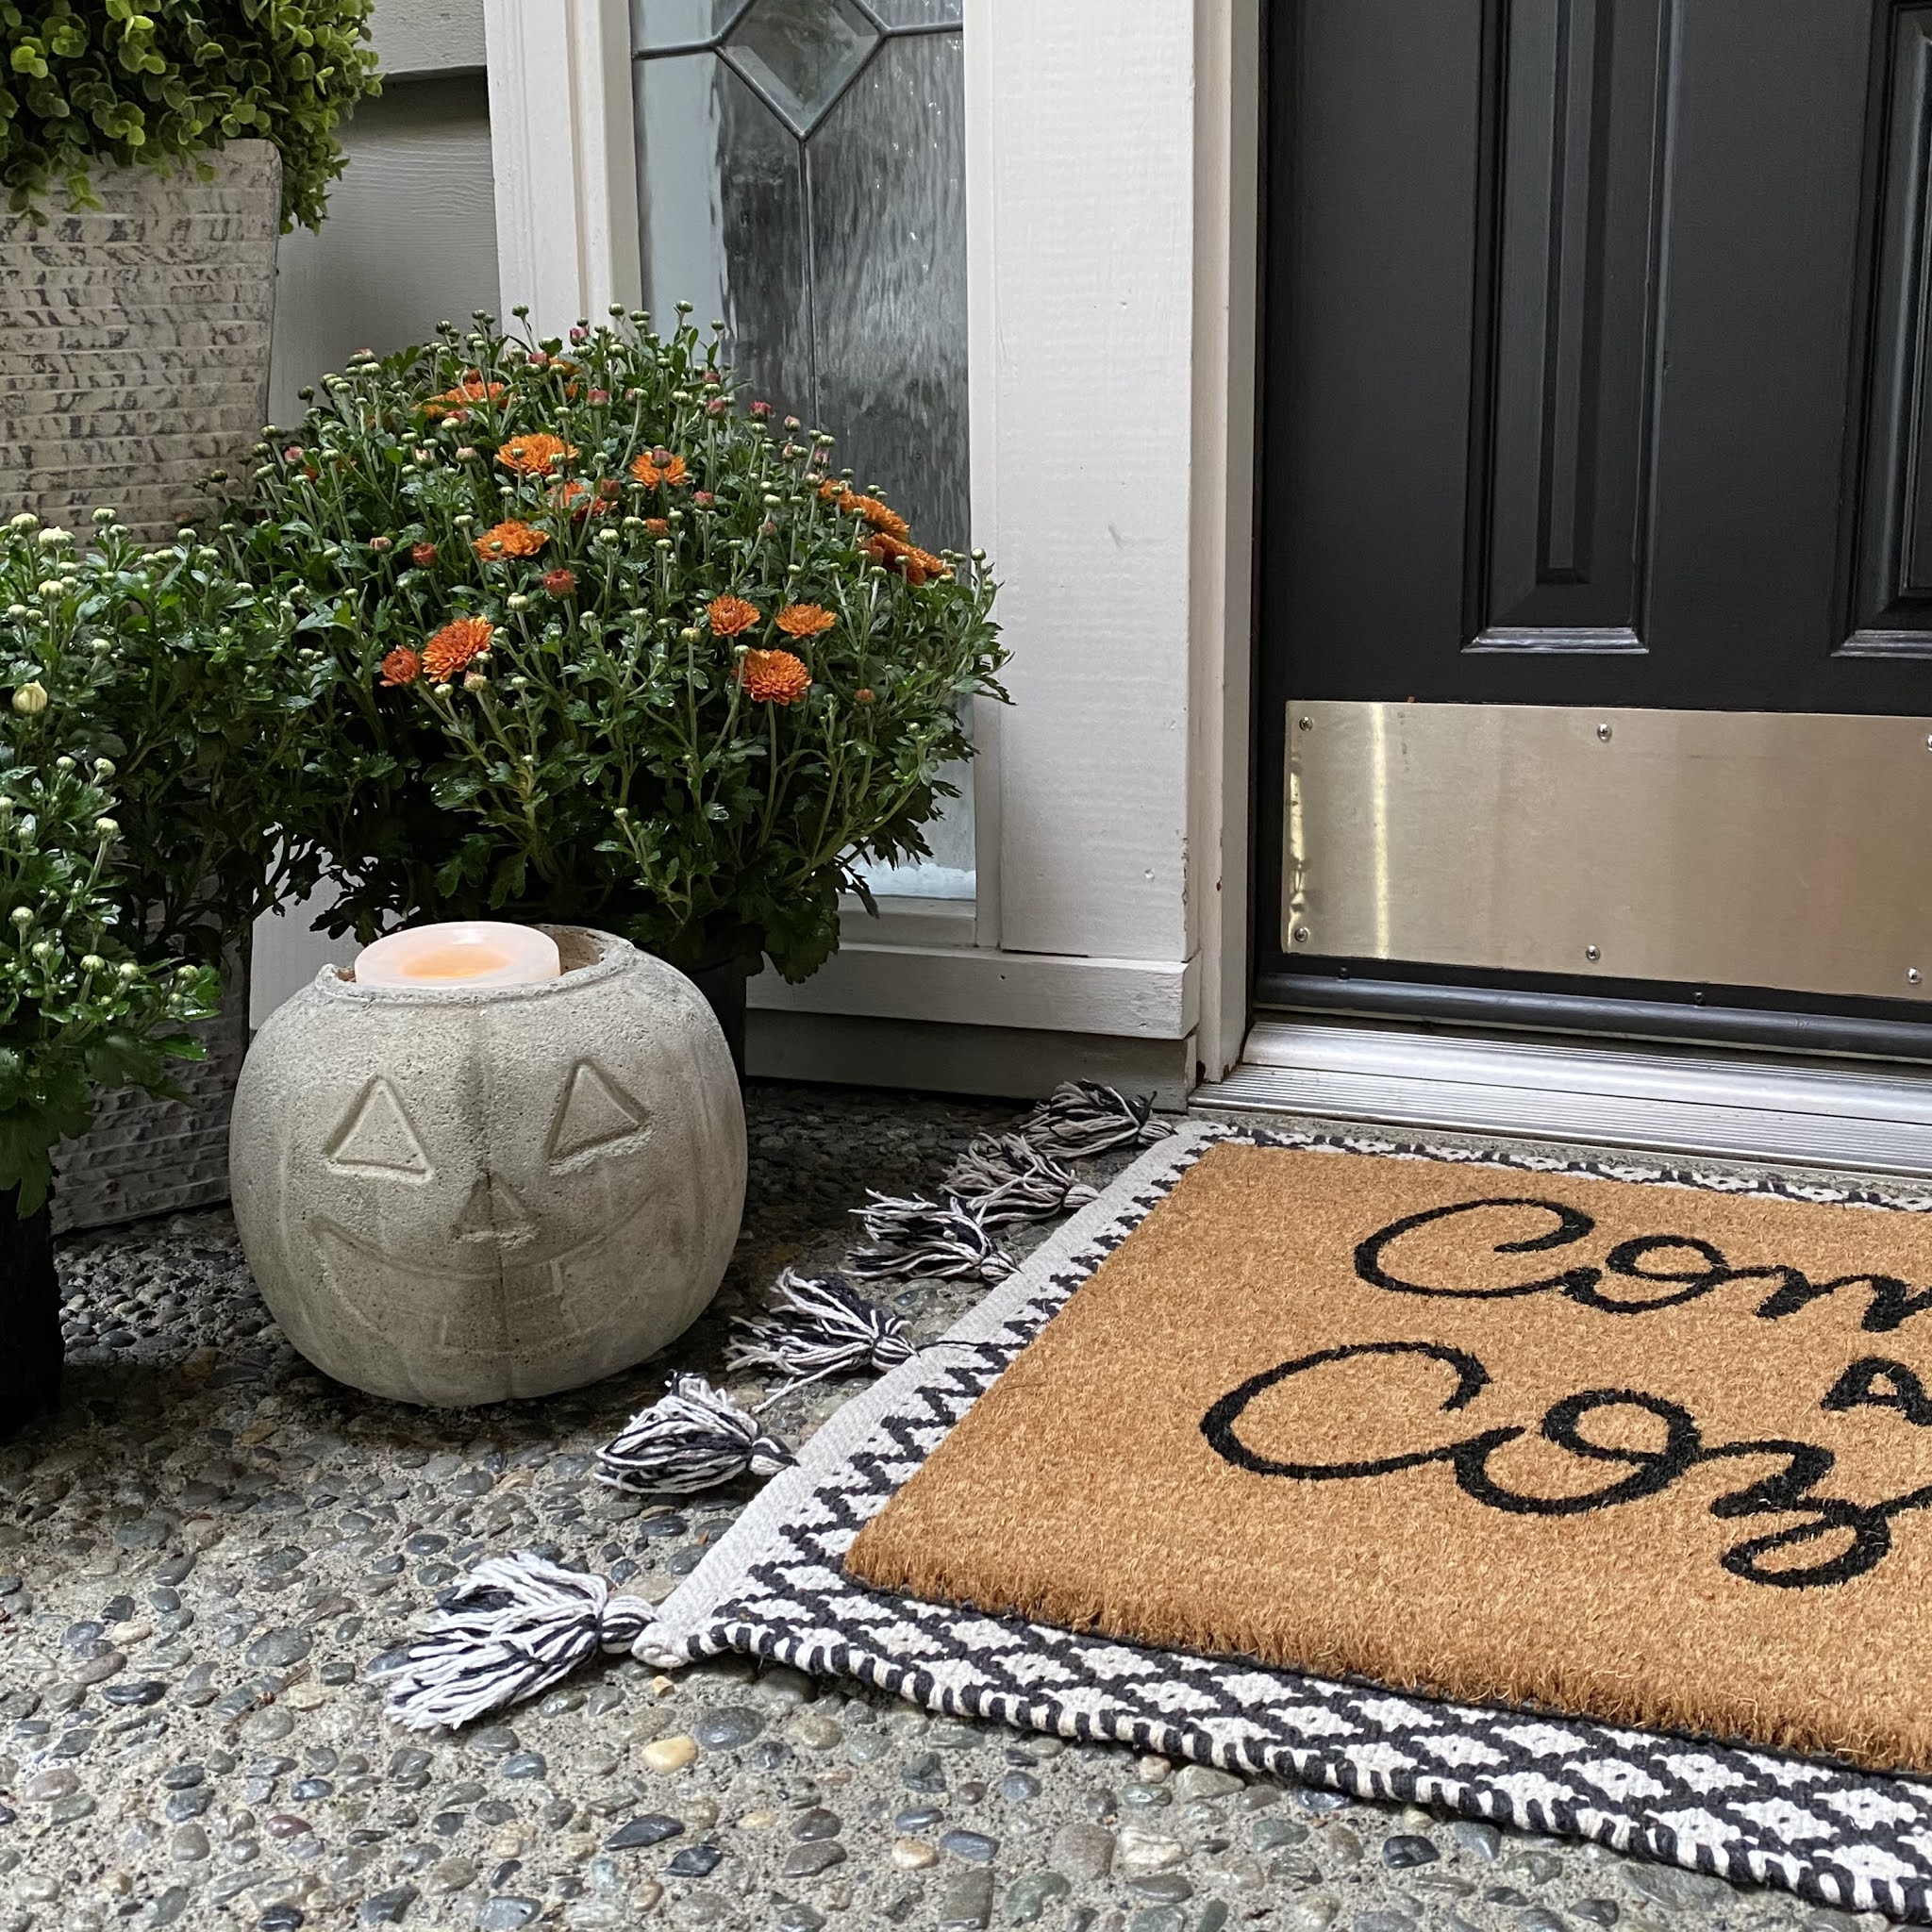
When I made mine I chose a large mouthed plastic 
cup to put in the center as I knew I wanted to put a 
flameless candle in mine. 
My neighbor came over and made one also and she
used a solo cup so she could put flowers in hers
(see photo below)


I hope you give this a try, seriously so cute and can
be used for fall and into Ocitober, even November
if you turn it around. 


Here is my neighbors,
she said it's having a bad hair day!
So cute either way you style it!
Give it a try!


Saturday, September 19, 2020

Spooky


Things are getting spooky over here.....
Tried out this new technique where you first
emboss with white embossing powder.
Once you have embossed your word.
Get out a embossing folder, I chose the spider web folder.
Using the same piece of paper that you embossed the word
on run it through the big shot.


You can see in the above photo how I shaded
the spooky word.
By using a sponge dauber put a little ink on the sponge
and lightly rub the color on to the paper.


I took a little bit of gold glitter and added it to the center of the web
and added the cute plastic little spider in the middle. 
Just finish off the card by layering it over a cardstock of 
your choice.  
Who's ready for some Halloween?

Wednesday, September 16, 2020

Cozy Christmas


Well, I did it.
I made and posted my first (gasp!)
Christmas card.
Things are getting cozy over here with the feels
of fall and this card just came to me.


It's a basic card folded in half and embossed with
the brick embossing folder.  I cut out the center for the
fireplace.
For the ledge of the fireplace I cut a piece of kraft cardstock
and using the woodgrain embossing folder embossed the wood
on the cardstock and then used the crumb cake ink to shade it.


You can use any wreath stamp to create the greenery
and choose any saying for inside of the fireplace. 
I'm truly getting excited for the holidays admist 
all the crazy going on. 
Nice to have them to look forward to!


Sunday, September 13, 2020

Plastic Pumpkin redo


Hello fall and friends!
Coming to you with another fun and quick fall diy project.
I picked up these plastic pumpkin pails at Walmart
all of a $1.  They come in all different colors, but
it really doesn't matter what color you pick up since
you will be painting it. 


Start off my priming your pumpkin,
I used rustoleum primer.


I painted the pumpkin with one coat of orange acrylic paint. 
You can see the green slightly showing through, it looks great
underneath the orange. 


You can paint the eyes in with any dark color
you want,  I used raw umber. 


Here are two different ways for you to paint them.


Once your pumpkins are completely dried make sure and 
use a clear coat spray to seal the paint. 
I put some cute little mums in the pumpkins to set outside
Have fun trying these little gems!


Thursday, September 10, 2020

Pumpkin Spice Canvas


I've got fall on the brain, 
might be all the colors that are changing here.
Today I've brought you another super easy sign 
you can make.
(These white pumpkins are also on the blog to make)


For this project you'll want to pick out a 
canvas, any size.  Mine is a 12 x 12"
Then head online to either google or pinterest 
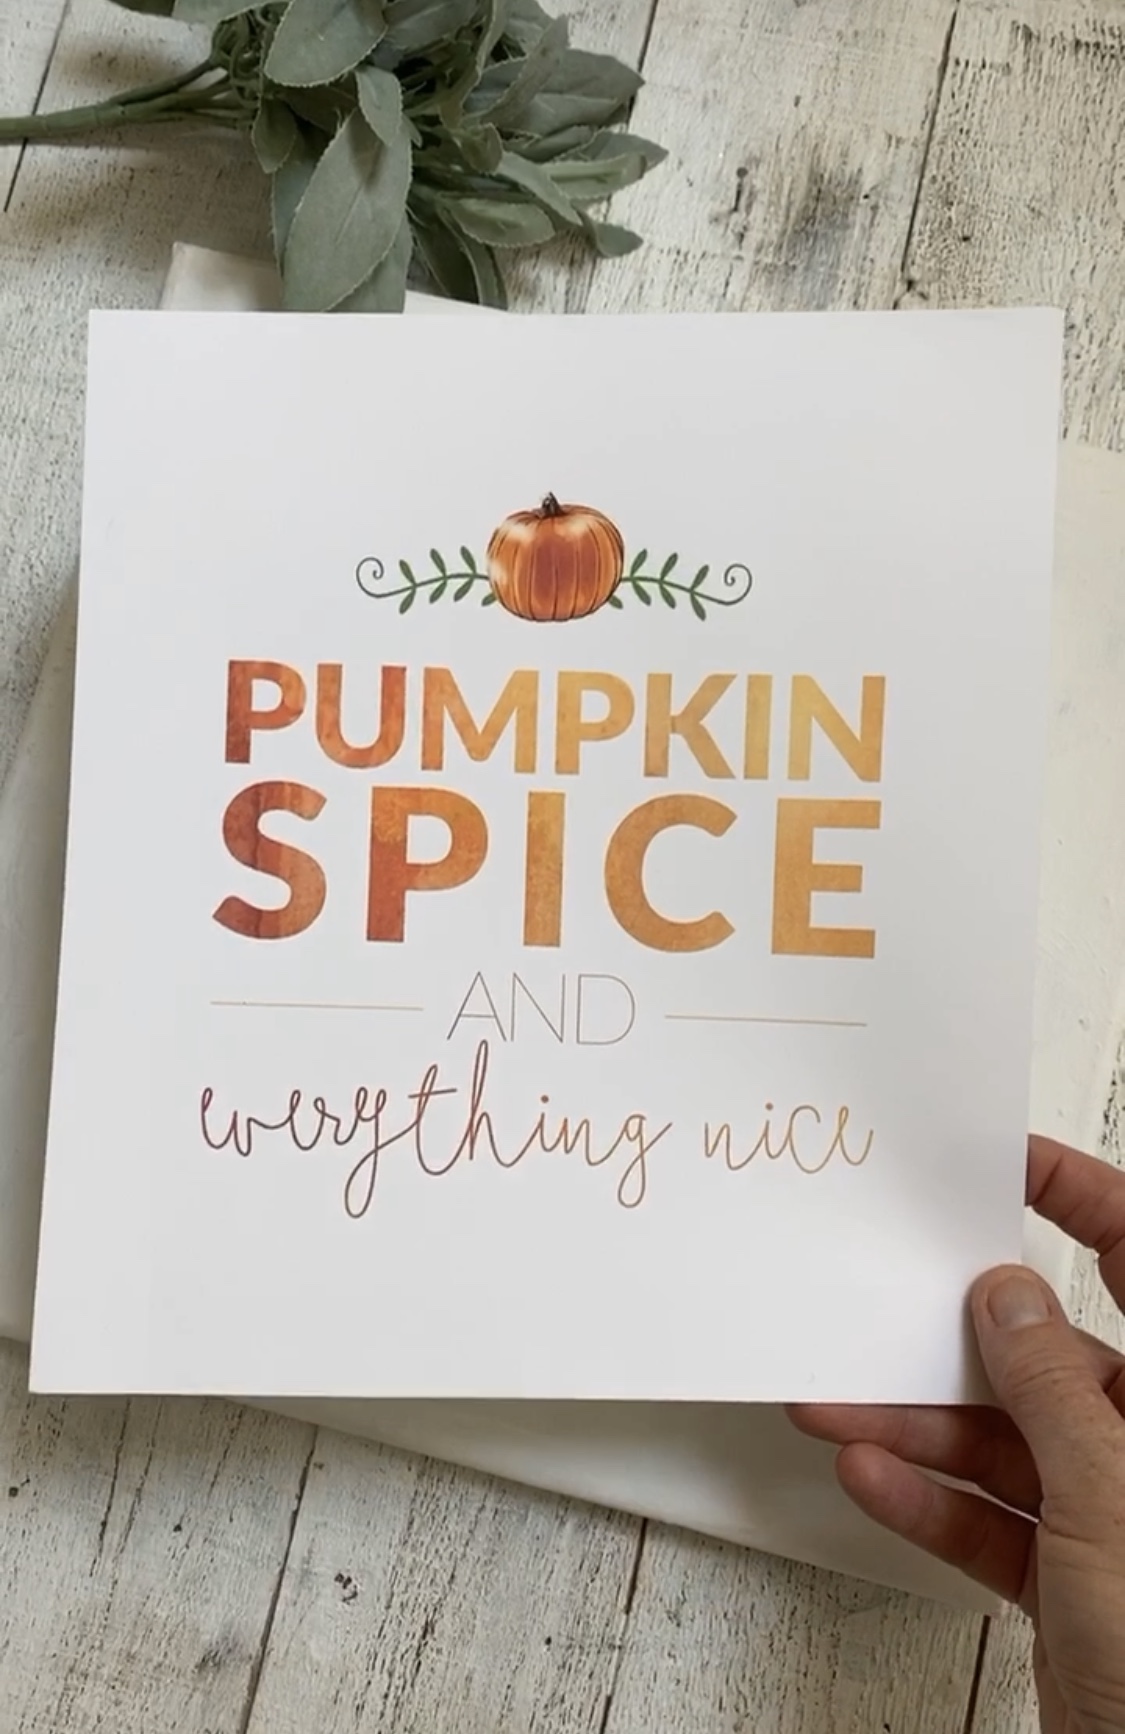
and look for free fall printables. 
This is the one I chose
You can find it 
You also need Mod Podge
a sponge brush
dark brown acrylic paint
any print you choose


Start by cutting your print to fit your canvas


Using your brown acrylic paint lightly dry
brush the paint over the canvas and let dry.


This is the paint I used and had on hand,
you can choose any dark brown acrylic paint.


Next step is to glue the print to the canvas and let it dry
Once it's dry add a very light coat of mod podge to the entire
canvas and print.
Do not add a lot of the mod podge just a very small amount.


Let it dry and hang it up~