
Happy monday!
It was a very fall day around here this weekend that
brought out some more fall diy's
You've seen this green pumpkin before last week where I showed you how to paint this into a rustic looking pumpin.
Well this weekend I took it to another level with trying out one of those cement pumpkins I have been eyeing for the past few years
You know me, I won't make it unless it's easy and easy for you
to try too!
This was BEYOND easy!
Supplies needed:
60lb bag of quickset concrete
One bag will make two pumpkins
Make sure you buy the right concrete, "quickset" will start to set within half hour to 45 mins.
Pam Spray
Any plastic wrap
a brick
a solo plastic cup or any plastic cup
a bucket and something to stir your cement with
Instructions:
Start by mixing up your cement, use a half a bag
if you are doing just one.
Once mixed, spray the inside of your pumpkin with the Pam spray being sure you coat it well especially the face.
Now add cement til the pumpkin is 2/3" full.
Tap the pumpkin on the table or counter or ground to get the
bubbles out of the cement.
Now take your plastic cup and spray the outside of it before
pushing in down in the center of the pumpkin.
Add a little more cement around the sides of the plastic cup to
fill it to the top.
Take your plastic wrap and lay over the top of the pumpkin and set your brick on top so that the plastic cup does not rise.
Let sit for at least 24 hours or more to set and dry.

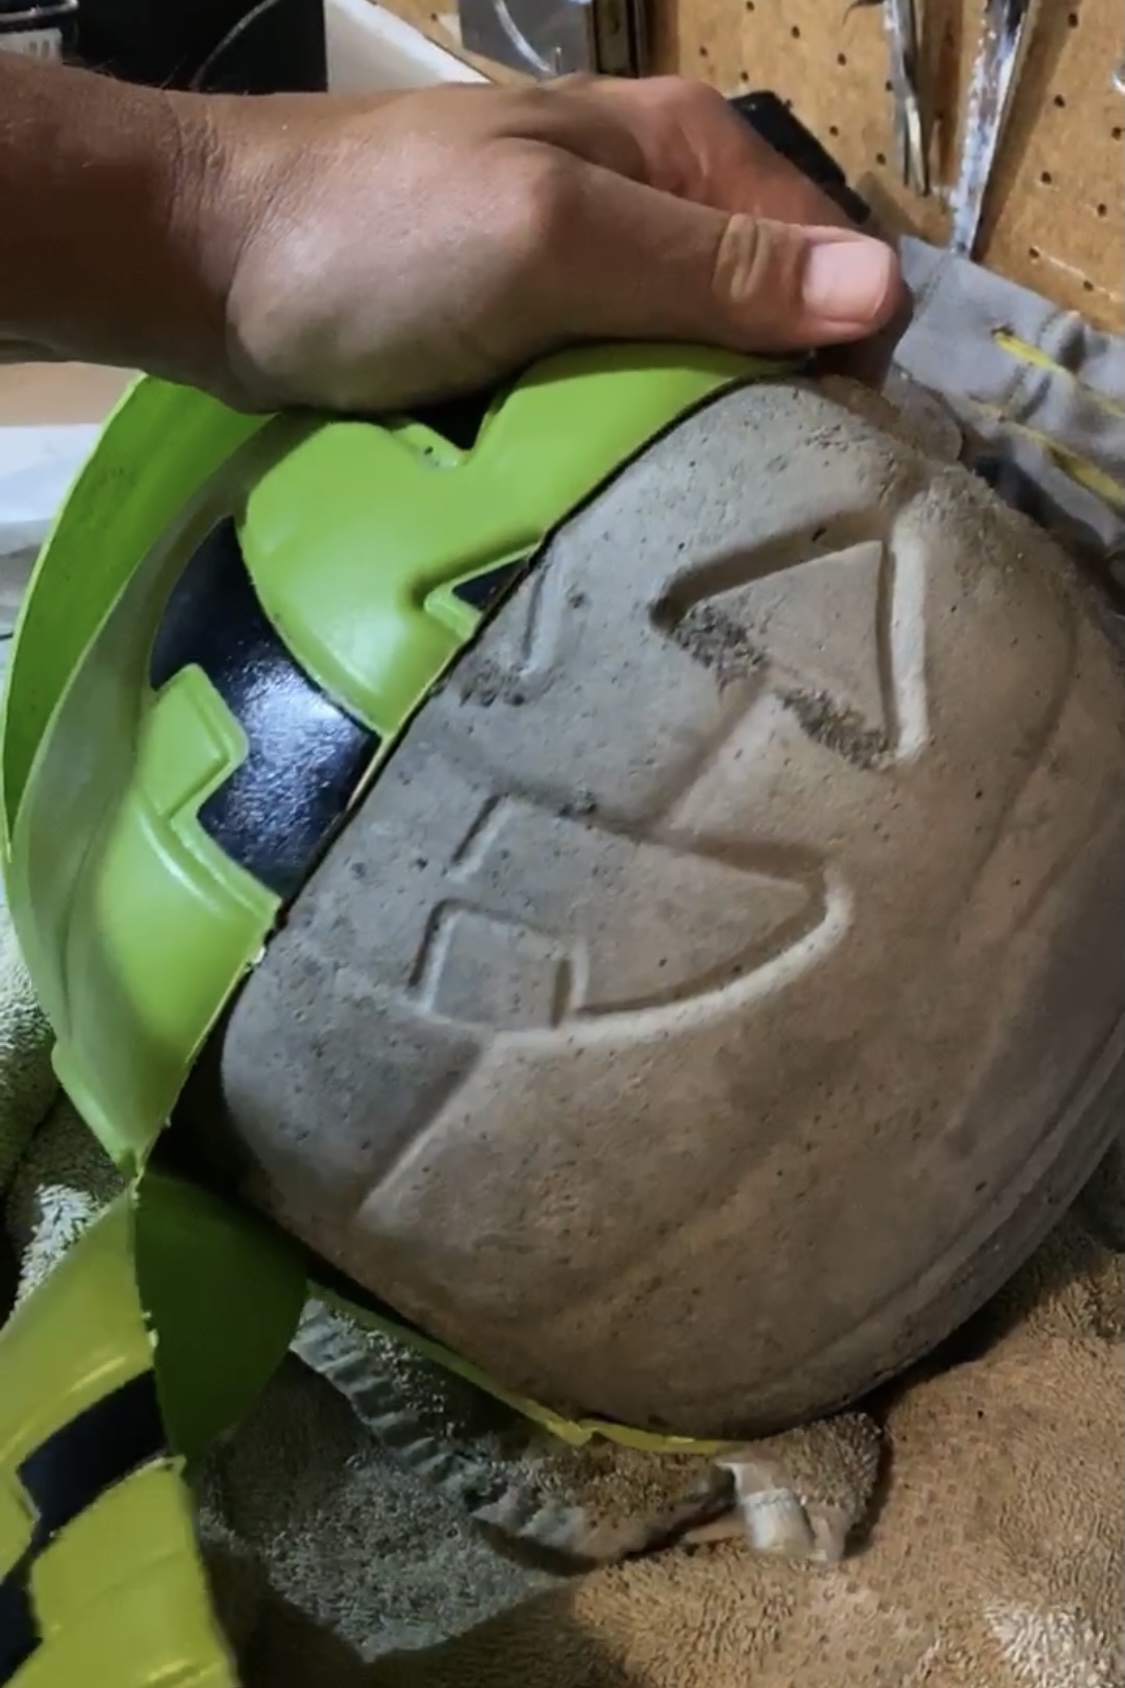
Here's what it will look like,
I used some paper towels to wipe of the cement that I got all over the sides of it while filling it.

Now that it's dry, starting at the top with a utility
knife cut down the sides following the indents of the pumpkin.
I went around four different sides of the pumpkin

I had my hubbie pull away the plastic while
I took the picture. I literally squealed when he
tore it away! Sooooo cute!
Gahhhhhhh!
Muwaaaaaahhhhhh!
So cute!

I honesty should have let mine dry just a little
longer, but I couldn't wait!

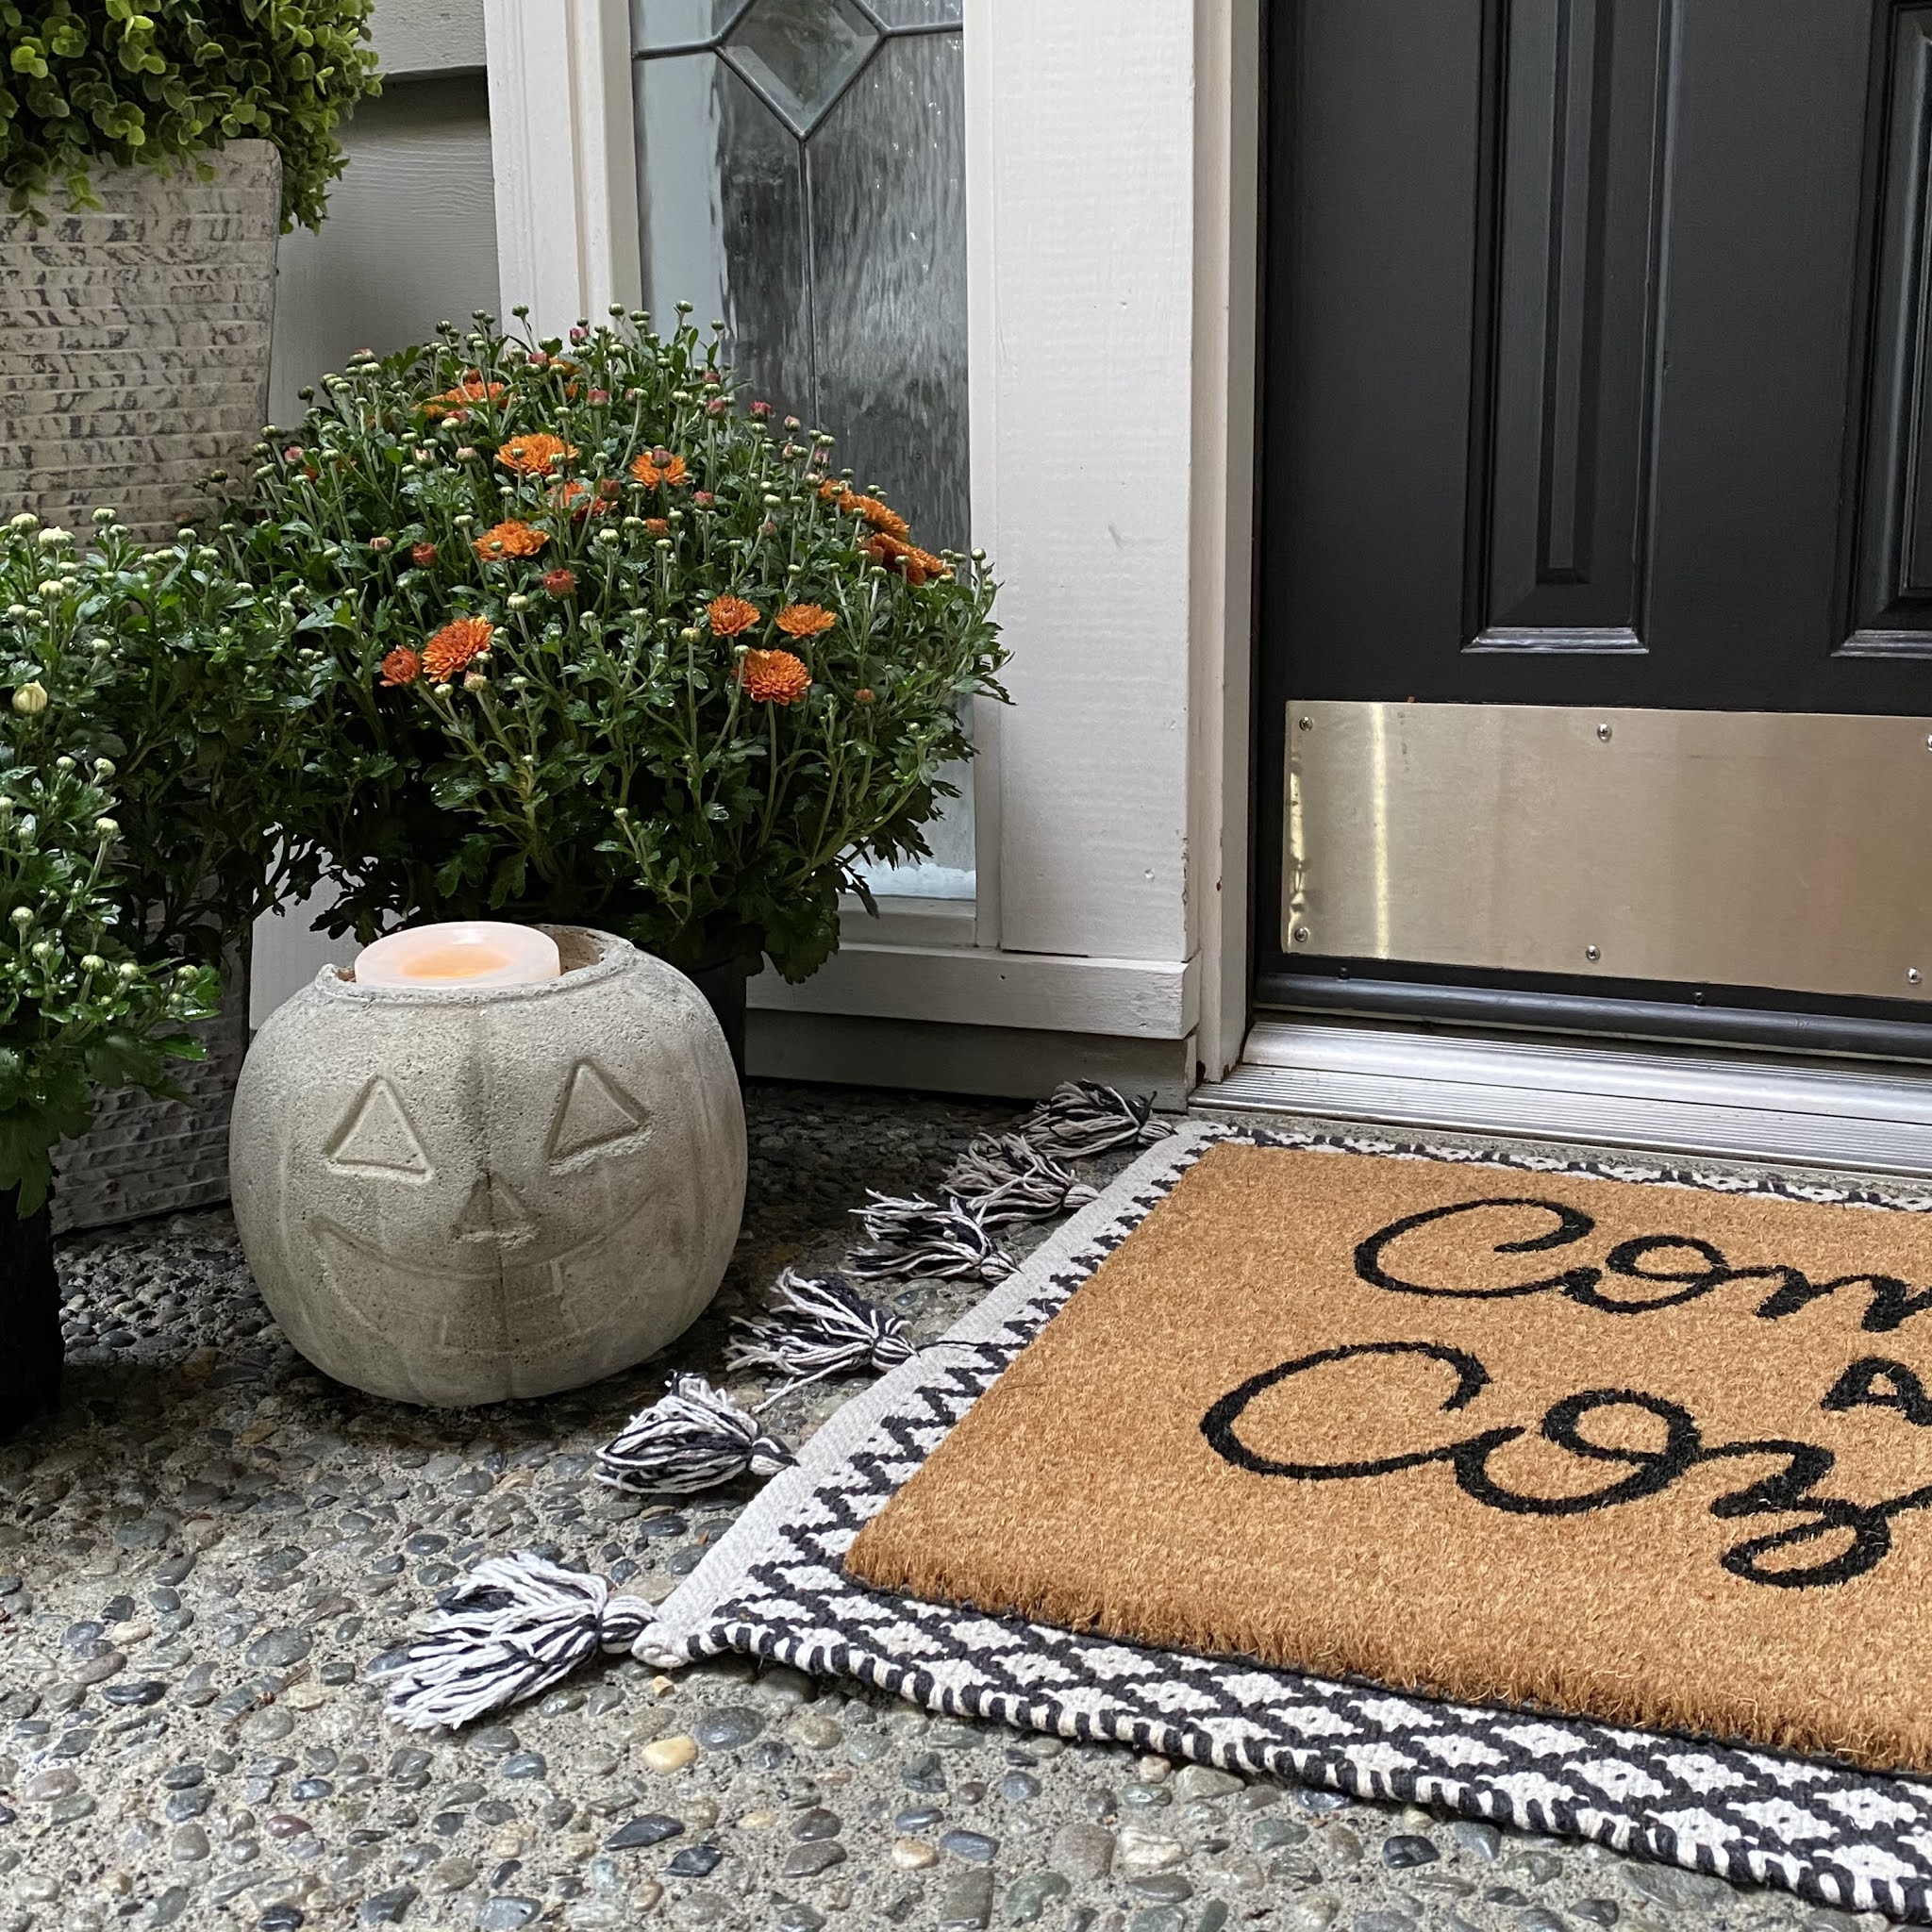
When I made mine I chose a large mouthed plastic
cup to put in the center as I knew I wanted to put a
flameless candle in mine.
My neighbor came over and made one also and she
used a solo cup so she could put flowers in hers
(see photo below)
I hope you give this a try, seriously so cute and can
be used for fall and into Ocitober, even November
if you turn it around.

Here is my neighbors,
she said it's having a bad hair day!
So cute either way you style it!
Give it a try!


.jpg)


No comments:
Post a Comment
I always love hearing from you, please leave a comment..