Getting all of the fall feels over here....
Made up this cute fall sign,
I know you will love giving it a try!
Start by finding a free printable online or on pinterest.
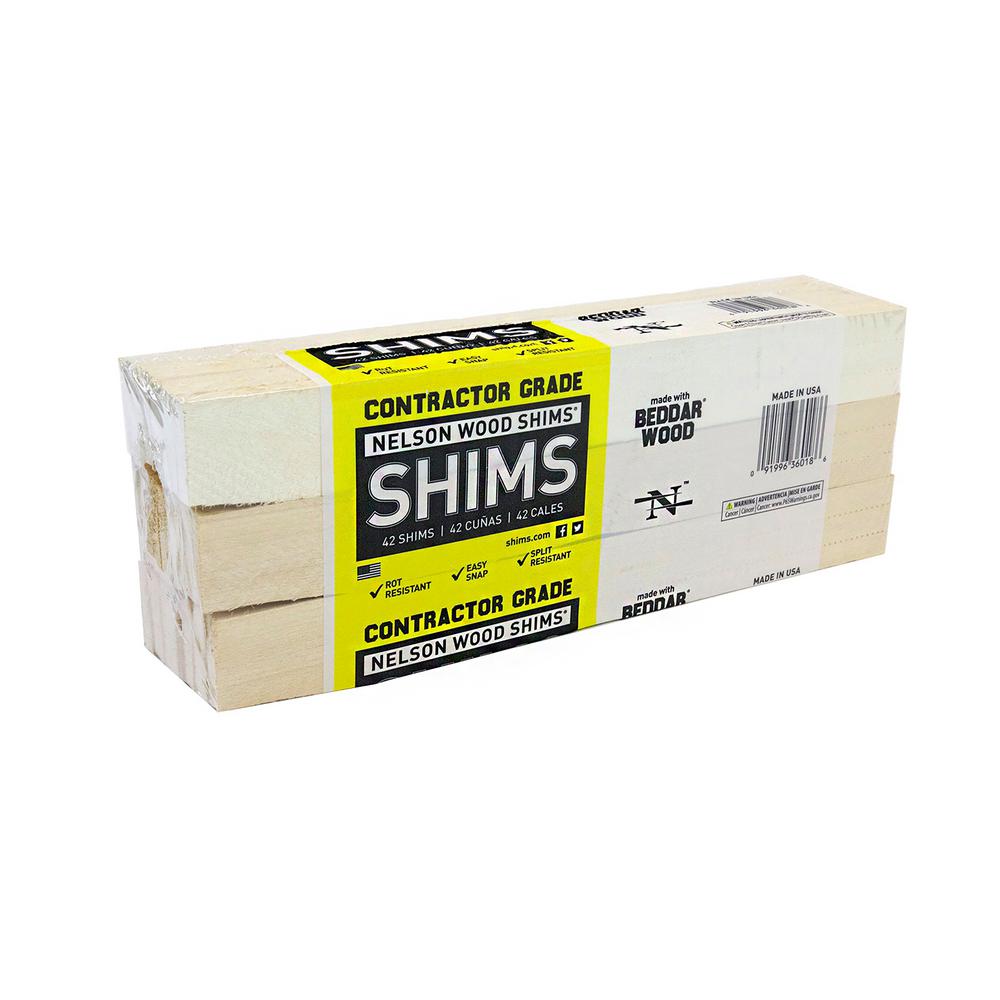
For the wood pieces I used wood shims from
the Home Depot- you get 42 for $4.99
Imagine all the little signs you can make!

Start by cutting your shims down to 9 1/2"
I cut mine right on my papercutter.
The wood is very soft and easy to cut.
Then using a stain and sponge brush, lightly
add the stain and let dry.
This is the stain I used,
Valspar in dark stain
Stain four of the pieces of shim
Start by laying one of the shims down and adding
a line of glue across the top and making sure you line
up the shims correctly, push down to make sure you get them adhered.
Like you see here....
Now add a small dimes worth of glue to the left and right
of the shim and add your twine. I cut the twine at 25"long
Now add the top shim by adding glue to the existing one,
press it down to make sure it adheres well.
Like you see below....
The next step is to add the shims at the bottom.
Add glue to the shim most of the way across and lay
the paper sign over the glue. Add glue on top
now and add the top shim.
Now you are done!!! That easy!


.jpg)


No comments:
Post a Comment
I always love hearing from you, please leave a comment..