Happy tuesday!
Before we get started let's get a good laugh in,
I hung this pumpkin on the front door to take a picture
to share and noticed right away it looks like I have a pumpkin
head! Hahahaa!
Here's what we created,
Have you heard of coco liners?
They are the inserts you put into outdoor
pots for planting flowers.
That is what we used to make these pumpkins.
We added some stamped tags, on one side
it says October 31st and the reverse side
it says "so grateful" so you can use it from one
holiday to the next.
We started with the coco liner and three strips of jute that we glued with hot glue then painted the whole thing orange.
Using a glue gun we cut three strips of jute and glued
them to the liner before we painted the pumpkin.
After that we took a regular sized brown paper bag
and twisted it for the stem. Once you get it all twisted
decide the length you like and cut down to size.
Glue it directly onto the top of your pumpkin.
Take some spanish moss and add some to the top
around the stem.
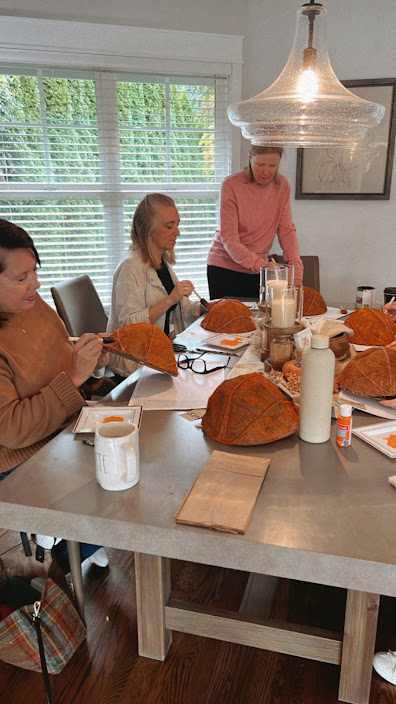
This is looking down on it as we worked away.
You can add some green leaves around the moss.
You can see everyone working away painting their
pumpkins. We used acrylic paint and sponge brushes
rubbing lightly onto the liners to cover them with the paint.
Note: we covered the back by cutting cardboard
pieces from Amazon orders I had in the garage.
Use what you have!
You can do this by first tracing your pumpkin liner onto the cardboard
and cutting it out. Use your glue gun to adhere the cardboard to the pumpkin. We also painted the back although you don't have too.
Use some of your jute to create a loop to glue to the back so hang your pumpkin.
Let me know what you think!!


.jpg)


No comments:
Post a Comment
I always love hearing from you, please leave a comment..