Monday, September 7, 2020

Tassle bead kits


Let's get some creative fun going,
How about picking up one of these cute wood bead tassle's to keep you busy?
You can choose between the two charms, either a fall pumpkin or a cross.
These are very easy to put together and I have a video giving you instructions step by step on how to make it.


You will recieve this cute little packaged kit ready to get you started.


These are the two charms to pick from......


A few ideas for the tassles, 
I love to add them to pumpkins, vases, candles,
door knobs or any handles.


One more look at how cute it looks dangling off this white pumpkin
Come visit the shop to order your tassle bead kit
   2340 West Newton HERE
Tassle Bead Kits $8.00
Buy 3, get one FREE!


Thursday, September 3, 2020

Fall Framed printable


I showed you a few posts back how to pick up a canvas
at the Dollar Tree and remove the canvas so you can stain the frame.
Here is one of the frames stained. 
One thing I loved to find is free printables online and this one 
is so cute!
You can find it HERE


I chose the 8 x 10" print
I cut a piece of tag board to glue the print to and then used a glue gun to glue the print to the wood frame.   


Here it is all done,
how cute is this!
Be sure to pick your size of your print to fit your frame. 
Hope you give this a try!


Tuesday, September 1, 2020

Dollar Tree Pumpkin redo


It's always fun to go into the Dollar Tree to see what's new
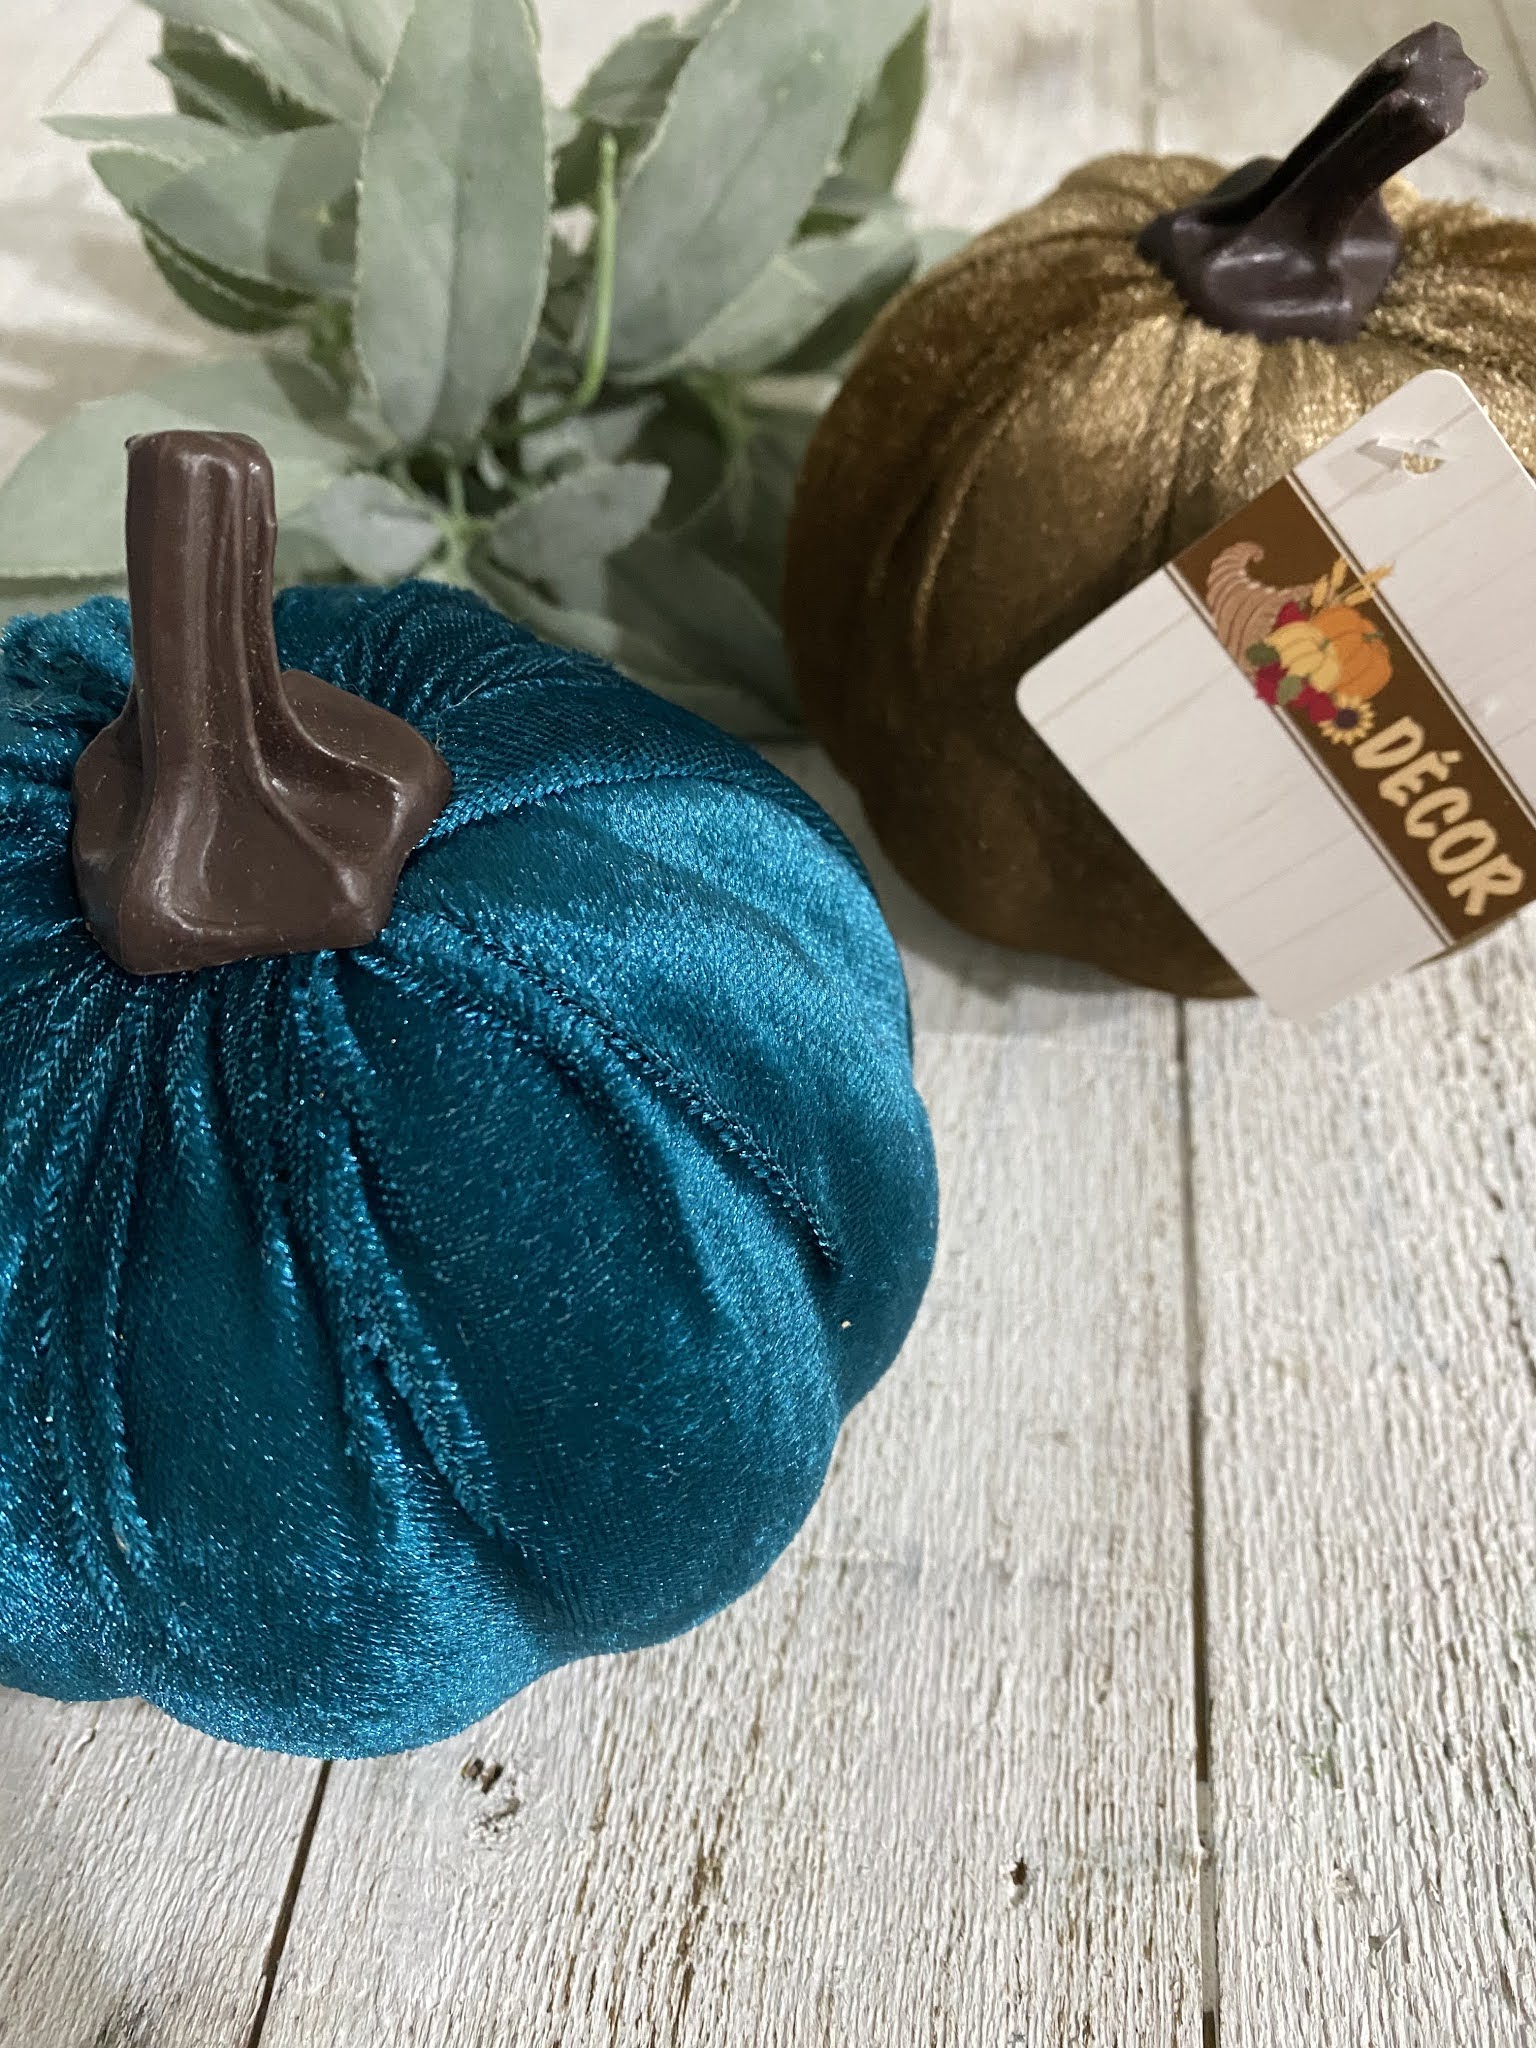
for the fall.  I found these faux velveteen pumpkins.
They had teal, creme, hunter green and taupe.
I picked up the taupe and teal.


Using some greens I had on hand and cotton,
I got out my glue gun and glued the greens on. 


This is the taupe one.  Added the greens and cotton.


I decided the teal one needed a little tag and twine and greens.
These pumpkins look great all by themselves or dressing them up.


It's september 1st, 
bring on ALL the pumpkins and let the fall fun begin!


Saturday, August 29, 2020

Bee Happy


Happy Saturday!
Found this cute shirt on amazon, have you ever bought a shirt
where the collar feels like it's choking you?
Well, this collar on this shirt makes me feel that way
so I took to finding out how to remedy it.


Start by laying your shirt flat,
then fold it shoulder to shoulder which is in half down
the center of the shirt like below.
Make sure you fold it in half down the center so
that the shoulder seams touch shoulder seams.

Like this......


Making sure that your seams are togtherher 
Decide how low you want your scoop to be,
personally I don't want a low scoop
so I will just cut right along the seam of the neck.
And the reason I didn't lay out the shirt for cutting
just folded is that it makes the outcome of shirt be low in the front
and also low in the back making for the t-shirt to fall off your shoulder which is fine, it will just be more like a "flashdance" type of shirt.


So start to cut your shirt using a good pair of 
fabric scissors.


Keep going......


I just cut it right off, easy as that.


Now here comes the important part,
by folding it shoulder to shoulder instead of front
to back you can see in the above photo how
the scoop stays in the front and the heighth 
of the shirt stays right up the back of the neck.


Again if you are looking for a t shirt to fall off 
your shoulder and be low in the back then 
fold it front to back. 
Another thing you can add is a slight snip right in the
center of the new neckline to have it drape open a little
Once you wash your t shirt the neckline will roll a bit 
which I think is cute.


So much better!
No more tight collar around my neck!
Now I can BEE-happy wearing this shirt!
Always striving to teaching you something new!


Thursday, August 27, 2020

Fall Signs


Hello friends!
Grabbed me some canvas' at the Dollar Tree,
they had three different sizes,  4 x 6, 6 x 8, and 8 x 10
Once you unwrap them starting from the back
rip away the canvas.
This will take you down to raw wood as you see on the 
left in the above photo.


I try and always use what I have on hand, this
is the stain I used to stain the frame
Valspar Dark Satin.
Grab a sponge brush and lightly stain the frame.
Let dry at least an hour 


Here are the three that I stained.


I love to look online and google free printables
and that's how I found these three adorable
printables that I wanted to frame for fall.


I started with keeping the border around the saying but then at the 
last minute decided to cut it smaller without the border.
I purchased  a tag board also at the Dollar Tree,
I got the black one that I could back the prints on them
instead of using the white tag board. 
I think it gives it a pop.


How cute are these?
And they cost under $5 to make!
Just print out the printables on cardstock
paper and buy your canvas' and tag 
board at the Dollar Tree.
Great inexpsensive fall craft!


Tuesday, August 25, 2020

Pumpkin Patch Sign


Getting all of the fall feels over here....
Made up this cute fall sign,
I know you will love giving it a try!

Start by finding a free printable online or on pinterest.
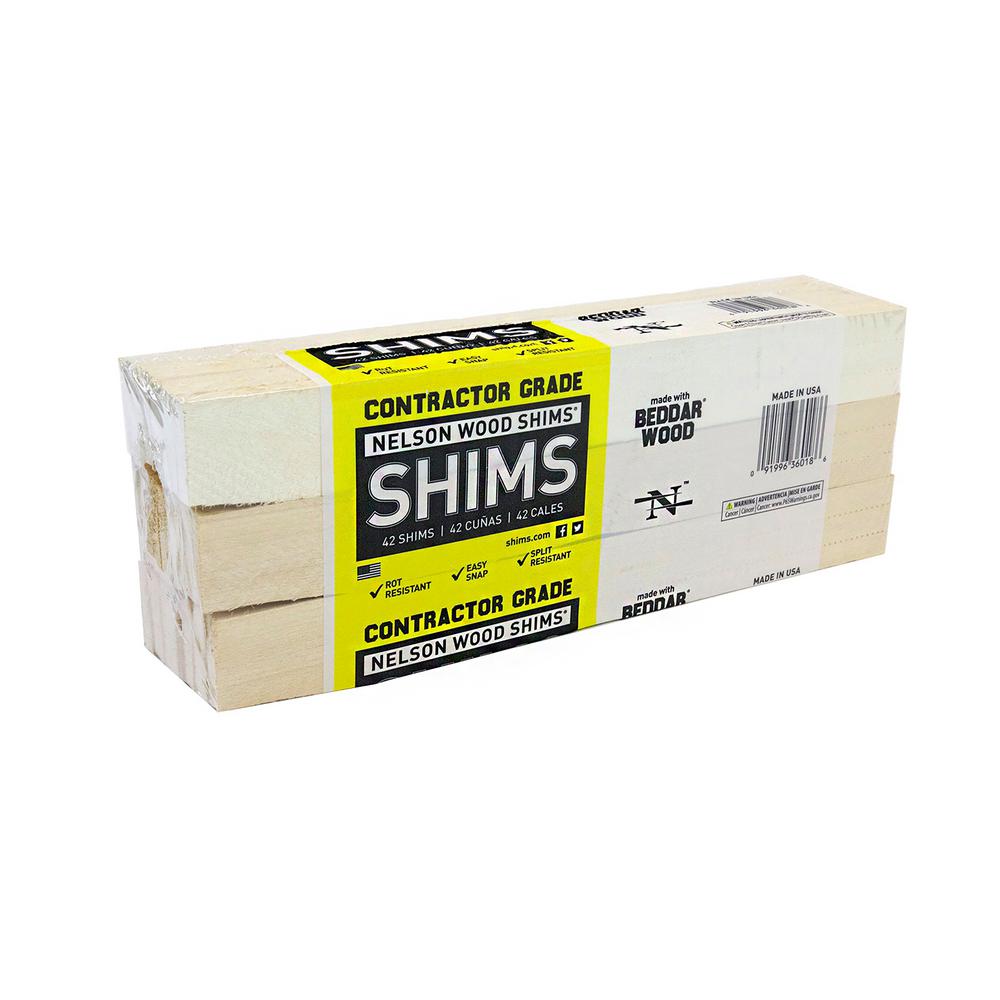
For the wood pieces I used wood shims from 
the Home Depot- you get 42 for $4.99
Imagine all the little signs you can make!

12 in. Contractor Shims (42 per Bundle)

Start by cutting your shims down to 9 1/2"
I cut mine right on my papercutter.
The wood is very soft and easy to cut.
Then using a stain and sponge brush, lightly
add the stain and let dry.


This is the stain I used, 
Valspar in dark stain


Stain four of the pieces of shim


Start by laying one of the shims down and adding 
a line of glue across the top and making sure you line
up the shims correctly, push down to make sure you get them adhered.
Like you see here....


Now add a small dimes worth of glue to the left and right
of the shim and add your twine. I cut the twine at 25"long


Now add the top shim by adding glue to the existing one,
press it down to make sure it adheres well.
Like you see below....


The next step is to add the shims at the bottom.
Add glue to the shim most of the way across and lay
the paper sign over the glue.  Add glue on top
now and add the top shim.
Now you are done!!!  That easy!


Sunday, August 23, 2020

Dahlia Love


Adding a little sunshine to your sunday morning with dahlia's from my garden  (a few from my neigbbor's too)
The above dahlia's on the lower half of the arrangement are called
Karma Choc Dahalia's, they are the only dahlia that has a scent and would you believe that they actually smell like chocolate?!!!!


Here is another..... it's called
Penhill Watermelon, it's stunning with it's peach tones
and spidery leaves.  


The ball type dahlia's in the photo is a vibrant crimson red pom pom called Natal.


Here is a photo of the Karma Choc up close so you can 
see it,  make sure and add this to your dahlia garden next year.
It's just down right dreamy, smell and all!!!!


And....... a drum roll please!
Now for the winner of the giveaway!
Marjie Schaefer!!!
I will be reaching out to you to get your goodies to you!
Thank you for participating!
Happy sunday friends!