Wednesday, January 31, 2018

Valentine Bike Ride


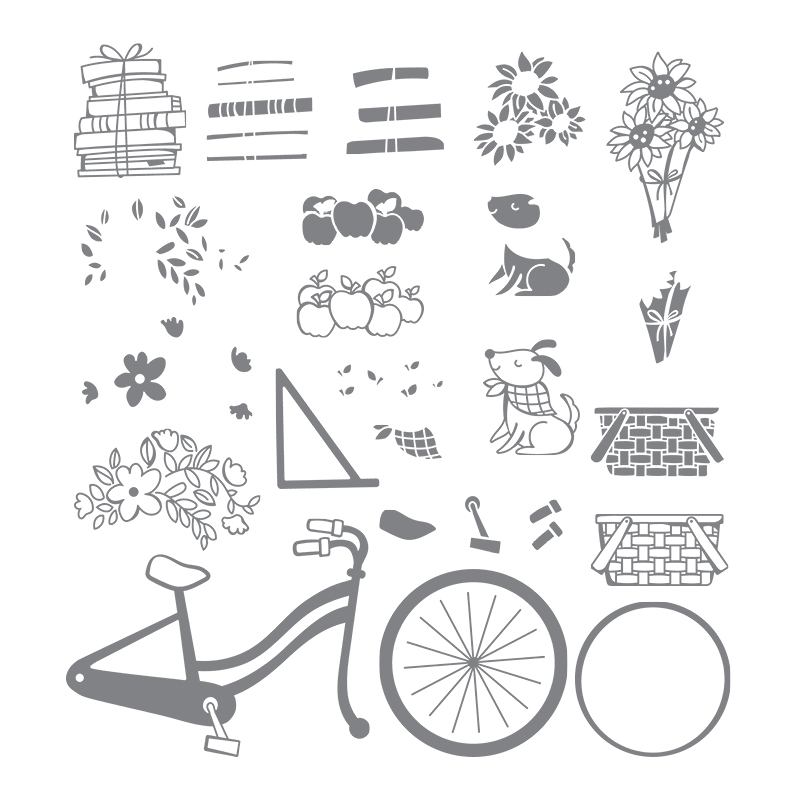
This set Bike Ride is so versatile.  
You can use it for so many occasions.  
Here I decided to add X &O's for a valentine card in the basket.  
I stamped the bike first and fussy cut it out.  This set does have matching Framelits, I have yet to purchase them, hence the fussy cutting!
Then marking with a pencil, I stamped the first tire on the left, then set down the frame of the bike and marked where the second tire should be stamped.  All worked out!


You can add any Valentine sentiment, I used the one for this month's Paper Pumpkin.  


Bike Ride #143716 for $21.00
Bike Ride Photopolymer Stamp Set

Monday, January 29, 2018

Christmas Tags


So, I know the holidays are over, but like many of you out there I'm in organization mode!
I am cleaning, purging, organizing and trying to use up all the things that have been left over and laying around.  
All the tags in the above are left over from various Paper Pumpkin kits.  I was looking at them and realizing how great they would be for Christmas tags.  I am always out of tags.
Well, not for this Christmas!  but next, AND..... there already made!


The ones with the gold snowflakes and trees came that way in the december Paper Pumpkin kit.  I just stamped to/from on them.


I am all about using what you have on hand, so if you don't have the exact same stamps as me look through your stash for what you can use for your Christmas tags.


My goal is always to inspire and motivate you to use what you have on hand to create!  Hope I have accomplished that!

Saturday, January 27, 2018

Valentine Mini Tic Tacs


How adorable are these Valentine inspired mini tic tac holders!
These are super small mini tic tacs that I found on Amazon.  I haved showed them before on my blog. 
This time just in time for some valentine treats for you to try.
The directions to make these were showcased at our Stampin Up! Onstage in  2015. 
 Here is a link to show you how to make them.


As you can see, I put a dime up next to the little mini's for scale.
They really are small and so cute.


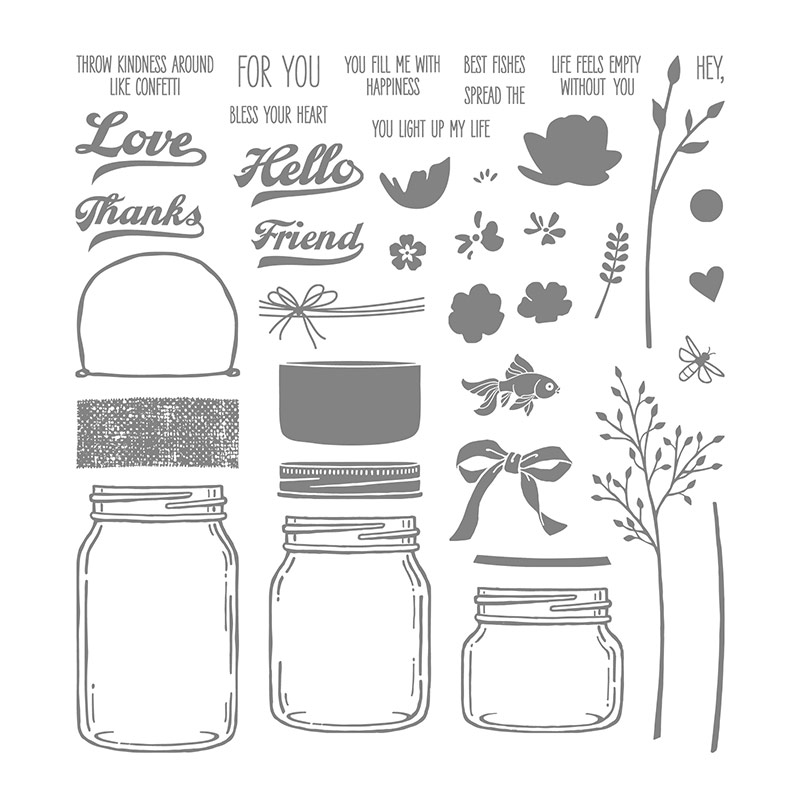
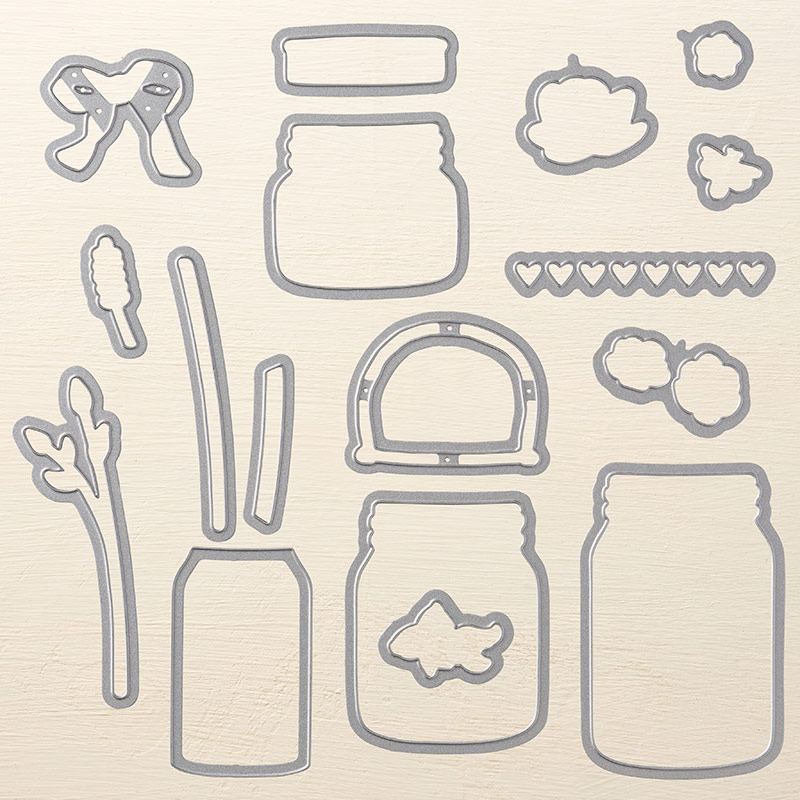
I used the stamp set Jar of Love and the matching framelits to cut them out.  See below to order the stamp set and framelits.


Jar Of Love Photopolymer Stamp Set
Jar of Love stamp set #141587 for $27.00
Everyday Jars Framelits Dies

Everyday Jar Framelits #141490 for $33.00

By purchasing both you hit the $50 benchmark for your free item.
Choose you free item from HERE
I used the retired tag punch as you see in this picture. 

NOTE TAG PUNCH New Stampin Up Locks 135860


Thursday, January 25, 2018

Valentine Bear


Love you beary much!
Had to get out this sweet bear and take him for a spin.  I used Smoky Slate ink on the first layer of stamping the bear and Dapper Denim on the top.   The shading in the background is with a sponge dauber in Tempting Turquoise.


This Baby Bear set just had to turn itself into a Valentine card....


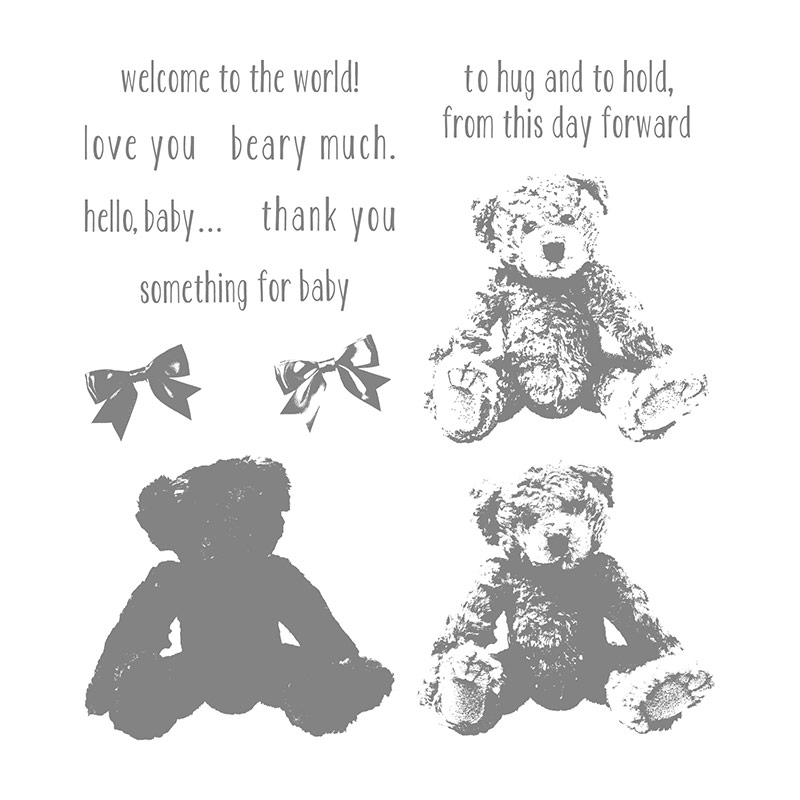
Below is the Baby Bear set, you can see the bear is a three step process.  I used only the two stamp on the right side to create the bear in the card I made.  

Order #141859 for $26.00

Baby Bear Photopolymer Stamp Set

Tuesday, January 23, 2018

Valentine Decor


Hey sweet friends!
Sharing some Valentine decor with you today.  Are you ready to put out some valentine decor?  The above chippy window I found at a garage sale east of the mountains for a mere $15! 
I have it hung in my living room.  I found the Home sign at TJ Maxx and the valentines decor at Target.


These are my towels that I sell in my 2340 West Newton shop.
I have others available too, but this one is perfect for Valentine's day, weddings, bridal showers and hostess gifts.  
You can check out the other styles on my blog home page at the tabs at the top under 2340 West Newton


Love me some Rae Dunn!  I put the love mug and bowl inside of a wire basket with the little Sweet as Sugar sign and added some greens and M&M's.
I hope I have inspired you to get out your Valentine decor!

Sunday, January 21, 2018

Paper Pumpkin January 2018


  For your pleasure and viewing the January Paper Pumpkin 2018
If you receive the kit monthly, this video shows you step by step instructions on how to make your cards.

As you know, I LOVE to change mine up and re-create Julie style.
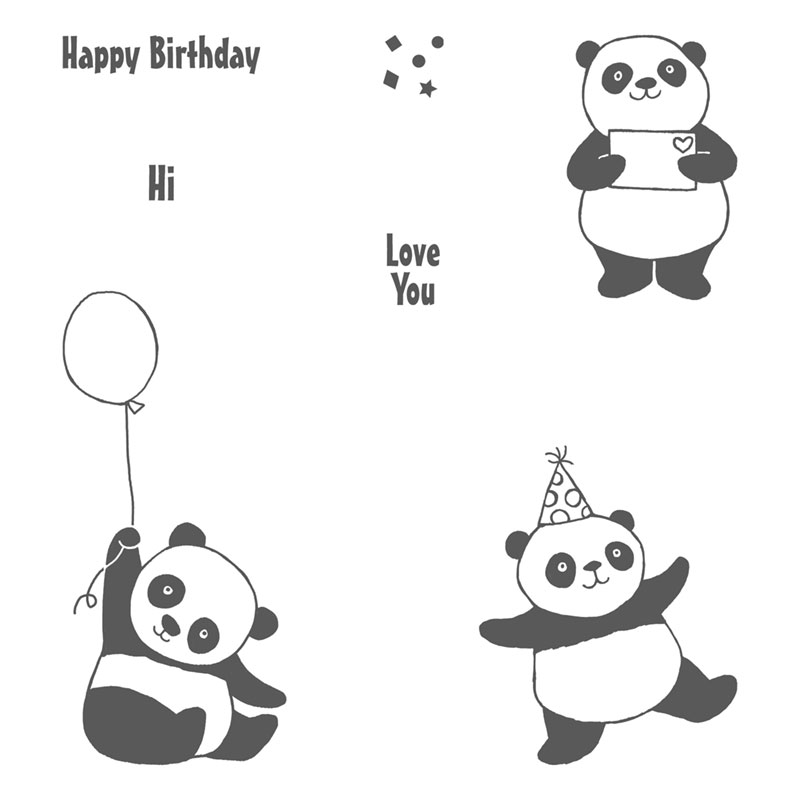
Below is how I changed mine up.  I used the Party Pandas stamp set to stamp the front, otherwise I used all the other pieces from the kit.


Look at how many cards comes in this kit!
8 of them have small copper hearts on them (top cards)
8 of them have stripes on them (bottom)


I had to add some mini googlie eyes to these little pandas.
My goal is to always show you how to think outside of the box.
OR you can follow the kit just as shown.  I find it fun to apply it 
to whatever upcoming holiday it is or what I might need my cards for.


Cute little valentine's all ready to give.
What's great about these little cards once opened is that you can fit a small candy bar, starbuck's gift card tucked right inside. 


Friday, January 19, 2018

Party Pandas


Happy friday!
Here's another Party Panda card for you.
I just love this happy set! 


I punched a 2 1/4" circle in the center of the card.  Then I stamped the bears separately and cut them out and attach them to the inside of the card. 
 I back a piece of wood style paper from the Serene Scenery paper pack.

Wednesday, January 17, 2018

Party Pandas


How about a little Valentine card made with the adorable Party Pandas stamp set?  You can earn this stamp set free by spending $50 on anything in the catalog.  Once you hit the $50.00 you get to pick from the Sale A Bration catalog any of the FREE items from the catalog.   Check it out!


Don't these little bears just make you smile?


The little panda on the left has a birthday party hat on when you stamp him, but as you can see I easily cut it off.  Same with the panda on the right.  He holds a balloon on his stamp,  cut it off!
I sound aggressive this morning!


Party Panda
FREE!  with $50 purchase from any current catalog

Party Pandas Clear-Mount Stamp Set


Monday, January 15, 2018

Pallet Shelf


Happy monday morning friends!
Sharing with you this morning this shelf I made yesterday.
I had an old pallet sitting on my back porch that I had used in a few events last year.  It was dry brushed turquoise, so I lightly painted it a oatmeal color.


I think it turned out pretty neat!
This is super easy, I promise!


You can see in the photo below how to cut your pallet.
I had my husband do it for me.  Once cut you can get up to four shelves out of one pallet.
I didn't sand the pallets at all.  I just painted them with regular latex paint.  The color I used is Behr Oatmeal 


Here are mine below all cut and ready to paint.
We drilled two holes in the back on each side so that when we mounted them we just used screws in the wall and hung them directly onto the wall.


Now they just need painting


Done!


We spent friday and saturday in the mountains taking in all the beauty.  A little warmer than usual and lots of fog, but still as beautiful as ever.
I'm sitting on top of the ridge here, you can usually see a 360 degree view of the mountains.  But not today......


The fog lifted just a little bit over the lake.  You can see in the center of the photo the blue sky trying to sneak out.


Happy monday! 


Saturday, January 13, 2018

January Creative Class


Yesterday was January's Creative Class
Every month I hold a theme class where you come and create many different things.  Sometimes it can be home decor, 3d projects, cards etc.  
And I try to make it all a connected theme.
This month's theme was winter.

Did you know that you can order the kit for the monthly classes from me and have them shipped ready for you to assemble?
You can be a part of the monthly class and I have kits still available for this class!
Just email me and I can ship one out!
The cost is $30
Local?  come join me for next month's class!
February's Class is friday, 2/2
March's class is friday 3/2 - both 10am to noon
$30.00 a person


These adorable mitten's are made with the Smitten Mitten framelits.  Once made they hold two mini Hershey chocolate bars.
I always have a parting gift for my guests.  
The little mittens were the gift this month. 


One of the first things we made were these adorable vintage ball jars filled with Starbucks dark chocolate cocoa.  I purchased the plastic christmas ornaments, (you get two to a package) to put on top of the jars to create a "snowglobe"  We filled the jars first with cocoa, then you glue the lid of the jar lid to the lid portion.  I chose to stamp a dog for the inside of the globe. Once you adhere him to the top of the lid you fill the half globe with fake snow.  Now holding the globe in place and using a hot glue gun, slowly add glue around where the globe meets the jar and but the ribbon over it as you move along in order to glue them together. 
Hope this makes sense!


Isn't he the cutest thing sitting there in the snow!

Once they were made up, we packaged them in cello bags and tied them up with a ribbon for gifting.


The  organic wooden spoons were found at Michael's,  I used just a little bit of washi tape wrapped around them and punched a hole  in the top to add baker's twine to it. 


These are mini test tubes that we filled with marshmellow's and cocoa mix. 
 They are packaged with a paper straw in a 2 x 8" cello bag.


Here's one of the cards they made. Very wintery scene.


One of my customer's Darlene, requested we try and make some pop-up cards. 
 Here are two that we tackled and turned out to be very doable and easy for everyone.


This card hold's a gift box tucked right in the center of the card!


Here is the outside of the second pop-up card.


Once opened you have this beautiful wintery scene inside.


This is the side view.  You can see how 3D it is.