Saturday, December 12, 2020

Diy Snowball drops


Happy Saturday!
I'm still over here plugging along slowly adding Christmas
decor around the house.
This is one of my bathrooms, it's smaller and a bit
harder to decorate except for this window.
I wanted to make a snowy window scene to go along with
the vintage tree you see sitting there.  (thanks Carol!)
While looking at our local garden and nursery store Molbak's a 
few weeks ago they had these adorable snow poms on sticks that
you could hang.  Super cute, but a bit pricey.
Enter my take on the snowball drops......


You could do this in any window and would be fun to do with the 
kiddos. 
I purchased just two different sizes of pom poms and used a thread and needle to make this. 
I just strung three of the smallest ones first then the larger one and repeated.  This is seriously super easy.  To hang it I just used some scotch tape at the top of the window.
Super cute! I love how it turned out!


Wednesday, December 9, 2020

Gnome for the Holidays


Happy wednesday!
I've been so busy getting ready for the holidays I feel like I haven't had a moment to create a card to share in a while!
So back to the Gnome for the Holidays stamp set I go!
As you have figured out by now,  I love gnomes.


These images are from the "Gnome for the Holidays" set
I used some aqua painters and regular markers to create this card.
The trick to watercoloring is to start with the lighter color first then layer the darker over the top.  
Watercoloring is very relaxing, just take your time and add as you go. 


I thought I'd share my Christmas tree this year.  
I typically have done a white forest animal themed tree but decided to add some color and ribbon I have had hanging around for a few years.
To make the ribbon for the tree you will cut your ribbon two different sizes and angle the end pieces when you cut them.
At the top give it a slight twist and using a stapler, staple it together and tuck deep into the inner part of the tree adding it all throughout the tree to you get the desired look you are looking for.  
I used a red and black buffalo plaid ribbon and a burlap ribbon.
It's just what I had on hand and I really have been trying to use what I have. 


I found this gorgeous tree at the Home Depot a few years ago.
It's 9ft that came somewhat flocked with the crystals on it. 

It's still available and can be found HERE

I also found the metal tree collar there too  HERE
Both were 80% off when I purchased them!

Here's to decking the halls, walls and outside!

\


Monday, December 7, 2020

Christmas Tins


Hello monday!
Coming at you this morning with these cute tin buckets I happen to come across at Molbak's.
Of course they were so cute and a bit high in price for me so I went 
on the hunt for how I could make these.


First things first,  if you are going to punch holes in these tin pails you will need these.....
a crop a dile tool. 
They punch holes in leather, metal, foil, wood etc. 


I happen to find these tins at the Dollar Tree,
they are the exact same size as the ones at Molbaks.
Using the crop a dile, figure out your spacing for punching
the holes.  Cut all the way around the pail. 


Once you have all the holes punched take your twine and weave the twine in and out of the holes til you get back to the beginning.  Tie and bow. 


For the red and black buffalo plaid ribbon do exactly
the same by weaving it in out and til back to the beginning. 


Once at the beginning, tie a nice bow. 


It's all done!
I added a little tree to it and a cute red truck tag. 

For the one below I left the twine on the
pail and used a little wood round that I wrote on 
to add to the front. 


Add some little artificial trees and what a cute decor!!


Friday, December 4, 2020

Outdoor Gnome


This is what happens when you have a creative mind and besides work keep yourself busy during covid......
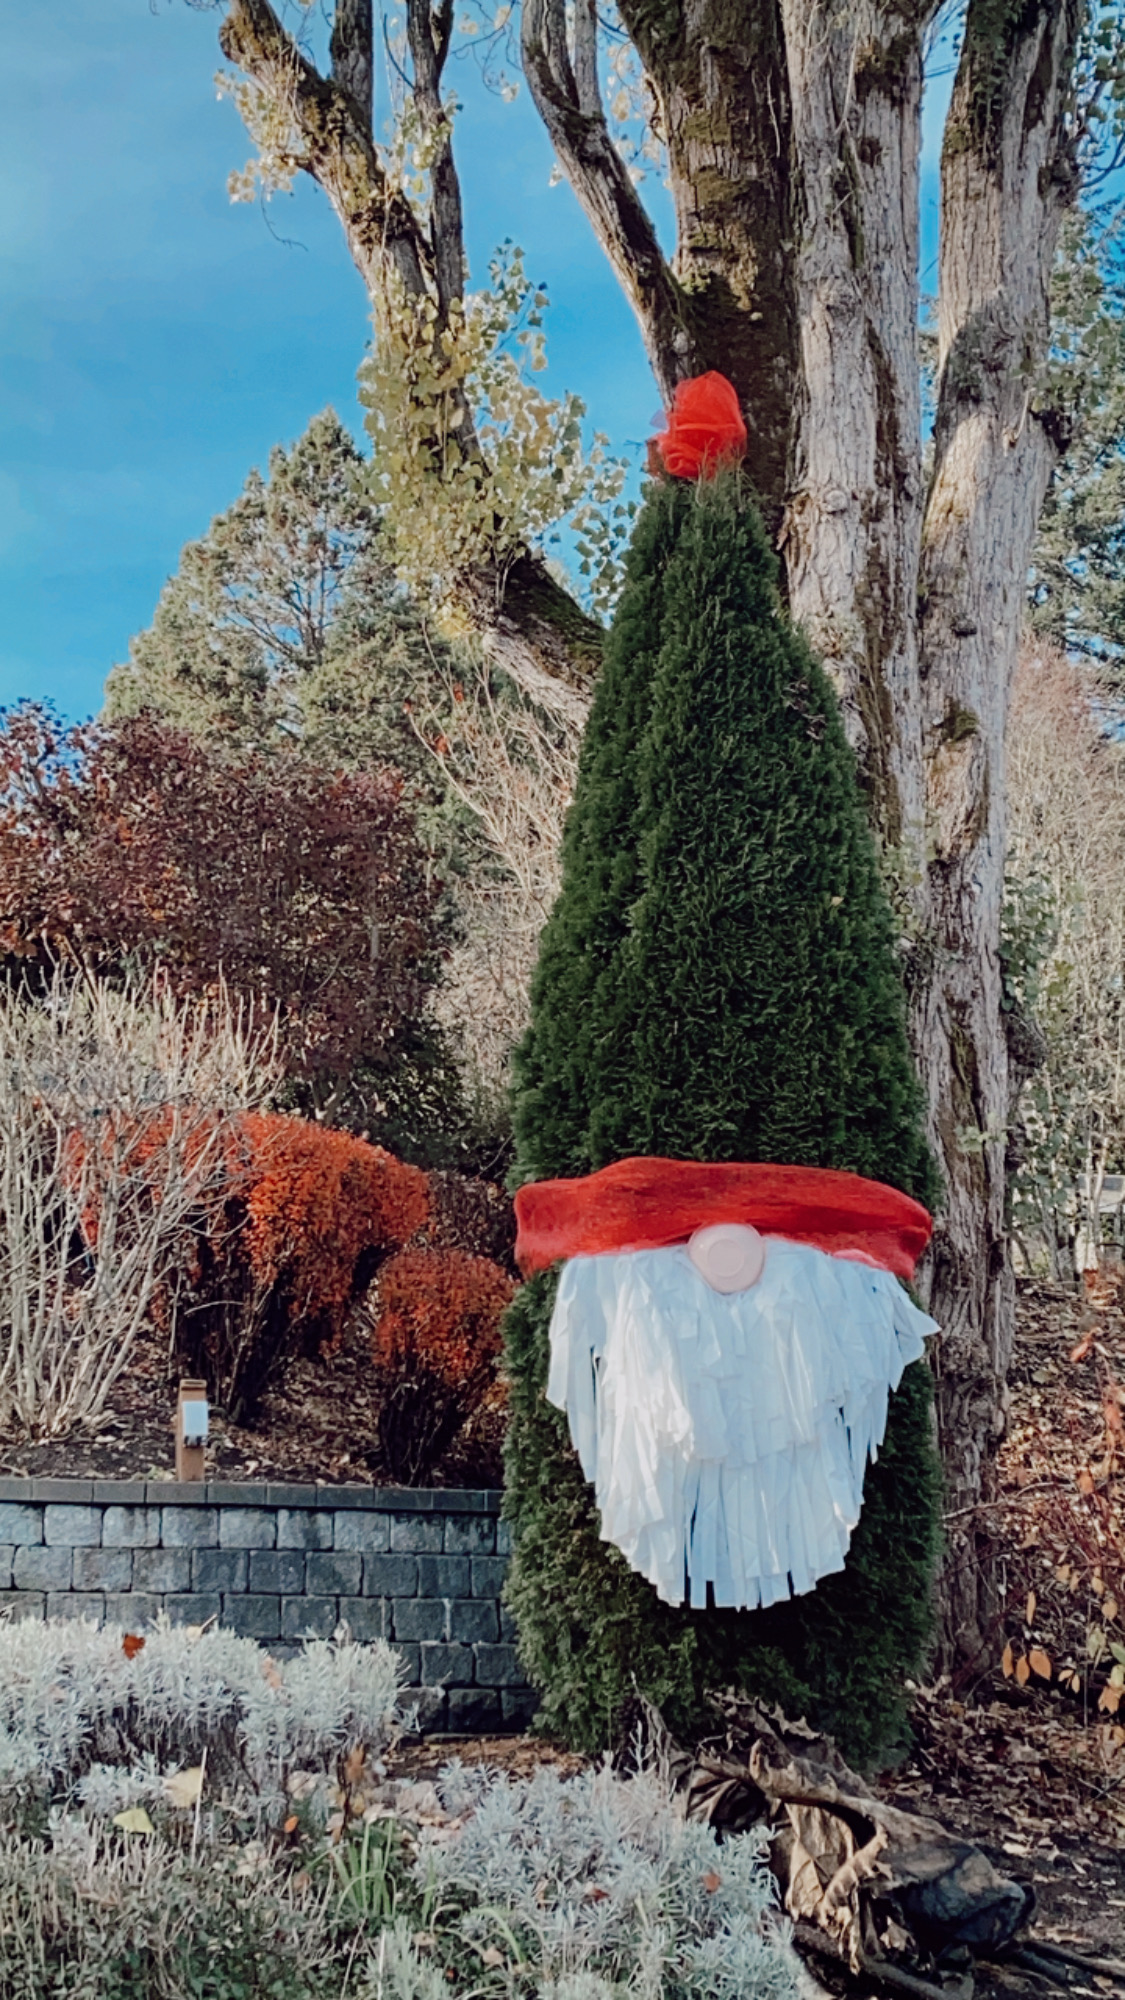
I have this very large 12ft Arborvitae tree in the back that I decided to dress up for the holidays.  Enter my love of gnomes right now......


I'll be "Gnome" for Christmas!
And here he is in all his glory!


How did I make this you ask?
I went to the Dollar store and bought three round plastic tablecloths,
I also bought this red christmas mesh and had a plastic flesh colored bowl on hand. 
This really maybe cost me $5 to make.

I started with the pom pom on top of his hat by creating a bow out of the mesh and attaching the bow to a green garden stake using some wire.   My husband did the job of climbing up the ladder to stick it right down the middle of the tree.
The next step was to wrap the mesh around the center of the tree to create the brim of his hat.  It is just tied into a knot at the back of the tree.
Now take your three tablecloths, starting with one, fold it over
and using your scissors cut straight lines across from one side to the 
side.  Do this to all three tablecloths.  
I attached the beard to the brim of the hat by hot gluing the beard to the mesh.  Do one layer at a time.
For the nose,  using my bowl, I glued a 2 x 2" piece of wood to the bowl and pushed the nose into the tree.

I know I will get asked how to do this, so I wanted to share the steps,
I will try and get some more photos to post today while it's light out.

So far it has done well in the weather here,  we had a 40 mph wind storm and only had the top pom pom blow off. 
 Easy to put back on so no worries there!


This is what the nose and beard looks like up close..


And this is how I cut up the plastic tablecloths


In this picture above,  you can see how I hot glued the
plastic tablecloth to the red mesh.  It has been up for almost
two weeks now and with the wind and rain hasn't budged. 


Here's a look from another angle.  
I love my gnomie!


There's no place like "gnome" for the holidays!


Wednesday, December 2, 2020

Red Truck Christmas Kit


I still have some of these Red Truck kits available

It's called the "Red Truck Christmas Kit" and all you need to have on hand is scissors some adhesive!
  ******* I have 10 kits available!  *****
$35.00 for the kit plus your shipping which is $5.
$40.00 total
You can email me if you'd like the kit and I will have you pay via
Paypal or Venmo

Kit prices include all the items you see here;
The kit has 5 ornamnents 
Framed Art
and a wooden red truck wall art.
You will receive videos on how to make each project. 
Email me at juliepitta@rocketmail.com


This is the galvanized rustic christmas framed art


You will also make this adorable red truck 
Christmas ornaments.


You will also make these two pine ornaments with greens and beads
And below, the red truck is alive!


Monday, November 30, 2020

Diy Frame


Hello and happy monday!
What is this you ask?
These little frame pictures are at the Dollar Tree,
what was cats raised on the picture there I ripped
them off so I could turn this picture into a christmas
wood picture.
The frames come with all kinds of silly images on them,
just look in the frame department for them. 


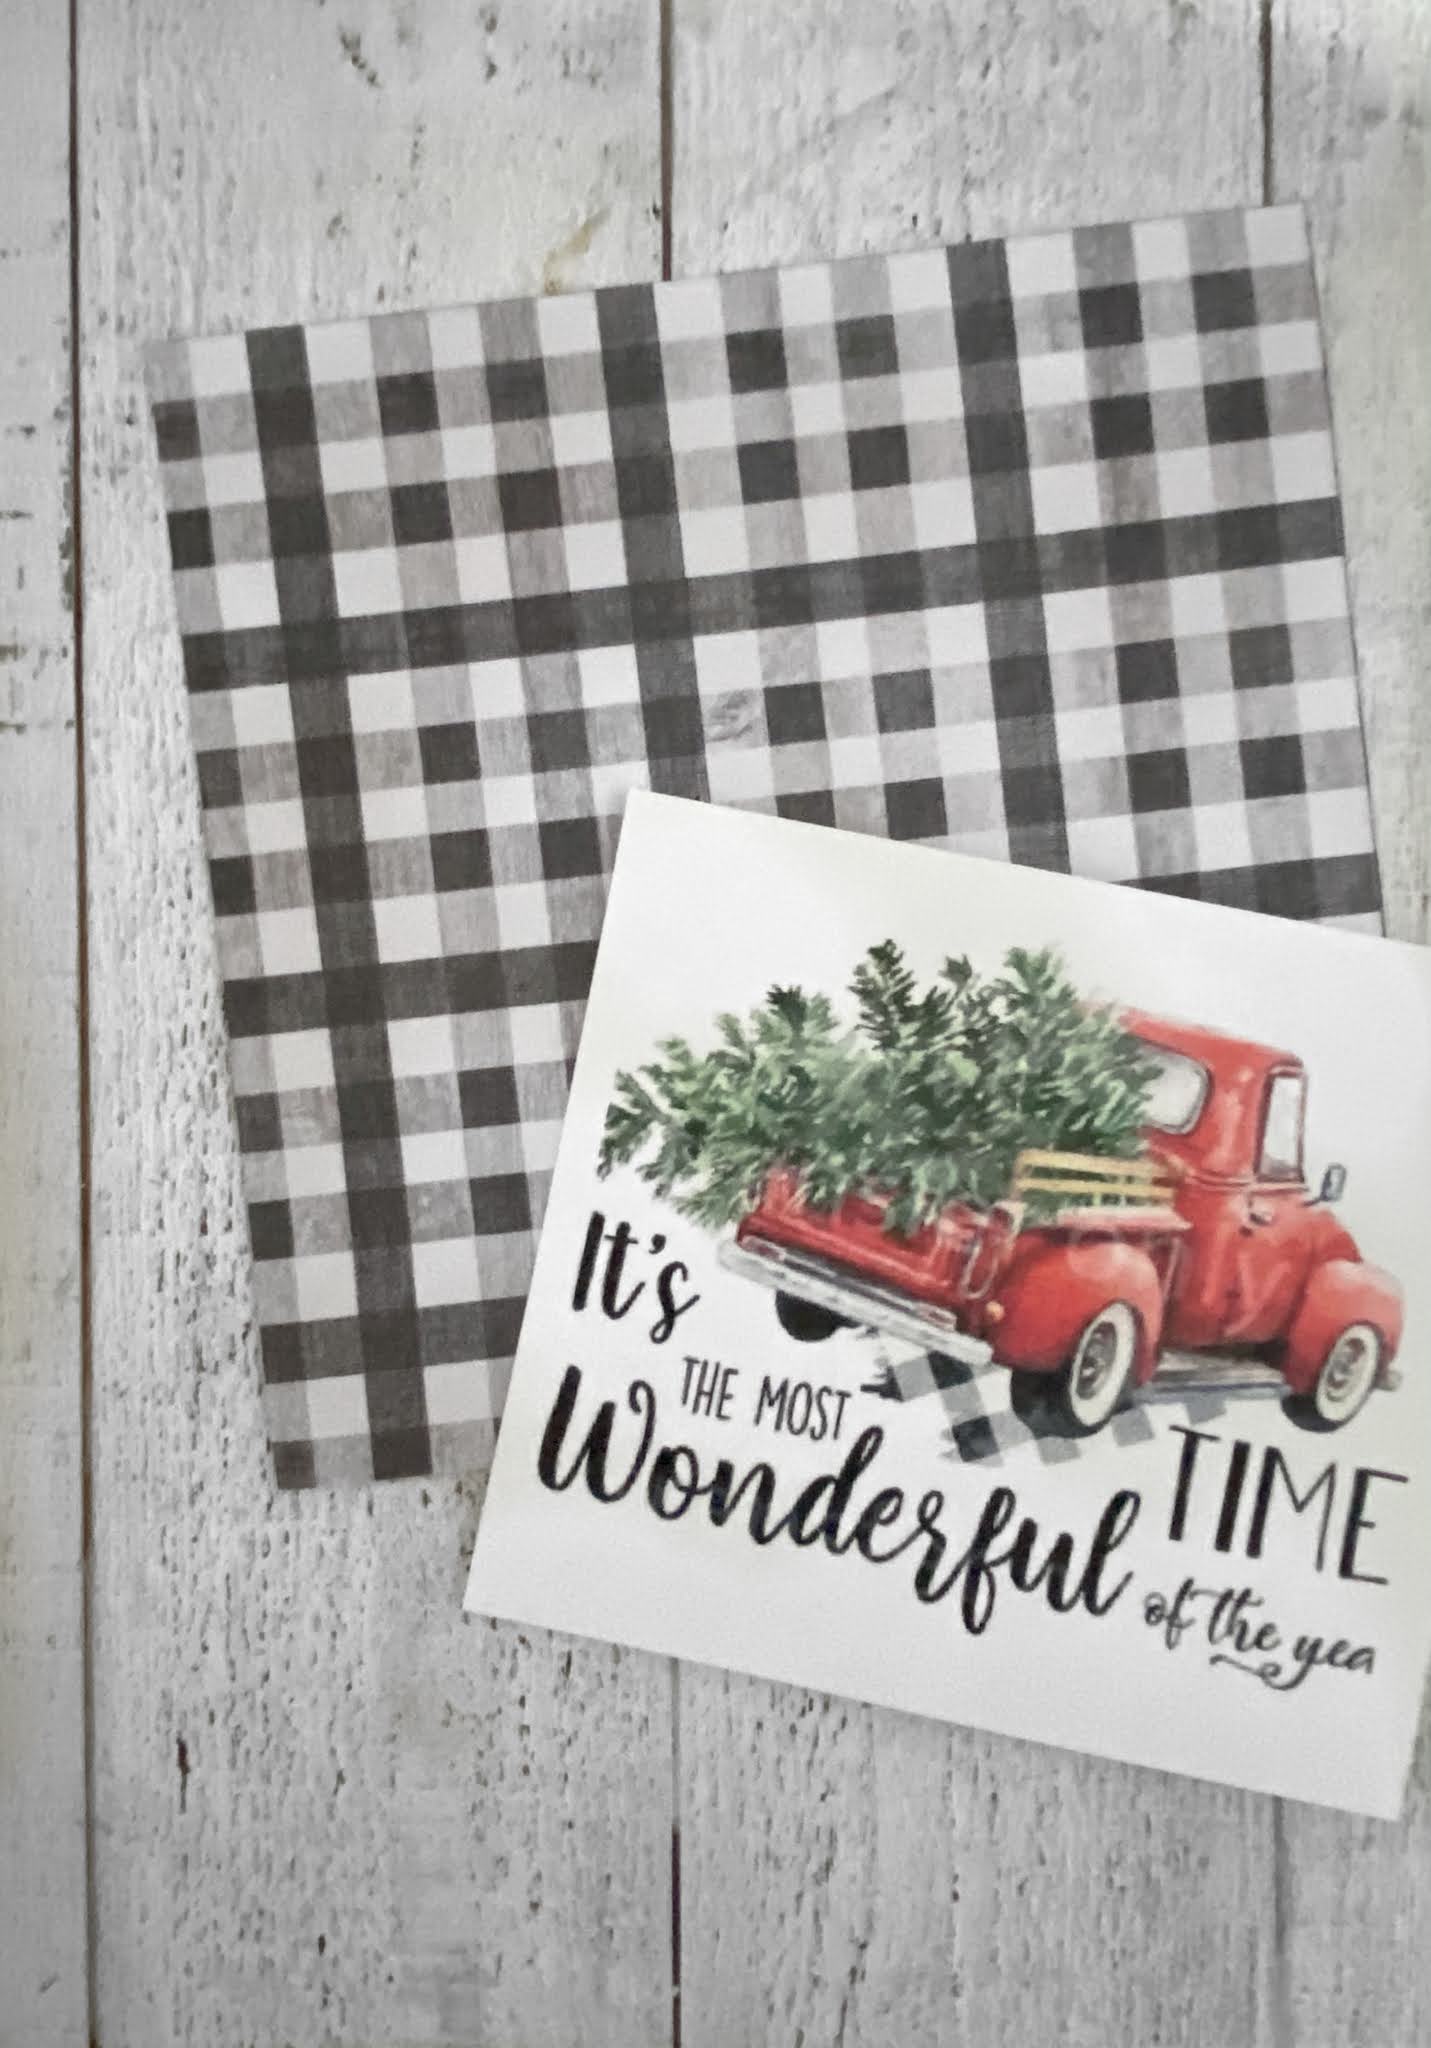
I cut some black and white buffalo plaid scrapbook paper
sized to fit the frame and glued it down.
I have showed you this idea before, but the image 
is from googling red Christmas truck.  Once you do this 
you can find free printable images.
When you find one you like use a heavier cardstock to print it out on.
Here's the one I chose.
Glue it right on top of your background piece of paper. 


Turned out so good!
I believe the frame is measured at 8 x 8"


Time to add it to my Christmas decor!
These make great homemade gifts to give as
well as add to your holiday decor. 


Saturday, November 28, 2020

Shae Rose co.


Hi friends!
So excited to be sharing my youngest daughter Shae's new
venture!
She has opened a shop called ShaeRose.co
You can see her all cotton canvas bag designs below.
So proud of her for working hard to make these designs
and saying yes to starting something new!
Go Shae!

Go take a look at her site